A Guide to Git Merge Branch Into Another

To get started, you'll want to git merge a branch into another by first switching to the destination branch (usually main) and then running the git merge command with the name of the branch you want to pull in. This simple action is what combines separate lines of work back into a single, unified project history.
Why Merging Branches Is Essential in Git

Before we jump into the commands, let's talk about why merging is such a cornerstone of modern development. Think of your project's main codebase (the main or master branch) as the official, stable storyline.
When a developer needs to build a new feature or fix a tricky bug, they create a separate branch. This branch is like a parallel universe where they can make all the changes they need without any risk of messing up the main storyline.
This isolation is a game-changer for team collaboration. It means one person can be building a new user authentication system while another is fixing a critical UI bug—simultaneously. Neither person's work gets in the other's way until it’s time to bring those changes back together.
The Two Main Merge Outcomes
When you decide it's time to weave that parallel storyline back into the main one, Git usually handles it in one of two ways: a fast-forward merge or a three-way merge.
A fast-forward merge is the simplest scenario. It happens when the main branch hasn't had any new commits since you created your feature branch. Git just moves the main branch pointer forward to the latest commit of your feature branch. It’s like adding a new, undisputed chapter to the end of a book.
The more common situation is a three-way merge. This occurs when the main branch has changed while you were working on your feature. To sort this out, Git looks at the two diverging branches and their most recent common ancestor. It then creates a brand-new "merge commit" that intelligently combines both sets of changes.
To help you visualize the difference, here's a quick comparison of the two merge types.
Fast-Forward vs Three-Way Merge at a Glance
| Merge Type | When It Happens | Resulting History | Use Case Example |
|---|---|---|---|
| Fast-Forward Merge | The target branch has no new commits since the feature branch was created. | Linear and clean. The branch pointer simply "fast-forwards." | A developer quickly fixes a typo on a new branch while main remains unchanged. |
| Three-Way Merge | The target branch has diverged with new commits since the feature branch was created. | Non-linear. A new merge commit is created to tie the two histories together. | One developer adds a new feature while another merges a critical bug fix into main. |
Ultimately, both merge types achieve the same goal: integrating work in a controlled, organized way.
Using git merge is a fundamental operation that keeps your project evolving, preserving a clear history of how every feature and fix was integrated. If you want to dive deeper, you can explore the technical details of this core Git command to really sharpen your understanding.
Your Practical Merging Workflow
Alright, let's turn theory into action. I'm going to walk you through the exact sequence developers use to git merge branch into another, ditching the abstract concepts for a real-world scenario. We'll merge a feature branch, let's call it new-feature, back into the main branch.
Following a deliberate workflow isn't just about running commands. It's about building a solid rhythm for a safe, predictable merge every single time. The first move, and the one most people forget, is prepping your local environment. Before you even think about merging, you need to make sure your local main branch is a perfect mirror of what's on the remote server. This simple bit of foresight prevents so many avoidable headaches down the line.
Prepare Your Workspace
First things first, jump over to your target branch. In our case, that's main. The whole point is to bring your new-feature changes into the most up-to-date version of the project.
git checkout main
Next, pull down the latest updates from the remote. This command fetches any new commits your teammates have pushed up and integrates them into your local main branch. It’s a non-negotiable step; you never want to merge your work into an outdated codebase.
git pull origin main
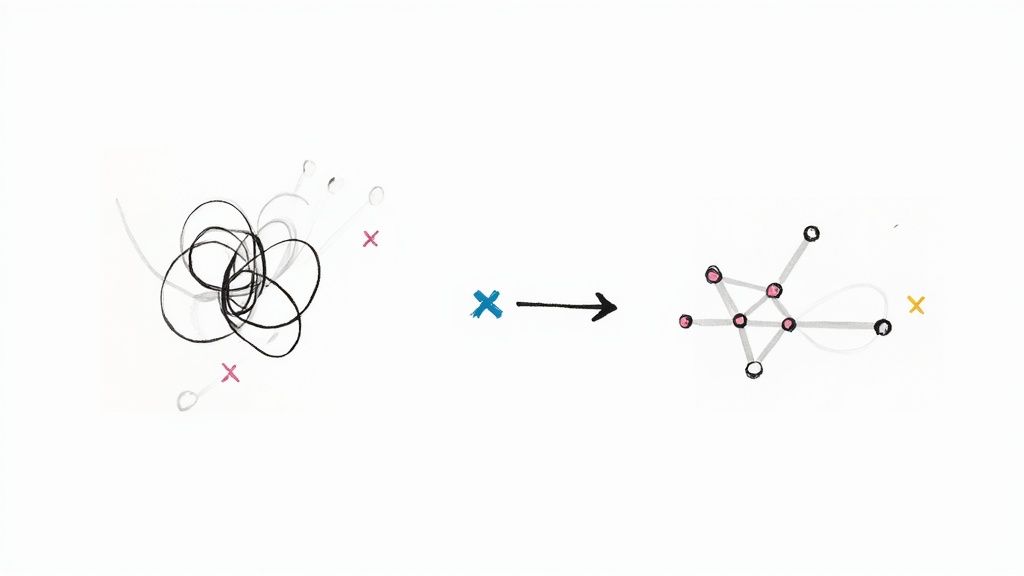
This whole process is about bringing a separate line of development back into the main project timeline, just like this infographic shows.
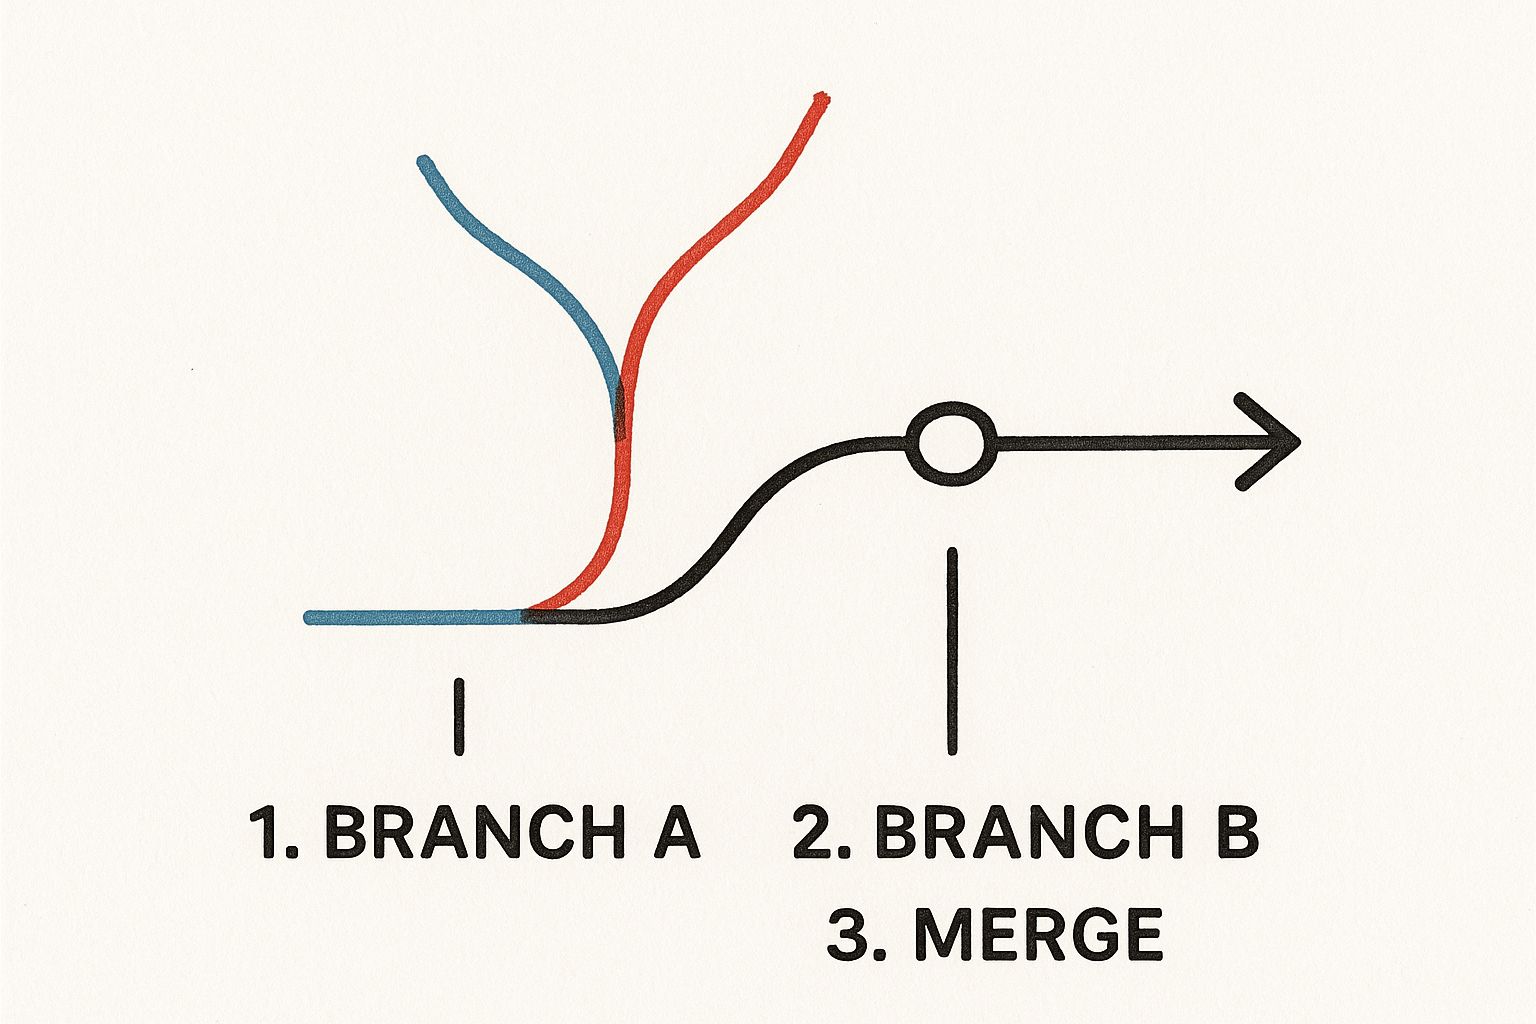
You can see how the feature branch, after its work is done, gets neatly integrated to become a part of the main branch's history.
Execute The Merge
With your main branch fresh and updated, you're finally ready to do the thing. It's time to tell Git to combine the history of your new-feature branch with main.
The command itself couldn't be simpler:
git merge new-feature
Git gets to work, analyzing the histories of both branches. If the changes don't overlap—meaning no one has touched the same lines of code—you'll probably get a clean "fast-forward" merge or a new merge commit created automatically. Your terminal will spit out a confirmation message detailing what just happened.
If you want a deeper dive on this, we've got a whole guide on how to merge a branch to main in Git.
Pro Tip: As soon as the merge is successful, get into the habit of pushing the updatedmainbranch back to the remote repository right away. This keeps the central codebase current for everyone else on your team. Just rungit push origin main.
How to Navigate and Resolve Merge Conflicts
Sooner or later, every developer hits a merge conflict. It’s not a sign you did something wrong; it’s just Git’s way of hitting pause and asking for a human decision. This happens when you and a teammate have edited the exact same lines of code in different branches.
When you try to git merge branch into another, Git gets stuck. It doesn’t know which version to keep, so it hands the controls over to you.
Let's say you're merging your new-feature branch into main. If there's a conflict, Git will halt the process and flag the files that need your attention. When you open one of these files, you’ll see special markers bracketing the competing changes, showing you exactly where the disagreement is.
Decoding the Conflict Markers
These markers are Git's language for explaining the problem. Getting comfortable with them is the first step. They look something like this:
<<<<<<< HEAD: This points to the changes from your current branch—in this case,main. Everything between this line and the=======is your version.=======: This line is the divider, separating the two conflicting code blocks.>>>>>>> new-feature: This points to the changes from the branch you're trying to merge in.
Your job is to play the editor. You have to decide what the final code should look like—keeping your version, their version, or a combination of both. Once you’ve edited the code to your liking, you manually delete all the conflict markers (<<<<<<<, =======, and >>>>>>>). The goal is to leave the file in a clean, correct state.
For a more detailed walkthrough, our guide on how to resolve a merge conflict provides some great step-by-step examples.
Key Takeaway: A merge conflict isn’t an error; it's a logical pause. Git needs your input to figure out how to combine two different versions of the same code, making sure no work is accidentally overwritten.
Finalizing the Merge
Once you've edited the file and saved your changes, you need to tell Git that you're done. You do this by staging the now-resolved file:
git add <conflicted-file-name>
After you’ve staged all the files you fixed, you finalize everything with a commit. Git will then create a new merge commit, which completes the merge and neatly ties together the history of both branches.
Thankfully, Git gives you a ton of control over how merges happen. You can use flags like --no-ff to always create a merge commit for better tracking, --squash to condense changes into a single commit, or --abort to back out of a messy merge entirely. Digging into these options can really help refine your workflow.
Best Practices for a Clean Merge History
Successfully merging code is one thing. Maintaining a clean, understandable project history is something else entirely. The habits you build around how you git merge branch into another are what separate good developers from great ones. It’s all about making your Git log a useful, readable story of your project's evolution, not just a chaotic list of changes.
One of the best habits you can adopt is to frequently pull changes from your target branch (like main) into your feature branch. Instead of letting your branch drift for days or weeks and then facing a massive integration headache, you can resolve small conflicts as they come up. This makes the final merge dramatically smoother.
Preserve Context with --no-ff
A fast-forward merge looks clean because it creates a perfectly linear history, but that neatness comes at a cost. It can erase the valuable context that a feature was developed in isolation on its own branch. To avoid this, you can force Git to create a merge commit even when a fast-forward is possible.
Just use the --no-ff (no fast-forward) flag:
git merge --no-ff my-feature-branch
This simple command ensures a merge commit is always created, clearly marking where a feature's history was integrated into the main line. For shared branches, this approach is often a much better choice than a rebase because it preserves the historical accuracy of your project's timeline. We dive much deeper into this in our article comparing Git merge vs. rebase.
Write Meaningful Commit Messages
Think of your commit messages as documentation for your future self and your teammates. A generic message like "Merge branch 'feature-x'" is completely useless. A great merge commit message summarizes the why behind the change.
Pro Tip: Structure your merge commit messages with a clear subject line summarizing the feature. In the body, explain the problem it solves or the value it adds. This simple habit turns your Git log into a powerful, searchable project diary.
Clean version control isn't just a "nice-to-have." With Git used in about 99% of open-source projects and 74% of organizations relying on continuous deployment, maintaining a clear history is fundamental. As you can see from these development statistics on hutte.io, these practices are what keep automated pipelines running smoothly.
Once you’ve got the hang of merging branches by hand, you’ll naturally start looking for ways to automate the boring parts. In a busy repository, manually handling every single pull request isn't just a time sink—it’s an open invitation for human error. Automation acts as a smart gatekeeper, making sure your main branch stays clean and stable.
This is exactly where a tool like Mergify really shines. It can take over and automatically merge pull requests that meet the rules you set, like passing all CI checks and getting an approval from a teammate. This frees up your team to do what they do best: write code, not babysit pull requests.
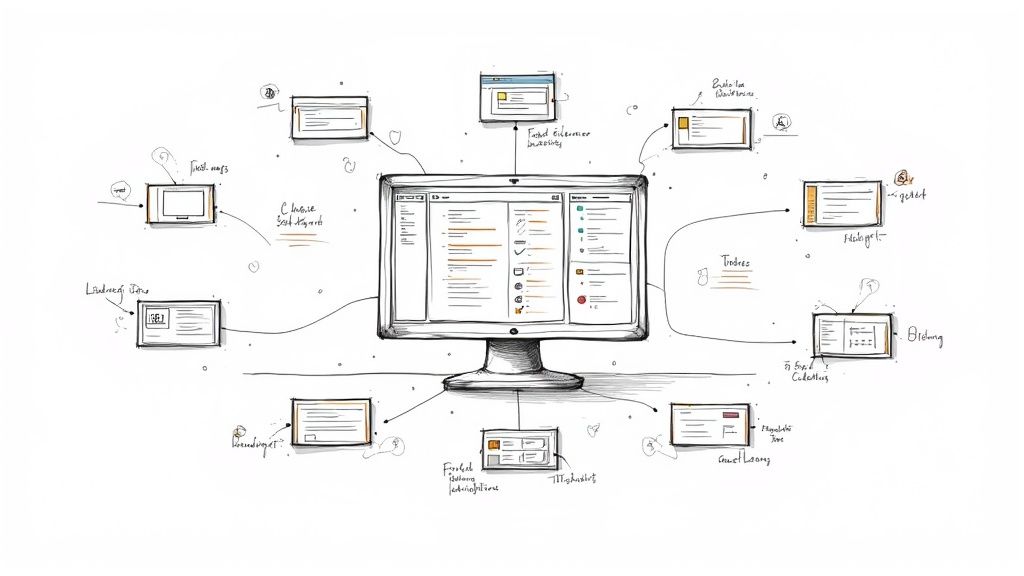
The screenshot below gives you a peek at how a merge queue managed by an automation tool looks in action.
As you can see, pull requests are neatly lined up and tested one by one. This simple, sequential process is incredibly effective at preventing broken code from ever sneaking into your main branch.
Defining Your Merge Rules
The real magic of automation happens when you define your rules. You'll typically do this in a configuration file, like .mergify.yml, which tells the tool precisely how to handle incoming pull requests.
For example, a common and highly effective rule would be to:
- Wait for the continuous integration (CI) build to pass successfully.
- Require at least one approving review from a team member.
- Once both conditions are met, automatically merge the pull request.
Here’s what that looks like in a quick configuration snippet:
pull_request_rules:
- name: Automatic merge on approval and success
conditions:- "#approved-reviews-by>=1"
- "status-success=ci-build"
actions:
merge:
method: merge
Key Insight: Automation isn't about replacing your Git skills; it’s about amplifying them. By setting up a merge queue with clear rules, you’re building a safer, more efficient pipeline that can easily scale as your team grows.
This kind of setup ensures every change hitting main has been properly vetted, which dramatically cuts down the risk of introducing new bugs.
Common Questions About Merging in Git
Once you've gotten the hang of the basics, a few common questions always seem to pop up when you git merge branch into another. Think of this as a quick reference guide for those "wait, what happens if..." moments that every developer runs into.
These aren't just obscure edge cases; they're the real-world scenarios you'll face every day. Nailing how to handle them is what separates a smooth, clean workflow from a messy one, whether you're coding solo or on a big team.
Git Merge vs Git Rebase
Ah, the classic debate. At its heart, it’s about how you want to tell your project’s story.
Think of git merge as creating a new chapter in your project's diary that says, "This is the exact moment two different storylines came together." It preserves the individual histories of both branches and ties them up with a new merge commit. It’s honest, transparent, and sometimes a little chaotic.
On the other hand, git rebase is like rewriting history. It takes all the changes from your feature branch and neatly places them on top of the target branch's latest commit, creating one clean, straight-line narrative.
- Use
mergefor shared, long-lived branches likemainordevelop. You want to preserve the true history of what happened and when. - Consider
rebaseon your private feature branches right before you merge them. This lets you clean up your personal commit history and keep the main branch's timeline tidy.
How to Undo a Git Merge
We’ve all been there. You merge something and immediately realize it was a mistake. How you fix it depends entirely on whether you’ve pushed those changes for the world to see.
If you haven't pushed the merge yet, you're in luck. The fix is simple: git reset --hard HEAD~1. This command just moves your branch pointer back one step to the commit right before the merge, effectively making it disappear from your local history. Clean and easy.
But if you have already pushed it, you can't just rewrite history—that would cause chaos for your team. Instead, you need to create a new commit that undoes the changes. The command for this is git revert -m 1 <merge-commit-hash>. This safely rolls back everything from the bad merge while preserving the project history for everyone.
Key Takeaway: A localgit resetis your "oops, I didn't mean to do that" button. A sharedgit revertis for when you need to announce, "we need to safely roll this back."
Can I Merge Only One Commit?
Absolutely. This is a super powerful technique called "cherry-picking," and it’s a lifesaver when you need a specific fix or feature without pulling in an entire branch's worth of changes.
The command is simple: git cherry-pick <commit-hash>.
Imagine you found a critical bug fix on a long-running feature branch. You can use cherry-pick to grab just that one commit and apply it to your main branch immediately, without having to merge all the other unfinished work. It’s surgical, precise, and incredibly useful.
Tired of manually babysitting pull requests and untangling merge conflicts? Mergify puts your merge queue on autopilot, ensuring your main branch stays stable while your team ships features faster than ever. Discover how Mergify can streamline your workflow.