Mastering Git Clone with Submodules


If you’ve ever cloned a Git repository only to find a bunch of empty folders where you expected to find code, you’ve hit a classic submodule snag. The simple truth is, a standard git clone doesn’t automatically pull down the code from those linked repositories. To get the whole picture, you need to tell Git to dig a little deeper with the --recursive flag.
Why Cloning with Submodules Can Be Tricky
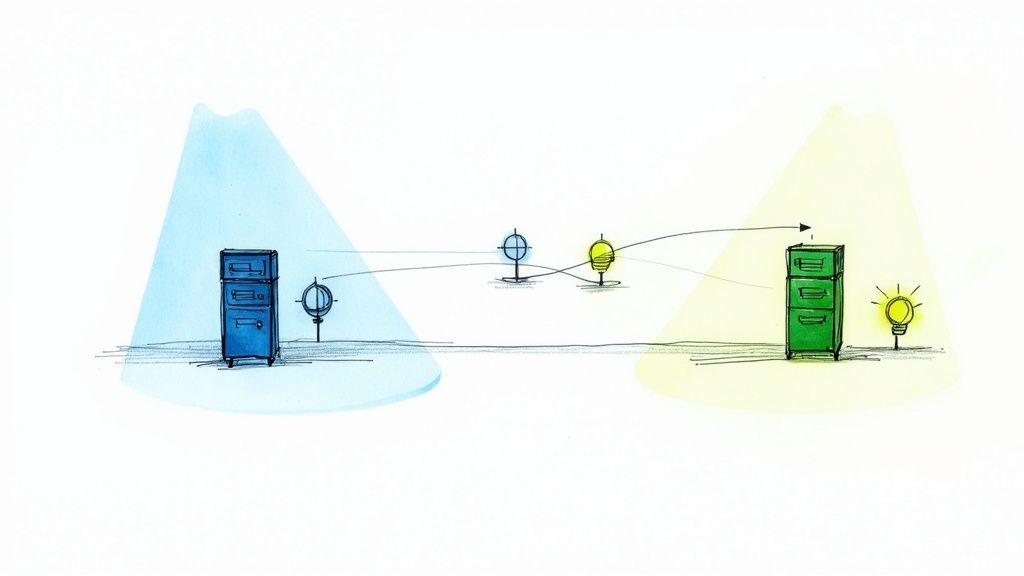
Think of a submodule less as a part of your project and more like a bookmark. It's a pointer to a specific commit in a completely separate repository, which is an incredibly powerful way to manage dependencies.
Let’s say your main application relies on a shared design system library or an external API client that lives in its own repo. Using a submodule locks your project to a specific version of that dependency. This is a lifesaver, as it guarantees every developer on your team is using the exact same code, preventing all sorts of "it works on my machine" chaos.
The Disconnected Nature of Submodules
The confusion comes from Git’s design philosophy: be efficient. By default, Git won't download the entire history of every linked repository because it assumes you might not need it right away. Your main project only stores a reference—just a commit hash, really—in a configuration file named .gitmodules.
This feature has been around since about 2008 and is fundamental to how modern, component-based software is assembled. Historically, after cloning, you’d have to run git submodule init followed by git submodule update to populate those empty directories. Thankfully, git clone --recursive rolls all of that into a single, clean command. It saves time and, more importantly, prevents the setup errors that can plague large development teams. For a deeper dive, check out how submodules can tame the dependency beast.
To visualize the difference in outcomes, here's a quick breakdown of what happens with and without the --recursive flag.
Standard Clone vs Recursive Clone Outcomes
| Action | Result of git clone <url> |
Result of git clone --recursive <url> |
|---|---|---|
| Main Repository | Cloned successfully, with all its files and history. | Cloned successfully, with all its files and history. |
| Submodule Directories | Directories are created but remain empty. They are just placeholders. | Directories are populated with the code from the specific submodule commits. |
.gitmodules file |
The file is present, showing the submodule configuration. | The file is present, showing the submodule configuration. |
| Project State | The project is incomplete and will likely fail to build or run. | The project is fully functional and ready to build and run. |
As the table shows, the recursive clone is what you almost always want when you know a repository uses submodules.
A standardgit clonedownloads the "bookmarks" (the.gitmodulesfile and the commit references), but it doesn't actually follow them to get the "books" (the submodule code). You have to explicitly tell Git to fetch that content for you.
Ultimately, this behavior is a feature, not a bug. It gives you precise control over your project’s dependencies, but it does mean you need to know the right commands to get a fully working copy of the code.
The Easiest Method: The Recursive Clone
When you're dealing with a repository that has submodules, there's one command that will save you a world of headaches: git clone --recursive <repository-url>. Seriously, that little --recursive flag is your best friend. It transforms what could be a multi-step, error-prone setup into a single, clean action.
For anyone who's ever cloned a project only to find a bunch of empty directories where dependencies should be, you know the pain. This is the command that prevents that.

When you run a recursive clone, you’re telling Git to not just grab the main project. You're telling it to look for the .gitmodules file and, for every submodule it finds, to automatically initialize and pull down the code for it. The result is a complete, ready-to-run codebase right from the start.
How It Works Under the Hood
The magic here is really just smart automation. Instead of leaving you to run the follow-up commands yourself, Git handles the entire sequence. Behind the scenes, it’s doing this:
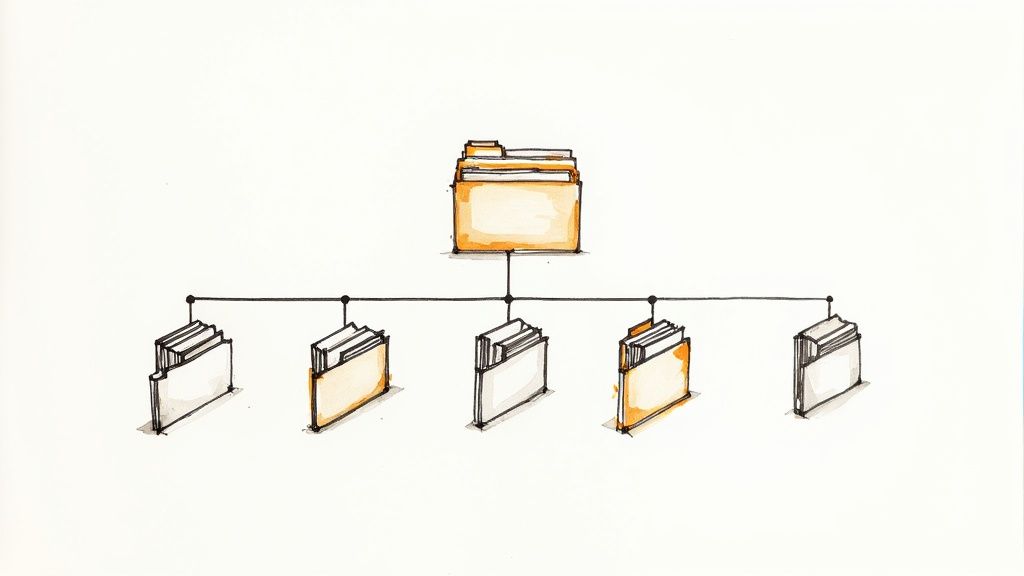
- First, it clones the main project (the superproject) just like a normal clone.
- Next, it reads the
.gitmodulesfile and initializes each submodule, registering them in your local configuration. - Finally, it fetches and checks out the correct commit for each submodule, ensuring everything is in the exact state the main project expects.
Think about onboarding a new developer. Your project might depend on separate repositories for a shared UI library, an API client, and maybe even the documentation. Without --recursive, they'd clone the repo and immediately see empty ui-lib/ or api-client/ folders. Their first attempt to build the project would fail, and their first hour would be spent troubleshooting—not the best first impression.
Using git clone --recursive is like ordering a complete meal kit. You get the main course and all the perfectly portioned sides delivered at once. A standard clone just gives you the main course and a shopping list, leaving you to go find the rest yourself.This "one-and-done" approach is a foundational best practice for any team using submodules. It guarantees every developer starts with an identical, fully functional codebase, which streamlines setup and cuts down on needless friction.
Handling Submodules in an Existing Clone
So, you've cloned a repository, ready to dive in, only to find that some directories are completely empty. It's a classic "uh-oh" moment that usually means one thing: you're dealing with submodules. This happens all the time, especially if you didn't know the project used them or simply forgot to add the --recursive flag to your initial clone command.
Don't worry, there’s no need to nuke the directory and start from scratch. You can pull in the missing submodule code with just a couple of commands.
First, you need to tell Git to actually look at the .gitmodules file and get things set up. This is where init comes in.
git submodule init
Running this command doesn't actually download any code. Think of it as Git reading the instructions. It scans .gitmodules and registers the submodule URLs in your local repository configuration at .git/config, prepping everything for the next step.
Fetching the Submodule Code
With your local Git configuration now aware of the submodules, it's time to actually pull down the code. For that, you use the update command.
git submodule update
This command does the heavy lifting. It goes out to the submodule repositories, fetches all the necessary data, and then checks out the exact commit that the main project is pointing to. Just like that, those empty directories are filled, and your project is ready to go.
If you want to be efficient, you can combine both steps into a single, handy command: git submodule update --init. This is my go-to, as it takes care of both initialization and fetching in one fell swoop.
Here’s a great visual breakdown of how these commands work together to populate submodules after you've already cloned a repository.
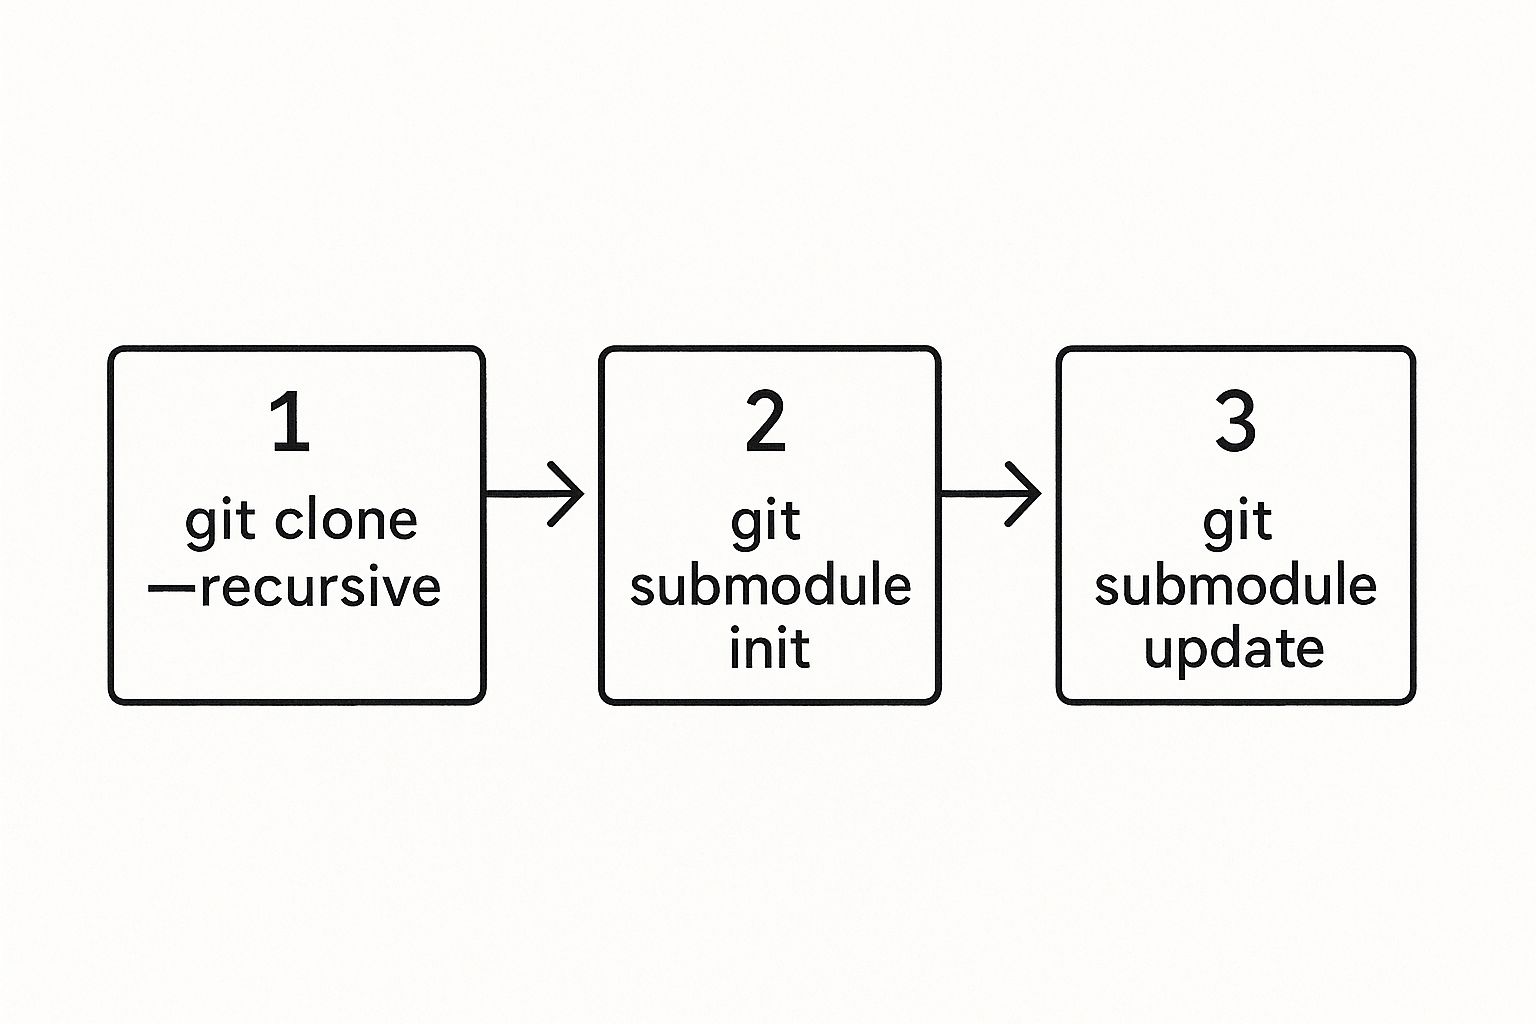
As the graphic shows, running init and update separately is just the manual way of doing what the --recursive flag automates during the clone. Mastering these commands is just as fundamental to good repository management as knowing how to merge a branch to main in Git is for keeping a clean project history.
Advanced Submodule Cloning Techniques
Once you get past the basics, you’ll find that real-world projects often have more complex dependency structures. This is where you need to get smarter with how you handle submodule cloning. For any large-scale application with multiple layers of dependencies, mastering these techniques is key to keeping your workflow efficient.
One of the first things you'll notice is the git clone --recurse-submodules command. It's functionally the same as the older --recursive flag, but it’s the modern, recommended alias. It’s always a good idea to adopt these newer conventions to keep your scripts up-to-date and in line with where Git is headed.
The real headache begins with nested submodules. This is a classic "gotcha" where a submodule in your project also has its own submodules. If you just run a standard git submodule update, it only goes one level deep. You'll be left with another set of empty directories inside your submodule, leading to build failures that can be a pain to track down.
Handling Nested Dependencies
To make sure every single dependency gets initialized, no matter how deep it’s buried, you need to add the --recursive flag to your update command.
git submodule update --init --recursive
This command tells Git to walk the entire dependency tree, initializing and updating every submodule it comes across. It's the definitive way to ensure a complex, multi-layered project is fully hydrated and ready to go. Honestly, understanding this is just as fundamental as knowing the difference between Git merge vs rebase for keeping a clean project history.
Sometimes, you need to be more selective. When you start working with recursive flags, it's helpful to know exactly what each one does.
Here's a quick breakdown to help you pick the right tool for the job.
Comparison of Recursive Flags
| Flag | Function | Best Used When |
|---|---|---|
--recursive |
A classic alias for --recurse-submodules. |
You're using an older Git version or prefer the shorter flag. |
--recurse-submodules |
Initializes and clones all submodules, including nested ones. | You need to clone an entire project with all its dependencies in one go. |
--remote |
Fetches the latest changes from the submodule's remote repository. | You need to ensure submodules are updated to their latest remote commit. |
--no-fetch |
Skips fetching from the remote during update. |
You want to update submodules based only on what's already fetched locally. |
Each flag offers a different level of control, so choosing the right one can save you a lot of time and prevent unnecessary data transfer.
Selective Submodule Initialization
What if you're working on a massive project with dozens of microservices managed as submodules, but you only need one of them? Cloning everything would be a huge waste of time and disk space.
Thankfully, you can be selective.
- First, clone the main repository without any recursive flags.
- Then, initialize only the specific submodule you need:
git submodule update --init path/to/your/submodule
This approach gives you fine-grained control, which is incredibly valuable on large teams where you're often focused on just one piece of the puzzle.
It's worth noting that submodules are fundamentally different from monorepos in how they manage workflows and history. Submodules keep independent Git histories for each component, while monorepos consolidate everything into a single repository. For example, some studies suggest 25-35% of multi-framework projects use submodules to strategically integrate separate components, like a React frontend with a Flask backend. You can dive deeper into the Git submodules versus monorepos debate on dev.to to see which might be a better fit for you.
Troubleshooting Common Submodule Issues
Even when you follow the book, Git submodules can throw a curveball. When your clone fails or a submodule directory is mysteriously empty, it's usually one of a few common culprits. The good news is that these issues are almost always simple to fix once you know where to look.
More often than not, the problem is a submodule failing to clone because its source repository URL changed or is no longer accessible. I see this all the time in fast-moving organizations where projects get renamed or migrated. The result is an empty submodule directory, which usually leads to a broken build.
Submodules are fantastic because they lock your dependencies to a specific commit—a crucial feature for stable, repeatable builds. But that precision has its trade-offs. Despite challenges like potential merge conflicts, the benefits outweigh the headaches in around 70% of cases where you need tight control over external dependencies. If you want to dive deeper, you can explore the pros and cons of submodules at gitprotect.io.
Fixing Broken Submodule URLs
If you suspect a broken link, your first stop should be the .gitmodules file at the root of your project. Open it up and check if the URL for the problematic submodule is still correct.
Found an outdated URL? Just update it directly in the file. But you're not done yet. After saving, you have to tell your local Git configuration about the change. Run this:
git submodule sync --recursive
This command is the bridge between the project's .gitmodules file and your local .git/config. It ensures your local clone knows where to find the correct remotes. Once that's synced, you can finally pull down the code with git submodule update --init --recursive.
Key Takeaway: Always rungit submodule syncafter changing a submodule URL in.gitmodules. It's the critical step that aligns your local configuration with the project's official source of truth.
The Detached HEAD State Mystery
Another thing that trips people up is finding themselves in a "detached HEAD" state when they cd into a submodule directory. Don't panic—this isn't an error. It's actually how submodules are designed to work. Your main project checks out a specific commit hash from the submodule, not a branch, to guarantee stability.
If you need to make changes within that submodule, here’s the workflow to follow:
- Navigate into the submodule's directory.
- Switch to an actual branch with
git switch <branch-name>or create a new one withgit checkout -b <new-branch-name>. - Make and commit your changes like you normally would.
- Push those changes up to the submodule's own remote repository.
- Finally, hop back to the parent repository and commit the updated submodule reference. This tells the main project to now point to your new commit.
This process ensures your changes are properly tracked in both repositories. It can sometimes lead to tricky situations, so getting comfortable with how to resolve a merge conflict is a must-have skill for anyone who works with submodules regularly.
Got Questions About Git Submodules?
Working with submodules can feel a little tricky at first, and a few common questions always seem to pop up. Let's clear up some of the most frequent points of confusion to make your life with git clone and submodules a lot easier.
Recursive Clone vs. Manual Update
One of the first hurdles is understanding the difference between git clone --recursive and running git submodule update --init after the fact. What's the deal?
Think of git clone --recursive as the "get it all done now" command. It's your go-to for a fresh checkout. It grabs the main project and immediately dives into each submodule directory to pull down its code, all in one smooth operation.
On the other hand, git submodule update --init is what you use when you've already cloned a repository and find yourself staring at empty submodule folders. It’s really a two-step process rolled into one: init sets up your local configuration by reading the .gitmodules file, and update actually fetches the submodule code from its remote repository.
Updating a Submodule to the Latest Version
So, you need to pull the latest changes into a submodule. A simple git pull in the main project won't cut it. Submodules are locked to a specific commit, and you have to update that reference intentionally.
Here’s the right way to do it:
- First, jump into the submodule’s directory:
cd path/to/submodule. - Now, pull the latest changes like you normally would:
git pull origin main. - Head back to the parent repository:
cd ../... - Finally, create a new commit in the parent project. This is the crucial step that records the submodule's new commit hash.
That last commit is what tells everyone else using the project, "Hey, we're now using this specific version of the submodule."
How to Properly Remove a Submodule
Getting rid of a submodule isn't as simple as running rm -rf. To do it cleanly, you need to tell Git to forget about it first.
Start by de-initializing the submodule with git submodule deinit -f path/to/submodule. This cleans up the local .git configuration.
Next, you can safely remove its files and its entry in the .gitmodules file by running git rm -f path/to/submodule. A final commit seals the deal, completely erasing the submodule's configuration from your project.
The big takeaway here is that submodule operations are always explicit. Whether you’re cloning, updating, or removing them, Git needs you to be deliberate. This is what maintains the integrity of your project and its dependencies.
At Mergify, we automate the messy parts of merging so your team can stay focused on what matters. Our Merge Queue keeps your main branch green by automatically batching and updating pull requests before they land. See how Mergify can streamline your entire development process.