Resolve 'This Branch Has Conflicts That Must Be Resolved' Effectively

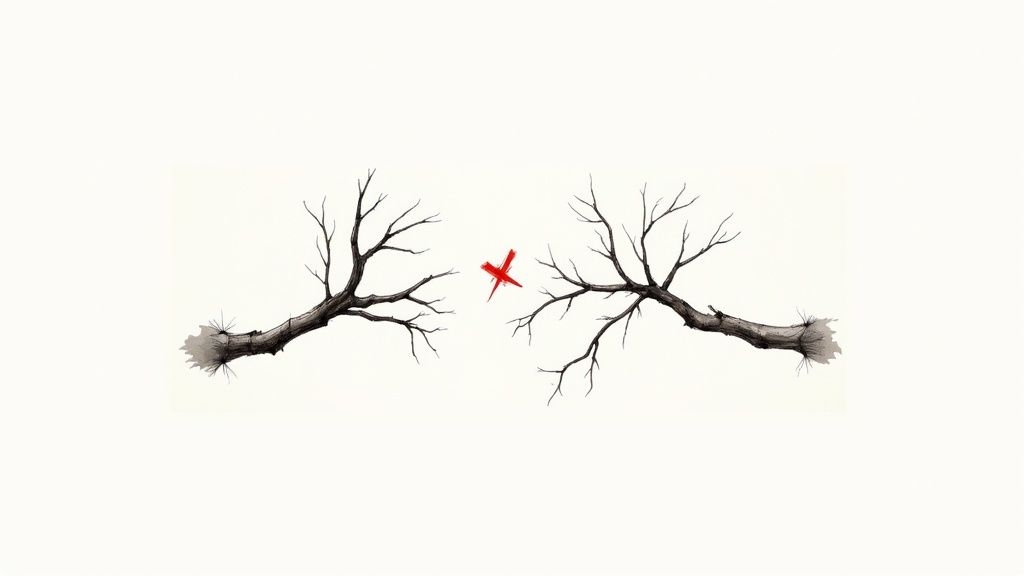
So, you’ve just seen the message: "this branch has conflicts that must be resolved." Don't panic. It’s not a critical failure or a sign you’ve broken something. It’s a standard, everyday part of collaborative coding that simply means Git needs a human to make a decision.
Think of Git as a diligent editor collaborating with two writers on a shared document. If one writer changes the first paragraph and the other changes the last, the editor can easily combine their work. But what happens when both writers rewrite the exact same sentence? The editor can't just guess the correct version. It has to pause and ask the writers to figure it out together. That's precisely what Git is doing here.
This message is a checkpoint, not a roadblock. It’s Git’s way of making sure code is never overwritten without your explicit approval, which is crucial for preserving the integrity of your project's history. Once you get a feel for the common triggers, the message becomes a lot less intimidating.
Why Conflicts Happen in the First Place
Several routine development scenarios can lead to this message. The most frequent culprit is when your local branch falls significantly behind the main branch (main or master). While you’ve been busy working on your feature, other changes have been merged into main, creating a divergence. When you finally try to merge your work, Git looks at the history and realizes the file has changed in ways it can't automatically reconcile.
To help you spot these situations faster, here’s a quick rundown of what usually triggers a conflict.
Common Triggers for Merge Conflicts
| Scenario | Why It Happens | Initial Action |
|---|---|---|
| Outdated Local Branch | Your feature branch is based on an old version of main. Others have merged changes to the same files you've edited. |
Pull the latest changes from the remote main branch into your local main, then rebase or merge main into your feature branch. |
| Parallel Feature Development | You and a teammate unknowingly edit the same function, component, or configuration file in separate branches. | Communicate with the other developer. Decide which changes to keep, combine, or discard. |
| Long-Lived Branches | A feature branch exists for weeks (or months!) without syncing with main. The longer it lives, the more it diverges. |
Regularly sync your feature branch with main to resolve small conflicts incrementally instead of one massive one. |
| Cross-Branch Merging | A complex workflow requires merging one feature branch into another before going into main, creating layered changes. |
Treat the intermediate feature branch like main. Ensure it's up-to-date before merging your changes into it. |
Recognizing these patterns is the first step. For a deeper dive into the mechanics of combining branches, our guide on how to merge a Git branch into another branch provides more detailed strategies for managing these complex scenarios.
Finding and Understanding Conflict Markers
So, Git just threw a wrench in your plans with that dreaded message: "this branch has conflicts that must be resolved." Don't panic. Your first job is to play detective. Before you can fix anything, you have to find the exact files—and the exact lines of code—that are causing the problem.
Thankfully, Git doesn't hide the evidence. A simple git status command is your best friend here.
Run git status right after a failed merge, and you'll see a section helpfully labeled "Unmerged paths." This is your to-do list. Every file listed here has a conflict waiting for your attention, so Git has already done most of the initial investigation for you.
Decoding the Conflict Markers
Once you open one of those files, you’ll find some strange-looking markers that Git has inserted right into your code. They might look intimidating at first, but they’re not errors. Think of them as signposts designed to guide you through the resolution.
They follow a simple, consistent pattern:
<<<<<<< HEAD: This marks the start of the changes from your current branch. Everything between this and the next marker is what you wrote.=======: This is the divider. It separates your version of the code from the one you’re trying to merge in.>>>>>>> [branch-name]: This marks the end of the changes from the other branch—the "incoming" one. The code between=======and this marker is what your teammate wrote.
This structure neatly lays out the two competing versions of the code, letting you compare them side-by-side right inside the file.
Key Takeaway: These conflict markers aren't part of your code. Your main task is to edit the file to remove all of them (<<<<<<<,=======,>>>>>>>) and decide what the final, correct version of the code should look like.
Modern code editors like VS Code make this process even easier. They recognize these markers and often provide a slick UI to handle them, turning a confusing block of text into a clear decision point.
Here’s what that looks like in action.
The editor highlights the "current" and "incoming" changes with different colors and gives you clickable actions. Much better than trying to untangle it all manually.
Interpreting the Disagreement
Understanding these markers is more than just a technical exercise; it's about interpreting a disagreement. The code above the ======= is your story, and the code below it is the story from the other branch. A conflict simply means both stories tried to rewrite the same lines.
Interestingly, this kind of disagreement isn’t just a developer problem. Conflict affects one in every eight people worldwide, which gives you a sense of the sheer human impact of ongoing disputes. Recent data even shows a worrying 25% increase in violent incidents, pointing to a trend of growing global instability. You can learn more about conflicts to watch in the coming year to see how these challenges play out on a larger scale.
Just like in global affairs, resolving a Git conflict requires understanding both sides of the story and making an informed decision to move forward.
Resolving Conflicts with the Command Line
So, you’ve run a merge and Git hits you with the dreaded message: "this branch has conflicts that must be resolved." It’s time to roll up your sleeves. Working directly in the terminal might feel old-school, but it gives you absolute control over the resolution process. It's a foundational skill that works anywhere, whether you're SSH'd into a remote server or right there on your local machine.
The action starts the moment a git merge or git pull command fails. Git is actually pretty helpful here—it immediately tells you which files are causing the trouble. Your first move is to pop one of those files open in your favorite text editor. Inside, you'll see the conflict markers we talked about earlier, neatly separating the two competing versions of the code.
The Manual Resolution Process
Think of yourself as a surgeon now. Your job is to meticulously edit the file, cutting and stitching until you have the final, correct version. This isn't always a simple choice; sometimes you keep your changes, other times you accept what's coming in, and often, you have to blend pieces from both.
For each conflict block, you'll need to make a decision. There are really three paths you can take:
- Keep Your Changes: Just delete everything from the
=======down to the>>>>>>>line, including the markers themselves. - Accept Incoming Changes: Do the opposite. Delete everything from
<<<<<<< HEADdown to=======, markers and all. - Combine Both: This is where the real skill comes in. You’ll need to manually edit the code, grabbing bits and pieces from both sections and arranging them into a coherent whole. This happens a lot with things like configuration files or when two developers add different functions to the same class.
The most important rule? When you’re done, all conflict markers must be gone. The file should look like normal, clean code again.
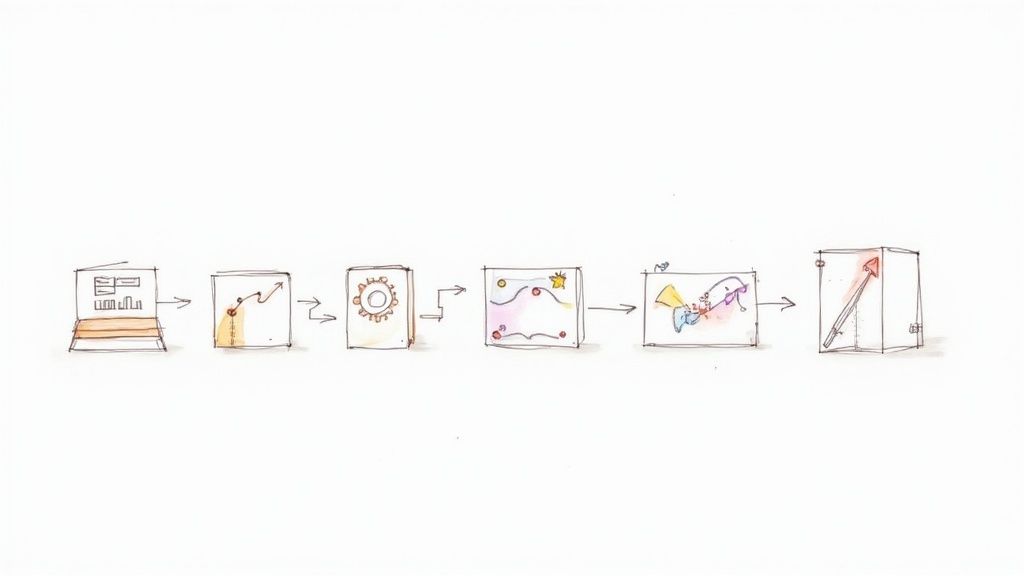
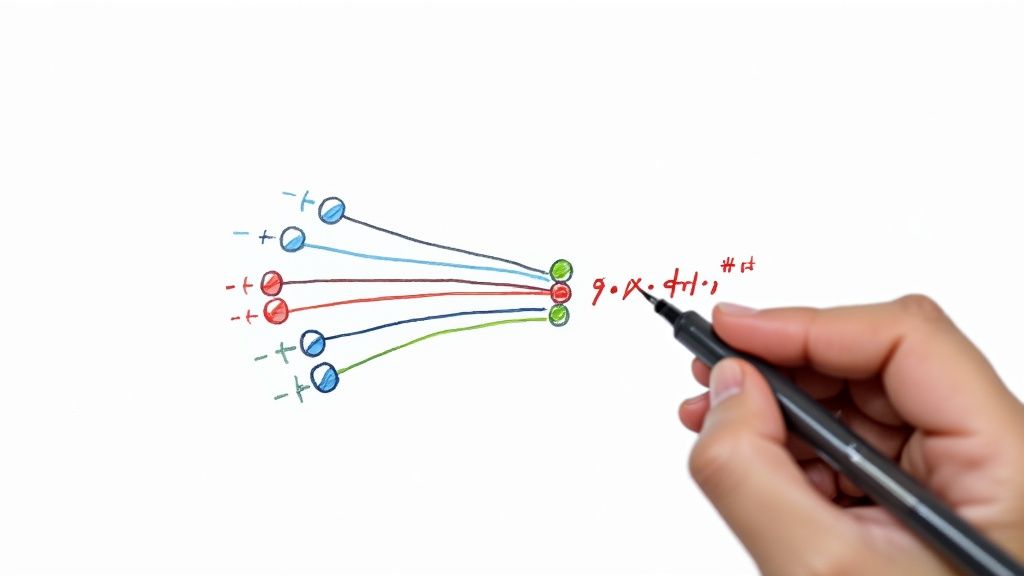
This visual guide breaks down the core workflow for tackling conflicts.

It boils the process down to identifying the problem, making a deliberate choice about the code, and then finalizing that decision with the right Git commands.
Staging and Committing Your Resolution
Once you’ve edited a file and you're happy with the result, you need to let Git know the conflict is resolved. This is a crucial step that’s easy to forget. You do this by staging the file you just fixed.
git add your_conflicted_file.js
Running git add on a conflicted file does more than just stage it; it's your way of signaling to Git, "Hey, I've manually fixed the issues in here." After you've done this for every conflicted file, running git status will show them listed under "Changes to be committed" instead of the scary "Unmerged paths" section.
With all your resolutions staged, you can finally complete the merge.
git commit
When you run this, Git will likely open your default editor with a pre-populated commit message, something like "Merge branch 'feature-branch-name'." In most cases, you can just save and close that message to finalize everything. Your branch is now conflict-free, successfully combining the changes from both sources.
Pro Tip: The Escape Hatch: Sometimes you get into a merge conflict that’s way more tangled than you first thought. If you feel overwhelmed or realize you've made a mess, you can always hit the abort button with git merge --abort. This command instantly stops the merge process and throws your branch back to the state it was in before you started. It gives you a clean slate to try again.For a deeper dive into more complex scenarios, our detailed guide on how to Git resolve conflicts covers additional techniques and edge cases you're bound to run into. Mastering the command line gives you the confidence to handle any conflict Git throws your way.
A Visual Approach to Resolving Conflicts in Your IDE
The command line is powerful, but let’s be honest—it’s not for everyone. Staring at raw text and conflict markers can feel like trying to solve a puzzle in the dark. If you're more of a visual thinker, there's a much more intuitive way to handle the "this branch has conflicts that must be resolved" message directly within your Integrated Development Environment (IDE).
Most modern IDEs, like VS Code, completely change the conflict resolution game. It's no longer a manual editing chore. Instead of deciphering <<<<<<< HEAD markers in a single file, these tools present you with a dedicated three-way merge editor. This view shows your changes on one side, the incoming changes on the other, and a result pane in the middle where you build the final version.

This visual separation makes it instantly obvious what the disagreement is about. You're not just reading code anymore; you're comparing two distinct narratives side-by-side.
Simplifying Decisions in VS Code
VS Code is particularly good at turning complex conflicts into simple, clickable decisions. When it detects a conflict, it highlights the problematic blocks of code and gives you clear actions right above them.
- Accept Current Change: A single click keeps your version and gets rid of the incoming changes for that specific block.
- Accept Incoming Change: This does the opposite, taking the other developer's code and discarding yours.
- Accept Both Changes: This comes in handy when changes are complementary, like when two developers add different methods to the same file. It simply combines both versions.
- Compare Changes: For trickier situations, this opens a more detailed diff view, which is perfect for understanding the nuances before making a choice.
This interface nearly eliminates the risk of manual errors, like forgetting to delete a conflict marker. Once you’ve clicked your way through each conflict, the IDE prepares the file for staging. All you have to do is commit the result.
By providing a clear, interactive interface, IDEs reduce the cognitive load of resolving conflicts. This lets you focus on the logic of the code rather than the mechanics of Git, making the whole process faster and way less error-prone.
Exploring Other GUI Tools
Beyond your code editor, dedicated Git Graphical User Interface (GUI) clients offer an even more comprehensive visual workflow. Tools like Sourcetree and GitKraken are built from the ground up to make Git more accessible for everyone.
These applications visualize your branch history as a clear, interactive graph, which makes it easy to see exactly where and why a conflict happened in the first place. When a merge conflict does pop up, they launch their own powerful merge tools that offer the same side-by-side editing experience as VS Code, but often with extra features for managing entire branches. For instance, you can often handle multiple conflicted files in a single, streamlined interface.
Ultimately, the choice between the command line and a GUI isn't about which one is "better." It's about what makes you more efficient and confident. If you find the terminal intimidating when a conflict arises, switching to a visual tool can transform a moment of frustration into a straightforward task. The real goal is to resolve the issue quickly and correctly so you can get back to what matters—building great software.
Proactive Strategies to Prevent Future Conflicts
Fixing the dreaded "this branch has conflicts that must be resolved" error is a useful skill, but what if you could avoid it altogether? Shifting from a reactive to a proactive mindset is the real game-changer. It’s all about building healthier, more efficient habits that cut down on development friction for your entire team.
One of the most effective things you can do is keep your branches small and short-lived. A branch that hangs around for weeks slowly drifts away from main, making a future conflict almost a certainty. Instead, create focused branches that tackle a single issue and get them merged quickly. This approach keeps your work tightly aligned with the main codebase and ensures any potential conflicts are tiny and manageable.
Of course, communication is key. If you know a teammate is working on a related feature, a quick chat can stop you both from stepping on each other's toes in the same files. For development teams, better integration between project management and version control can be a proactive step. Consider how integrating Jira with GitHub can streamline your workflow and potentially reduce merge issues.
Adopting a Sync-First Mentality
Another cornerstone of conflict prevention is to sync your local branch with main—and do it often. Before you even start coding for the day, and definitely before you push your changes, make it a habit to pull down the latest updates.
A powerful command for this is git pull --rebase main. It’s a popular choice for a reason. This command grabs the newest changes from main and then neatly replays your local commits right on top of them. The result is a clean, linear history, and it forces you to resolve any minor disagreements on your own turf before they ever have a chance to blow up in a pull request.
Think of it like this: by regularly rebasing, you are resolving tiny disagreements as they happen, rather than letting them accumulate into a major dispute. This approach is far less disruptive for the entire team.
Your main branch is your region of stability. Just like in global affairs, unresolved tensions can escalate into wider problems if left unchecked. Letting your branch diverge for too long is asking for trouble.
Automating Your Defenses with Merge Queues
While good habits are crucial, automation is your best safety net. Tools like Mergify introduce a merge queue, a feature that fundamentally changes how pull requests get integrated into your main branch.
Instead of developers merging their branches whenever they feel ready, a merge queue takes charge. Here’s what it does automatically:
- Updates each pull request with the latest version of the target branch.
- Runs your CI tests on the updated code before it gets merged.
- Merges pull requests one by one, making sure each one is compatible with the one that went in just before it.
This process nips conflicts in the bud, catching them before they ever poison your main branch. By adopting these kinds of strategies, you can spend less time fixing problems and more time building great features. To dive deeper, check out our guide on how to avoid merge conflicts with smarter team workflows.
Frequently Asked Questions About Merge Conflicts
Even when you feel you've got a handle on the merge resolution process, certain situations can still make you stop and think. This section is all about tackling those common head-scratchers that pop up when Git throws that dreaded "this branch has conflicts that must be resolved" message.
Think of it as your rapid-fire guide for those tricky edge cases.
What Is the Difference Between a Merge and a Rebase?
Both a merge and a rebase are designed to do the same thing: integrate changes from one branch into another. The real difference lies in their philosophy and the kind of project history they create.
A merge is straightforward. It takes the histories of two branches and ties them together with a brand-new "merge commit." This is great for preserving the exact, messy-but-true history of your project, showing precisely when and how every branch came together. The downside? It can create a complicated, non-linear commit graph that's hard to follow.
A rebase, on the other hand, is all about creating a cleaner narrative by rewriting history. It essentially lifts the commits from your feature branch and replays them, one by one, right on top of the latest version of your target branch (like main). The result is a perfectly linear, easy-to-read history. A popular workflow is to rebase your feature branch on main to sort out any conflicts locally before you even open a pull request.
How Do I Resolve a Conflict from a Deleted File?
This one feels weird because it’s not about competing lines of code—it’s about the very existence of a file. This conflict happens when one branch deletes a file that another branch has modified. Git gets confused and pauses, asking you to be the judge.
What you do next completely depends on what you want the outcome to be:
- To keep the file: If the modified version is the one you need, just tell Git to add it back. A simple
git add <file_name>will do the trick. - To delete the file: If the file really is supposed to be gone, confirm the deletion by running
git rm <file_name>.
Once you've staged your decision with either command, you can git commit to finalize the resolution and move on.
Can I Undo a Bad Merge Resolution?
Absolutely. We’ve all been there. You wrestle with a complex merge, finally commit it, and then five minutes later realize you've made a terrible mistake. If you haven't pushed the merge to the remote repository yet, the fix is refreshingly simple.
Run git reset --hard HEAD~1. This will completely blow away the merge commit and restore your branch to how it was right before you started. It's powerful but destructive, so be sure it's what you want.If you’ve already pushed the faulty merge, don't panic. A much safer approach is to use git revert -m 1 <merge_commit_hash>. This command creates a new commit that perfectly undoes the changes from the bad merge. It corrects the mistake while preserving the project's history, which is a much cleaner way to handle things on a shared branch.
Stop wasting time on manual conflict resolution. Mergify's Merge Queue automates pull request updates and testing, catching conflicts before they ever reach your main branch. Discover a smarter way to merge at https://mergify.com.