Top Testing Frameworks in Java: Ultimate 2025 Guide


Supercharge Your Java Code: Exploring the Top Testing Frameworks
Building rock-solid Java applications requires a thorough and effective testing strategy. Faulty code can result in expensive downtime, security vulnerabilities, and damage to your reputation. Choosing the right testing framework is essential to prevent these problems and optimize your development lifecycle. The effectiveness of your testing directly impacts the quality, maintainability, and ultimately, the success of your software. With so many Java testing frameworks available, selecting the best one for your project can feel overwhelming. How do you find the framework that best suits your specific needs and integrates smoothly with your existing tools?
This article explores the top 8 Java testing frameworks that empower development teams, DevOps engineers, QA professionals, and IT leaders to build robust and reliable applications. We'll examine the core features of each framework, discussing their strengths and weaknesses. We will compare their approaches to unit testing, integration testing, mocking, behavior-driven development (BDD), and even UI testing.
We’ll also look at factors like ease of use, community support, integration with CI/CD pipelines (Continuous Integration/Continuous Delivery), and any licensing or cost considerations. By the end of this article, you'll have a solid grasp of the leading Java testing frameworks and be ready to select the ideal toolset to boost your Java development process.
Key Considerations When Choosing a Framework
When evaluating Java testing frameworks, keep the following points in mind:
- Project Requirements: What types of testing do you need (unit, integration, UI)?
- Team Expertise: How familiar is your team with different frameworks?
- Integration: Does the framework integrate well with your existing tools and CI/CD pipeline? For example, how does it work with popular CI/CD tools like Jenkins?
- Community Support: A strong community offers valuable resources and assistance.
- Cost: Are there any licensing fees associated with the framework or its supporting tools?
By considering these factors, you can make an informed decision and choose the framework that best aligns with your project's needs and goals.
Popular Java Testing Frameworks
While we won't dive deep into each framework here, some popular options include:
- JUnit: Widely used for unit testing.
- TestNG: A powerful framework supporting various testing types.
- Mockito: A popular mocking framework.
- Cucumber: Supports BDD and collaboration.
- Selenium: A popular option for automated UI testing.
This overview will help you begin your research and make informed decisions about your Java testing strategy.
1. JUnit
JUnit is the leading Java testing framework, widely used for ensuring the quality and reliability of Java applications. Its popularity comes from its mature ecosystem, comprehensive features, and easy integration with common development tools like Maven and Gradle. Whether you're building a small utility or a large enterprise system, JUnit gives you the tools to write effective and maintainable tests.
JUnit 5, the current version, is built around three sub-projects:
- JUnit Platform: This serves as the base for launching testing frameworks on the JVM.
- JUnit Jupiter: This offers a new programming model for writing tests and extensions. It includes annotations such as
@Test,@BeforeEach,@AfterEach,@DisplayName,@Disabled, and@Nested. - JUnit Vintage: This offers support for running tests written with JUnit 3 and 4, ensuring backward compatibility when migrating to JUnit 5.
Key Features and Benefits
JUnit's strength lies in its diverse features for managing the testing lifecycle:
- Test Identification: Annotations like
@Testclearly mark test methods. - Assertions: Many assertion methods (like
assertEquals,assertTrue, andassertNull) let you check expected outcomes. - Test Runners: These execute tests and provide results feedback.
- Parameterized Tests: Run the same test with different inputs, minimizing redundant code. This is very helpful for testing various scenarios with one test method.
- Assumptions: Run tests conditionally based on factors like operating system or Java version.
- Nested Tests: Group related tests to create logical hierarchies, which helps improve code organization and readability.
- Test Lifecycle Callbacks: Methods with
@BeforeEachand@AfterEachannotations allow setup and teardown of resources before and after each test, ensuring a clean testing environment.
Pros and Cons of Using JUnit
Pros:
- Large Community and Extensive Documentation: A broad community means lots of helpful resources, readily available solutions, and comprehensive documentation.
- Seamless Integrations: JUnit works well with build tools like Maven and Gradle, and it offers strong IDE support with visual test results.
- Lightweight: Minimal dependencies help keep projects efficient.
Cons:
- Limited Mocking Capabilities: You'll need extra libraries like Mockito or EasyMock for mocking dependencies.
- Boilerplate Code in Complex Tests: Complicated testing scenarios might require a good bit of boilerplate code.
- Extensions for Advanced Features: You'll often need extensions for more advanced testing capabilities.
Practical Tips for JUnit
- Use parameterized tests for testing different inputs.
- Use nested tests for organizing similar test cases.
- Use lifecycle callbacks (
@BeforeEachand@AfterEach) for efficient management of test resources.
You might be interested in: Our guide on... various development practices.
JUnit is a key tool for any Java developer. Its comprehensive features, user-friendliness, and strong community support make it the standard for Java testing. JUnit is a vital part of keeping code quality high and delivering dependable applications. For further information and the official documentation, visit the JUnit 5 website.
2. TestNG

TestNG is a robust testing framework for Java, addressing many shortcomings found in JUnit, especially in complex test scenarios. While drawing inspiration from JUnit, TestNG provides a broader range of features and more flexibility. This makes it suitable for various testing needs, from unit and integration tests to comprehensive system tests. It’s particularly beneficial for larger projects with intricate dependencies and integration points.
TestNG is open-source and free to use and distribute. Built using Java, it requires a Java Development Kit (JDK) to be installed on your system.
Key Features and Benefits
- Annotations for Test Configuration: TestNG uses annotations such as
@Test,@BeforeMethod,@AfterMethod,@BeforeClass, and@AfterClassto define test methods and setup/teardown procedures, enhancing readability and structure. - Flexible Test Configuration with XML: TestNG lets you configure test suites via XML files. This provides granular control over test execution, enabling features like test grouping, defining dependencies, and setting parameters for data-driven testing.
- Data-Driven Testing: Built-in data-driven testing is supported with the
@DataProviderannotation. This allows a single test method to run repeatedly with different data sets, maximizing test coverage. - Test Dependencies and Groups: Manage complex test suites effectively with test dependencies (
@DependsOnMethods) and groups (@Test(groups = {"regression"})). These features define test execution order and categorize tests for selective running. - Parallel Test Execution: Significantly reduce testing time, particularly for large suites, by running tests in parallel. This is a valuable asset for optimizing CI/CD pipelines.
- Excellent Reporting: TestNG generates detailed HTML reports with comprehensive information on test execution. These reports include pass/fail status, execution times, and any exceptions encountered.
Practical Applications
- Integration Testing: Confirm the seamless interaction between different application modules. TestNG's dependency management helps orchestrate tests reliant on the successful execution of other tests.
- End-to-End Testing: Simulate real-world scenarios and test the complete application flow. TestNG's flexibility shines in these complex test scenarios.
- System Testing: Validate the entire system against defined requirements. The detailed reports generated by TestNG assist in analyzing results and identifying potential issues.
Pros
- More Powerful than JUnit: Excels in complex scenarios, offering advanced features for dependency management, parallel execution, and data-driven testing.
- Robust Integration and System Testing: Facilitates organizing and executing complex test suites.
- Detailed Reporting: Provides easy-to-analyze reports for comprehensive insights.
- Flexible Configuration: XML configuration allows for granular control over test execution.
Cons
- Steeper Learning Curve: The advanced feature set requires more time for mastery.
- Documentation Could Be Better: Finding detailed information for specific scenarios can be challenging.
- XML Can Be Verbose: Configuring complex test suites using XML can sometimes be cumbersome.
Implementation/Setup Tips
- Begin with basic test cases and progressively explore advanced features.
- Use build tools like Maven or Gradle for managing dependencies and simplifying the build process.
- Utilize the TestNG Eclipse plugin for efficient test development and execution.
Website: https://testng.org/
TestNG offers a powerful and comprehensive solution for Java testing, making it a valuable asset for any team aiming to improve their testing process and deliver high-quality software. While JUnit might suffice for simpler projects, TestNG's advanced capabilities make it the preferred framework for managing the complexities of larger, enterprise-level applications.
3. Mockito
Mockito is a popular and effective mocking framework for Java. It simplifies the creation and management of mock objects, essential for isolating units of code during testing. This isolation allows for true unit testing, focusing solely on the logic of the class being tested, rather than relying on complex setups or dependencies.
Mockito's clean and simple API uses runtime code generation to mock both interfaces and concrete classes. This allows for flexible test scenarios where you define how mock objects behave, verify interactions, and even create spy objects for partial mocking of specific methods.
Key Features of Mockito
- Simple API: Creating and configuring mocks is straightforward.
- Interaction Verification: Ensure your code interacts with mocks as expected.
- Spy Object Support: Partially mock real objects for fine-grained control.
- Argument Matchers: Flexible criteria for verifying interactions.
- Annotation-based Mock Creation: Streamlined setup with annotations like
@Mockand@InjectMocks.
Practical Applications
Imagine developing a service that interacts with a database. Directly testing against a real database during unit testing is slow and complex. Mockito lets you mock the database interaction, simulating various scenarios like successful queries or exceptions, without a live connection. This speeds up testing and allows for testing edge cases more effectively. Similar benefits apply to external APIs and other complex dependencies.
Pros
- Intuitive Syntax: Mockito's API is designed for clarity and ease of use.
- Excellent Resources: Extensive documentation and community support are readily available.
- Seamless Integration: Mockito works well with JUnit and other testing frameworks.
- Minimal Setup: Get started quickly with little configuration.
Cons
- Static Method/Constructor Limitations: While improvements have been made, mocking these can still be challenging.
- Not Standalone: Requires a testing framework like JUnit or TestNG.
- Debugging Complex Mocks: Troubleshooting unexpected behavior can be tricky.
You might be interested in: Mergify Blog Authors.
Implementation Tip
Start with simple Mockito examples and gradually add more advanced features like argument matchers and spy objects. Use the available documentation and community resources for guidance.
Pricing
Mockito is open-source and free.
Website
4. Spock Framework
Spock is a testing and specification framework built on top of Groovy. This makes it a compelling option for Java projects aiming to improve the readability and maintainability of their tests. Its inclusion in this list is due to its blend of Behavior-Driven Development (BDD) principles, an expressive specification language, and integrated mocking capabilities. While JUnit remains a popular choice, Spock offers a refreshing alternative, especially for teams who prioritize clear, concise, and thorough tests.
Spock's main strength lies in its use of Groovy. This enables a more natural and descriptive testing style compared to traditional Java-based frameworks. The given-when-then block structure, characteristic of BDD, encourages well-structured and easily understood test logic. Consider testing a complex user registration process:
def "Registering a new user with valid data"() { given: "a new user" def user = new User(username: "testuser", password: "password")
when: "the user is registered"
def result = userService.register(user)

then: "the registration is successful"
result.success == true
result.message == "User registered successfully"
}
This structure neatly separates the setup (given), the action under test (when), and the expected outcome (then). This boosts readability and clarifies the purpose and flow of the test.
Key Features and Benefits
- Expressive and Readable Specification Language: Spock’s Groovy-based syntax allows for more concise and descriptive tests compared to standard Java frameworks. This improves understanding and maintenance, especially in complex scenarios.
- Built-in Mocking and Stubbing: Spock simplifies mocking and stubbing dependencies, removing the need for separate mocking libraries. This simplifies testing and reduces extra code.
- Data-Driven Testing with Data Tables: Spock shines with data-driven testing. It allows you to define numerous test scenarios with varied inputs and expected outputs using easy-to-understand data tables.
- Detailed Failure Reporting: When tests fail, Spock provides comprehensive diagnostics. These diagnostics pinpoint the specific reason for failure and accelerate debugging.
- Seamless Integration: Spock integrates smoothly with common Java build tools like Maven and Gradle, as well as IDEs like IntelliJ IDEA and Eclipse.
Pros
- Noticeably improved test readability and maintainability.
- Combines testing, mocking, and BDD principles in one framework.
- Excellent and comprehensive failure reporting.
- Reduced boilerplate code compared to Java-based frameworks.
Cons
- Requires learning Groovy, though the learning curve is generally considered easy.
- Slightly slower test execution compared to pure Java frameworks due to Groovy's dynamic nature.
- Smaller community support compared to JUnit.
Technical Requirements
Spock requires a Java Development Kit (JDK). Because it uses Groovy, you need to add a Groovy dependency to your project.
Pricing
Spock is open-source and free to use.
Website
Implementation Tip
When integrating Spock with existing Java projects, start with a few tests. This allows the team to become familiar with the framework and its capabilities. Gradual adoption minimizes disruption and maximizes the benefits of Spock's improved readability and maintainability.
5. AssertJ
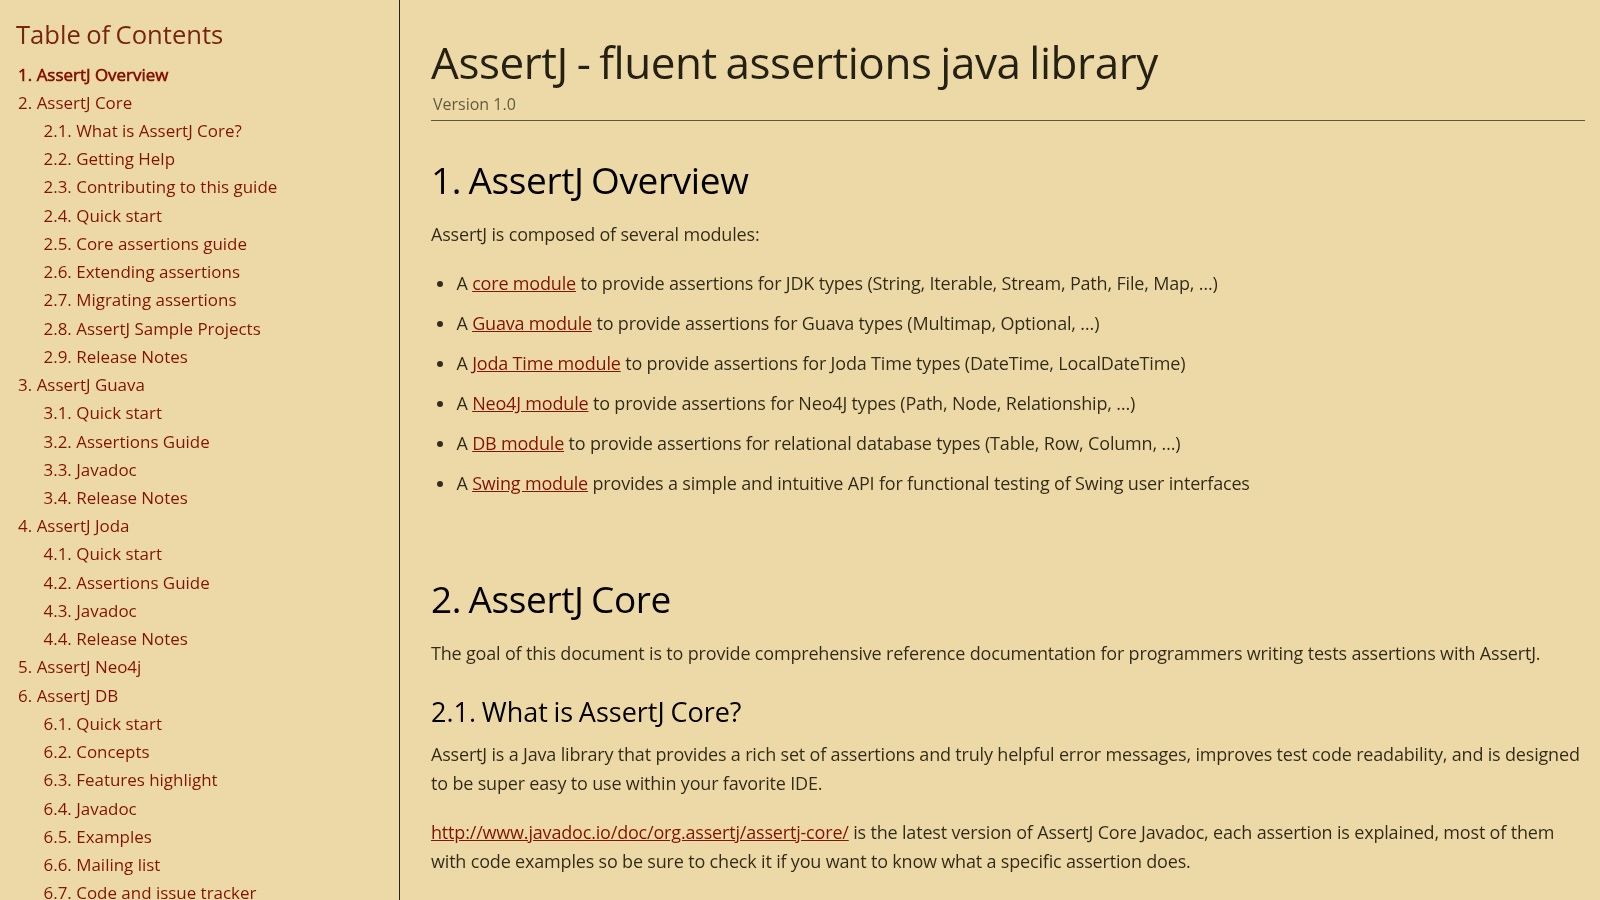
AssertJ significantly improves the readability and maintainability of Java test code. It's not a testing framework on its own, but it seamlessly integrates with popular frameworks like JUnit and TestNG, boosting your assertions with a fluent API and a wide array of functions. This makes it a valuable tool for Software Development Teams, DevOps Engineers, QA Engineers, and anyone involved in ensuring code quality.
AssertJ’s focus is on clarity, conciseness, and informative assertions. Instead of confusing error messages, you get detailed explanations of what went wrong, which speeds up debugging and troubleshooting. This efficiency is critical in today’s fast-paced development environments.
Key Features and Benefits
AssertJ provides a range of features designed to streamline the testing process:
- Fluent Assertion API: AssertJ’s fluent API lets you chain assertions together, creating highly readable code that resembles natural language. For instance,
assertThat(result).isEqualTo(5).isPositive();greatly improves code comprehension compared to traditional methods. Most IDEs also provide robust code completion support for AssertJ, further enhancing speed and accuracy. - Rich Set of Assertions: Covering everything from basic comparisons to complex object graph validations, AssertJ offers a wide selection of assertions for numerous data types, even custom ones. This reduces the need for custom assertion logic, saving you valuable development time. It also supports Java 8 features like
OptionalandStream, enabling more elegant assertions with these modern constructs. - Detailed Error Messages: A key strength of AssertJ is its descriptive error messages. Instead of just signaling a failed assertion, it pinpoints the exact issue, providing context and relevant information for faster debugging. This is especially valuable in complex test scenarios where finding the root cause of a failure can be difficult.
- Soft Assertions: These allow you to gather multiple failures within a single test without halting execution on the first error. This provides a more comprehensive view of the test results, proving invaluable when testing complex interactions where you want to identify several issues simultaneously.
- Customizable: Extend AssertJ to create custom assertions tailored to your specific project requirements. This allows for a consistent and specialized assertion vocabulary throughout your test suite.
Pros and Cons of Using AssertJ
Here’s a quick rundown of the advantages and disadvantages:
Pros:
- Highly readable assertion syntax
- Excellent IDE integration with code completion
- Detailed failure messages for easier debugging
- Customizable for domain-specific assertions
Cons:
- Not a standalone testing framework (requires JUnit, TestNG, etc.)
- Initial learning curve for the fluent API style
- Potential for overly long assertion chains in complex tests
Implementation and Setup
Adding AssertJ to your project is usually simple using your build management tool (Maven or Gradle). Just add the AssertJ dependency to your project configuration file.
Comparison with Similar Tools
Other assertion libraries exist, such as Hamcrest, but AssertJ’s fluent API and detailed error messages often make it the preferred choice. Its emphasis on readability and comprehensive features leads to cleaner, more maintainable test suites.
AssertJ Website
For more information, visit the official AssertJ website: https://assertj.github.io/doc/
AssertJ is a powerful asset for any Java testing toolkit, prioritizing clarity, readability, and developer productivity. Its rich feature set and seamless integration with existing frameworks make it invaluable for improving the quality and maintainability of Java code.
6. Cucumber JVM
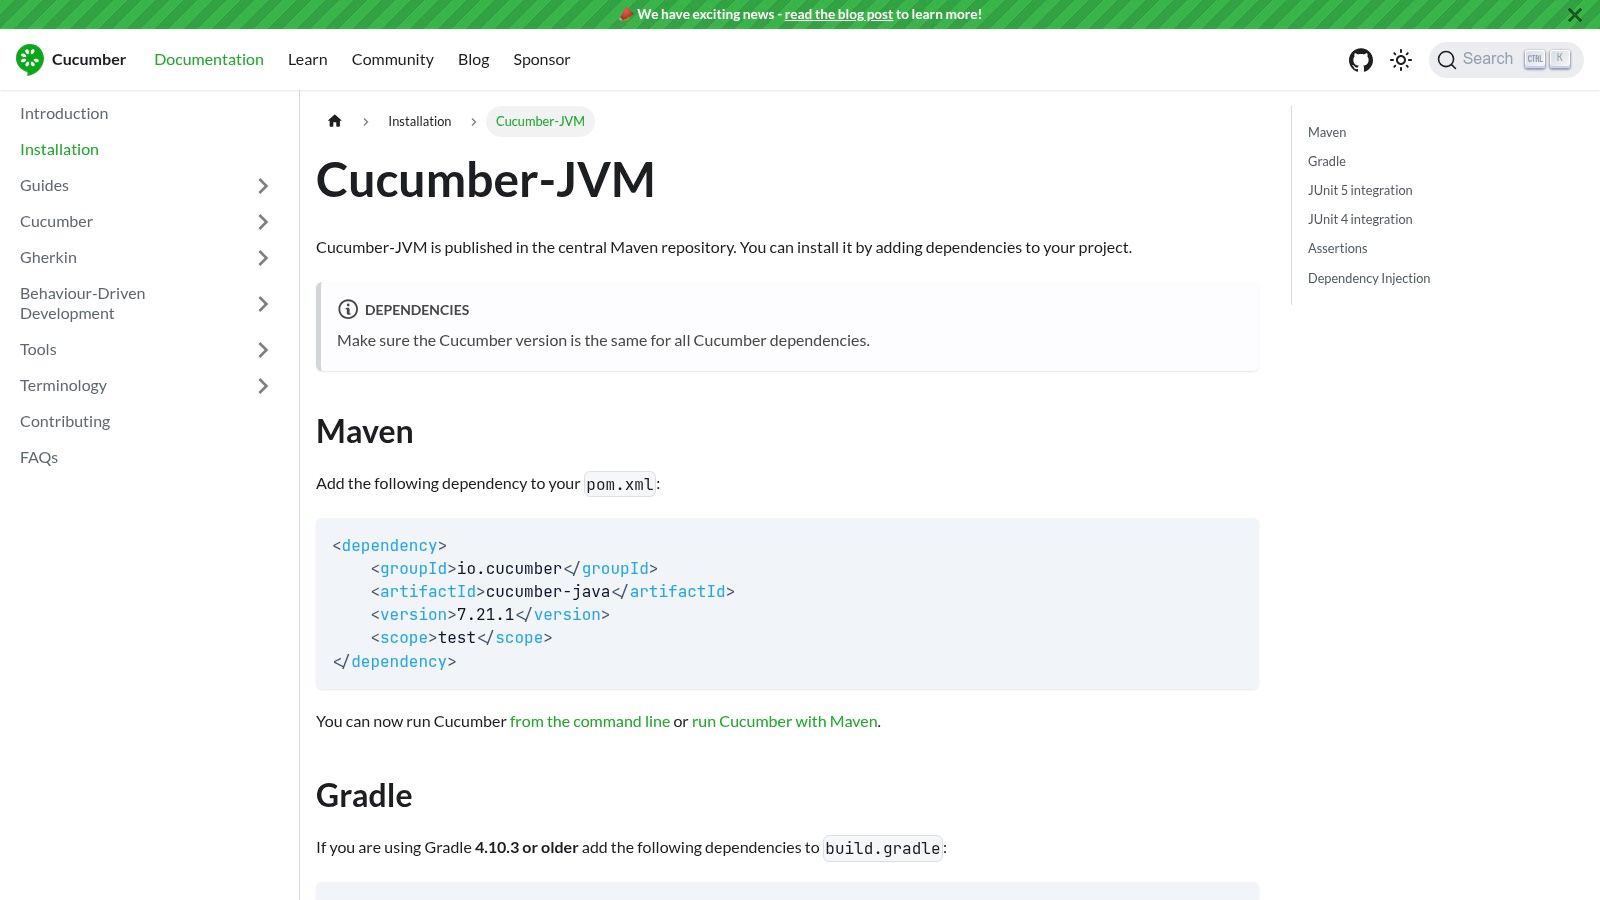
Cucumber JVM is a powerful tool for implementing Behavior-Driven Development (BDD) in Java projects. It uses the Gherkin language, a plain-text format for describing software behavior. This makes it easier for business analysts, product owners, and other non-technical stakeholders to participate in the testing process. This improved collaboration leads to a shared understanding of the project goals.
Cucumber JVM stands out for its ability to bridge the gap between business needs and technical implementation.
Description
Cucumber JVM connects the business requirements and the technical implementation of a system. Tests are written in Gherkin, using keywords like Given, When, and Then. These keywords describe scenarios from the user's perspective. These scenarios are then connected to Java code using step definitions. Step definitions execute the tests, creating "living documentation" that accurately reflects the application's current state. This documentation is easily understood by everyone involved.
Features
- Human-Readable Test Scenarios (Gherkin Syntax): Improves collaboration between technical and non-technical teams.
- Multilingual Support: Allows scenarios to be written in various languages, supporting diverse teams.
- Step Definitions: Connect Gherkin scenarios to executable Java code.
- Data Tables and Scenario Outlines: Enable data-driven testing, running the same scenario with various inputs.
- Reporting Capabilities: Provides detailed reports to monitor test execution and identify issues.
Pros
- Improved Collaboration: Better communication and understanding between developers, testers, and business stakeholders.
- Living Documentation: Test scenarios serve as up-to-date documentation of the system's behavior.
- Encourages BDD Practices: Promotes a test-first, behavior-driven development approach.
- Reusable Step Definitions: Reduces code duplication and makes maintenance easier.
Cons
- Abstraction Complexity: The layers of abstraction created by Gherkin and step definitions can make debugging more challenging.
- Maintenance Overhead: Step definitions need consistent maintenance to stay current with changing code.
- Slower Execution: Cucumber JVM tests typically run slower than standard unit tests.
- Potential for Overuse: Careful management is needed to avoid creating too many step definitions, which can make the system complex and fragile.
Implementation/Setup Tips
- Add the Cucumber JVM and Gherkin dependencies to your project's
pom.xmlfile. - Create
.featurefiles with your Gherkin scenarios. - Write Java step definitions to connect the scenarios to your application code.
- Use a test runner like JUnit or TestNG to execute the tests.
- Use Cucumber's reporting tools to review the test results.
Comparison With Similar Tools
Other BDD frameworks are available for Java, such as JBehave. However, Cucumber’s popularity, documentation, and active community make it a strong choice. The Gherkin syntax is now a common way to write executable specifications.
Pricing and Technical Requirements
Cucumber is open-source and free. It requires Java and a build tool like Maven or Gradle.
Website
https://cucumber.io/docs/installation/java/
Cucumber JVM is a good option for teams adopting BDD and seeking better collaboration. While there's a learning curve, the benefits of clarity, shared understanding, and constantly updated documentation make it a valuable tool for Java testing.
7. REST Assured
REST Assured definitely deserves its place on this list. It's a powerful yet user-friendly tool specifically designed to make REST API testing in Java easier. If your team relies heavily on RESTful services, REST Assured provides a cleaner and more readable alternative to standard HTTP client libraries.
REST Assured is a Java Domain Specific Language (DSL) that simplifies testing REST-based services. Its fluent API lets you chain commands together, mirroring the structure of an HTTP request. This makes your test code more intuitive and easier to understand, especially for teams new to API testing or those dealing with complex API interactions.
Key Features and Benefits
- Fluent API: Creating and sending HTTP requests (GET, POST, PUT, DELETE, etc.) is incredibly simple with this fluent API, resulting in cleaner, more maintainable test code.
- Robust Response Validation: REST Assured offers powerful ways to validate API responses. This includes checking status codes, headers, and body content (JSON and XML). Easily extract values using JSON path or XPath expressions and make assertions.
- Seamless Integration: It integrates seamlessly with common testing frameworks like JUnit and TestNG, allowing you to include API tests directly into your existing test suites.
- Authentication Support: REST Assured handles various authentication methods, including Basic, OAuth, and custom schemes, adapting to different security needs.
- Detailed Logging: It offers comprehensive request and response logging, which is essential for debugging and troubleshooting API problems.
Practical Applications
- Validating API Responses: Confirm your APIs return the correct data and status codes under different scenarios.
- Testing API Endpoints: Make sure all your API endpoints work as expected and handle different request parameters.
- Performance Testing: Although not its primary purpose, you can combine REST Assured with other tools for basic API performance tests.
- Contract Testing: REST Assured helps maintain consistency and prevent breaking changes by verifying API responses conform to a predefined contract.
- Integration Testing: Test how different parts of your system, communicating via REST APIs, interact with each other.
Pros and Cons
Here's a quick overview of the advantages and disadvantages:
- Pros: Simplifies API testing, requiring less code; powerful response verification; excellent documentation and examples; seamless integration with Java testing tools.
- Cons: Primarily for REST APIs (not SOAP); can be verbose for very complex tests; some advanced features might have a learning curve.
Technical Requirements and Comparison
REST Assured requires Java and works with build tools like Maven and Gradle for dependency management. The specific Java version depends on the REST Assured version you select.
Compared to tools like Apache HttpClient, which gives lower-level control over HTTP requests, REST Assured focuses on simplicity and API-specific testing, abstracting away boilerplate code. This allows developers to concentrate on the actual test logic, making it a popular choice for Java REST API testing.
Implementation/Setup Tips
Using Maven or Gradle is strongly recommended. Add the REST Assured dependency to your project's pom.xml (Maven) or build.gradle (Gradle) file. The official REST Assured website has the latest dependency information and setup instructions, along with helpful code examples and tutorials.
8. Selenide
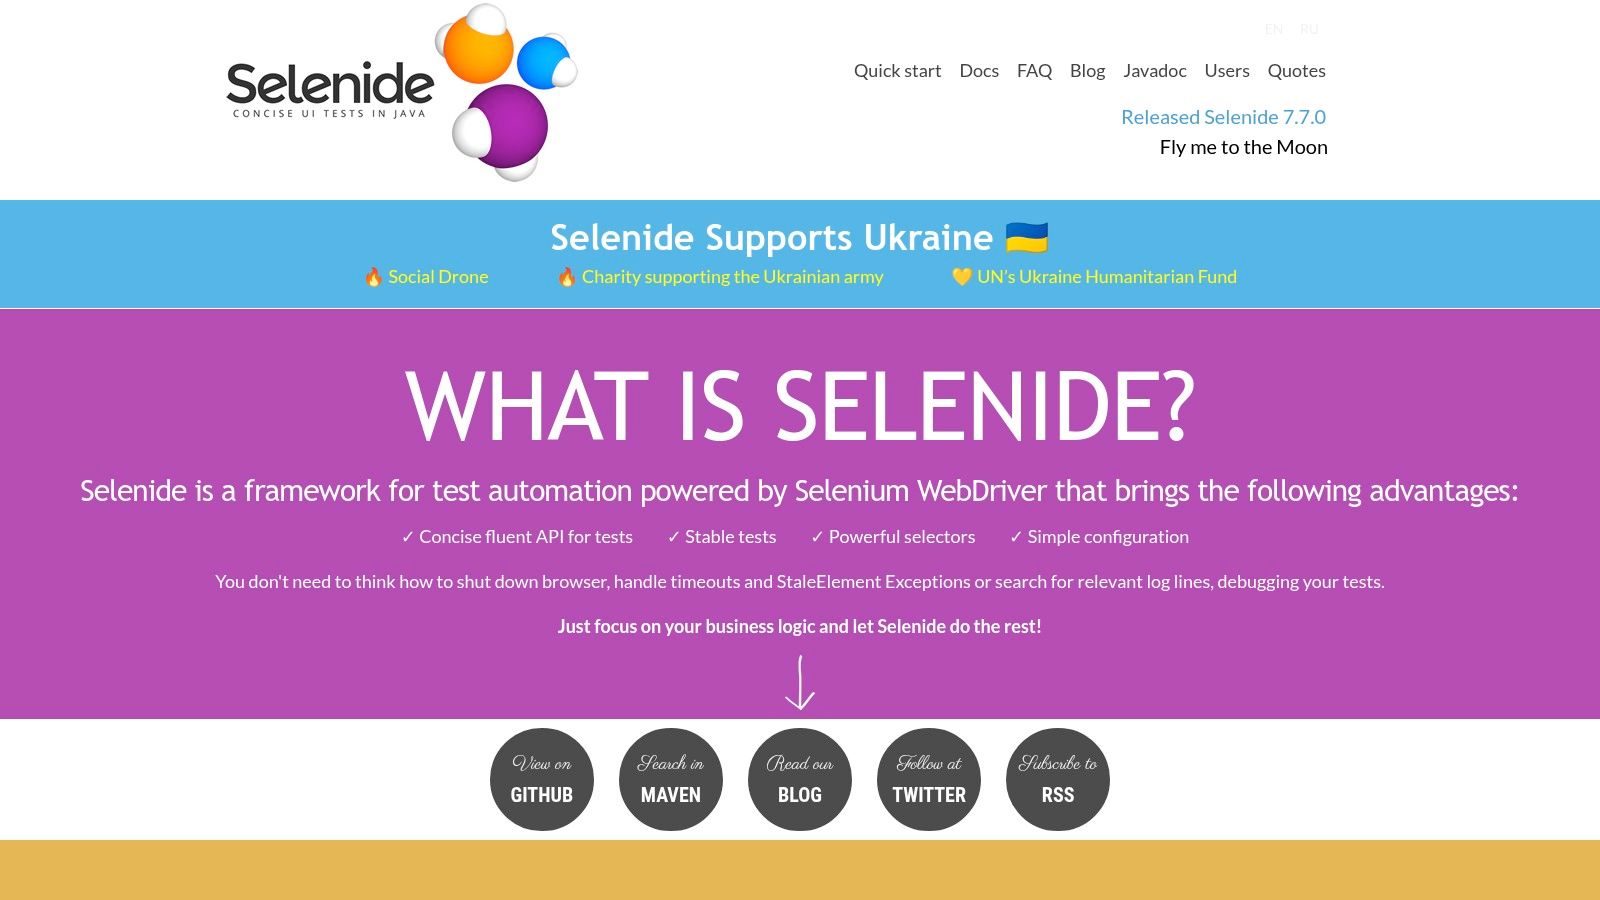
Selenide simplifies UI testing with Selenium WebDriver. It addresses common Selenium issues like synchronization and flaky tests, allowing developers to write more stable and maintainable UI tests with less code. This makes Selenide a great choice for teams focused on rapid development and efficient testing.
Selenide builds on Selenium WebDriver, offering a more concise and user-friendly API. Instead of dealing with complex configurations and explicit waits, Selenide handles much of the background work automatically. Its automatic wait strategies reduce test failures due to timing issues. For example, when testing dynamic web applications with asynchronously loading elements, Selenide waits for elements to appear before interacting with them. This leads to more robust and reliable tests.
Key Features of Selenide
Some of the features that make Selenide so effective include:
- Concise API: Interact with the browser using cleaner, more readable tests. Common actions like clicking, filling forms, and verifying text are simplified.
- Automatic Waits: Eliminate explicit waits and flaky tests caused by timing inconsistencies. Selenide intelligently waits for elements to become interactable.
- Screenshots on Failure: Diagnose failures quickly with automatic screenshots.
- Ajax Support: Test dynamic web applications easily, with built-in support for Ajax calls and automatic waiting for content updates.
- Page Object Model Support: Implement the Page Object Model with less boilerplate code, resulting in better test maintainability and organization.
Pros and Cons of Selenide
Like any tool, Selenide has its advantages and disadvantages:
Pros:
- Reduced Code: Write significantly less code compared to raw Selenium WebDriver.
- Improved Test Stability: Handles timing issues and flaky tests more effectively than standard Selenium.
- Easy Setup: Get started quickly with minimal configuration.
- Good Documentation: Learn quickly with comprehensive documentation and examples.
Cons:
- Less Flexibility: For highly specific use cases, raw Selenium might offer more flexibility.
- Smaller Community: The Selenide community is smaller than Selenium's.
- Opinionated Approach: Its approach may not suit all testing styles.
Implementing Selenide
Setting up Selenide is simple. Add the Selenide dependency, configure your browser driver, and begin writing tests. Its fluent API enables expressive and readable tests. Consider using the Page Object Model with Selenide to further improve test organization and maintainability. For additional software development tips, check out this article on Mergify sitemap pages.
Selenide: A Powerful Tool for Java UI Testing
Selenide is a powerful tool for Java UI testing that makes the process more productive and enjoyable. By abstracting away much of Selenium's complexity, it allows teams to focus on creating robust and maintainable tests efficiently. While it may be less flexible than raw Selenium for highly niche scenarios, its streamlined API and strong features make it a great option for most web testing projects.
8-Point Java Testing Framework Comparison
| Framework | Core Features ★ | User Experience & Benefits 💰 | Unique Selling Points ✨ | Target Audience 👥 |
|---|---|---|---|---|
| JUnit | Annotations, parameterized & nested tests | Lightweight, IDE integration | Most widely used; extensive community support | Java developers & testing teams |
| TestNG | XML config, flexible annotations, parallel execution | Robust reporting; handles complex scenarios | Excellent for integration/system testing | Developers handling advanced test cases |
| Mockito | Simple mocking API, verification, spy objects | Intuitive syntax; minimal setup | Clean API for isolated unit tests | Devs focused on unit testing and mocks |
| Spock Framework | Groovy DSL, built-in mocking, BDD-style testing | Readable, concise tests; reduced boilerplate | Combines testing, mocking & BDD for expressive specs | Teams valuing clarity and behavior-driven design |
| AssertJ | Fluent assertions, rich API, soft assertions | Highly readable; detailed error messages | Enhances test clarity with fluent, domain-specific assertions | Developers seeking clear assertion syntax |
| Cucumber JVM | Gherkin-based scenarios, step definitions, data tables | Bridges technical & non-technical communication | Acts as living documentation with reusable steps | Cross-functional teams & business analysts |
| REST Assured | Fluent API for HTTP, JSON/XML validation, logging | Simplifies API testing with minimal code | Powerful and human-readable REST API tests | API testers & integration engineers |
| Selenide | Browser automation, automatic waits, page object support | Reduces boilerplate; increases test stability | Simplifies Selenium with auto-screenshots & concise syntax | UI testers & QA engineers |
Picking the Perfect Framework for Flawless Java Testing
Choosing the right Java testing framework can feel overwhelming with so many options available. From JUnit and TestNG to Mockito, Spock, AssertJ, Cucumber JVM, REST Assured, and Selenide, each framework brings its own strengths to the table. Selecting the best fit depends on a number of factors, including the complexity of your Java application and your team’s existing skillset.
Unit and Integration Testing
For unit testing, the tried-and-true JUnit remains a popular and reliable choice. It's straightforward to implement and offers a solid foundation for testing individual components of your code. TestNG, on the other hand, provides more advanced features suitable for complex integration testing scenarios.
Mocking and Assertions
Mockito and Spock shine when it comes to mocking and stubbing. These techniques are crucial for isolating units under test by simulating the behavior of their dependencies. For cleaner and more readable assertions, AssertJ offers a fluent API that simplifies the process of verifying expected outcomes.
BDD and Specialized Testing
If your team embraces Behavior-Driven Development (BDD), Cucumber JVM provides a structured approach for defining and executing tests in a human-readable format. For API testing, REST Assured is a powerful tool designed specifically for working with RESTful web services. And when it comes to UI testing, Selenide streamlines the process by simplifying interactions with web browsers.
Getting Started and Budget Considerations
Getting started with most Java testing frameworks is relatively simple. Many are readily available through dependency management tools like Maven or Gradle. Refer to the official documentation of your chosen framework for detailed setup instructions and practical examples.
While many popular frameworks are open-source, remember to factor in potential costs associated with training and support. This is especially important for commercial tools or if your team requires specialized expertise. Consider the long-term implications and potential return on investment.
Integration with Your Development Environment
Seamless integration with your existing development environment is key for efficient testing. Ensure your chosen framework is compatible with your build tools, IDE, and CI/CD pipeline. Check how well it integrates with other tools in your ecosystem, such as reporting libraries and test management systems.
Key Takeaways
- Start Simple: Begin with a framework that aligns with your team’s current skills and your project’s immediate needs.
- Prioritize Integration: Choose tools that seamlessly integrate into your development workflow.
- Consider the Future: Select a framework that can scale as your project grows in complexity.
- Community Support: Opt for frameworks with active communities and comprehensive documentation.
Maintaining a robust testing strategy is vital for delivering high-quality software. However, managing CI/CD pipelines can become a significant challenge, impacting productivity and increasing costs.
Streamline Your CI/CD with Mergify
Mergify (https://mergify.com) offers a solution to these challenges by automating your pull request workflow. It optimizes CI runs, saving you valuable time and resources. Its intelligent merge queue and automated merge strategies minimize merge conflicts. Advanced features, like CI issues powered by AI, help identify and categorize infrastructure problems. Mergify empowers teams to ship code faster and with greater reliability.