A Guide to Modern Playwright Testing


When it comes to end-to-end testing, teams need a tool that's fast, reliable, and doesn't produce flaky results that erode trust. This is where Playwright testing comes in. It’s a modern, robust framework for automating tests across all the big browsers—Chromium, Firefox, and WebKit—all from a single API. It has quickly become a top choice for development teams who are serious about quality.
Why Modern Teams Choose Playwright
In a crowded field of testing tools, Playwright has carved out a serious reputation for itself, and for good reason. Its architecture is fundamentally different from older frameworks, which is a key reason for its rising popularity. It communicates directly with browsers using their native protocols, sidestepping many of the common traps that lead to slow or unreliable tests.
This design philosophy pays off in a big way. With just one codebase, you can confidently run your entire test suite against Chrome, Firefox, and Safari. This isn't just a tacked-on feature; true cross-browser capability is baked into the framework's DNA, ensuring your tests behave consistently everywhere. For any team that needs to guarantee a flawless user experience across all platforms, this is a game-changer. You get full coverage without tripling your workload.
Built for Developer Productivity
Playwright isn't just about broad browser support; it’s about making the lives of developers and QA engineers easier. It supports multiple languages—including TypeScript, Python, and JavaScript—so your team can hit the ground running with the skills they already have. There’s no steep learning curve with some new, proprietary language.
More importantly, it directly tackles the most common testing frustrations with features baked right in:
- Auto-Waiting: Playwright automatically waits for elements to be ready before trying to interact with them. This one feature alone nearly eliminates an entire class of flaky tests caused by timing issues.
- Rich Tooling: The included Trace Viewer and Codegen tools are fantastic. The Trace Viewer gives you a complete, time-traveling debug log of your test run, while Codegen watches your browser actions and generates test scripts for you.
"Playwright's architecture, which uses WebSocket communication and browser-specific DevTools Protocols, allows it to run tests faster and more reliably than some competitors that rely on HTTP requests.”
This relentless focus on a great developer experience is a huge reason why it has been adopted so quickly.
Playwright vs Other Testing Frameworks
To put Playwright's advantages in perspective, it helps to see how it stacks up against other popular tools like Cypress and Selenium. While each has its strengths, Playwright often provides a more comprehensive, all-in-one solution for modern web development.
| Feature | Playwright | Cypress | Selenium |
|---|---|---|---|
| Browser Support | Chromium, Firefox, WebKit (out-of-the-box) | Chromium-based browsers, Firefox, WebKit (experimental) | All major browsers (requires separate drivers) |
| Auto-Waits | Built-in and automatic for all actions | Built-in and automatic | Requires explicit or implicit waits to be manually configured |
| Test Parallelism | Built-in, highly efficient | Parallel execution is a paid service | Requires custom configuration (e.g., Selenium Grid) |
| Multi-Language | JavaScript, TypeScript, Python, Java, .NET | JavaScript/TypeScript only | Java, Python, C#, Ruby, JavaScript, and more |
| Tooling | Codegen, Trace Viewer, and Inspector included | Test Runner UI, Dashboard (paid) | Relies on third-party tools for advanced features |
As you can see, Playwright's combination of native cross-browser support, built-in tooling, and free parallel execution makes it a compelling choice right out of the gate.
Proven Success in the Enterprise
Playwright’s growth isn't just hype. It has firmly established itself in the testing and QA market, now holding a 2.20% market share and being used by over 2,934 companies worldwide. Its adoption by major players like ADP, Mercedes-Benz AG, and Vodafone shows it can handle complex, enterprise-grade testing challenges.
Ultimately, engineering teams are choosing Playwright because it delivers on its promises of speed, reliability, and efficiency. By integrating powerful playwright testing into their workflows, they improve release confidence and catch bugs earlier. If you're looking for practical ways to get started, our complete Playwright tutorial offers step-by-step instructions. It’s a strategic choice that strengthens your quality assurance from the ground up.
Setting Up Your First Playwright Project
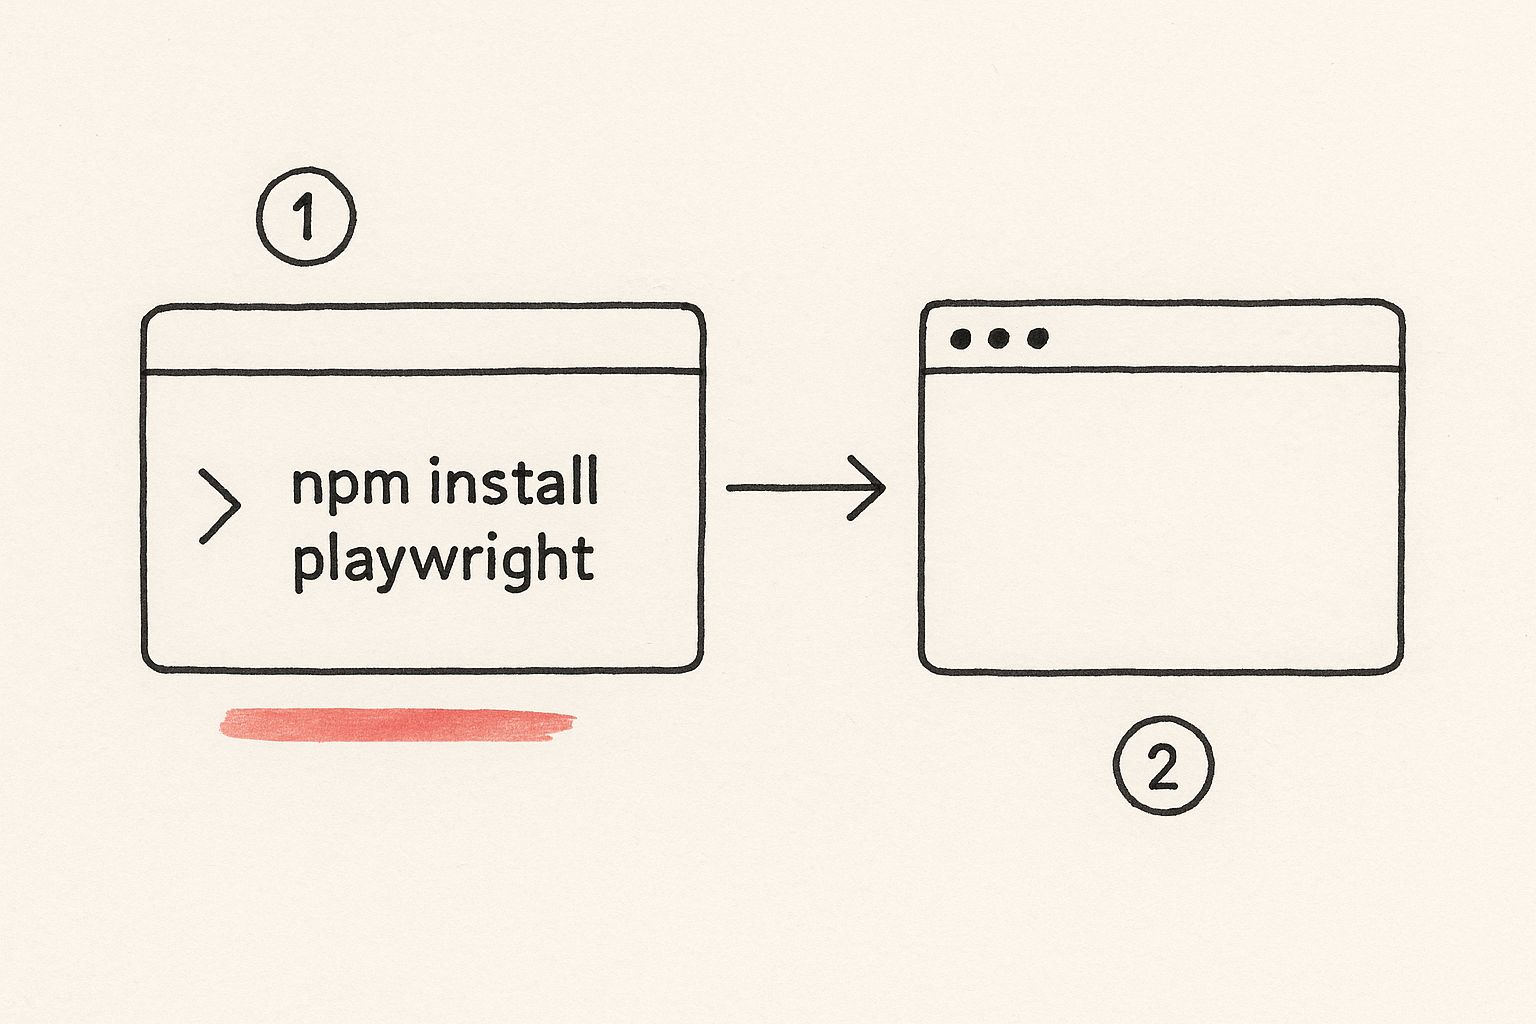
Jumping into a new testing framework often feels like a chore, but getting started with Playwright is surprisingly painless. You don’t have to manually configure a dozen different files or hunt down obscure dependencies. A single command is all it takes to scaffold a complete, ready-to-use project with smart defaults baked right in.
You just pop open your terminal and run one command. This doesn't just install a library; it builds out an entire project structure for you. We're talking configuration files, example tests, and even a directory for GitHub Actions workflows, all set up and ready to go.
The initial setup is designed to be as smooth as possible, getting you from a blank slate to a browser ready for automation in minutes.
The main point here is the minimal friction. Playwright was clearly built to get you writing your first real test in just a few minutes, not hours.
Writing Your First Practical Test
Let’s skip the usual "hello world" and build something that actually feels useful: a login flow. This is a fundamental user journey and the perfect starting point for your first Playwright script. You'll get hands-on with interacting with input fields and buttons, which are the bread and butter of any end-to-end test.
So, imagine you have a login page. Your test needs to do a few things:
- Go to the login page URL.
- Find the email input and type in a username.
- Find the password field and type in a password.
- Click the "Sign In" button.
- Check that the login actually worked by looking for something on the dashboard.
To pull this off, you’ll use two core Playwright concepts: locators to find elements and actions to interact with them. For instance, page.getByPlaceholder('Email').fill('user@example.com') is a beautiful, human-readable way to find an input by its placeholder text and fill it out.
A huge advantage of Playwright is its focus on user-facing locators—things like roles, text, and labels. This makes your tests far more resilient. Instead of relying on brittle CSS classes that a developer might change on a whim, you're targeting elements just like a real person would.
Accelerating Test Creation with Codegen
Writing tests from scratch is a fantastic way to learn, but sometimes you just need to get a test suite built—and fast. This is where Playwright's Codegen tool becomes an absolute game-changer. It’s a built-in feature that records your actions in the browser and automatically spits out the test code for you.
You launch Codegen from your terminal, and it pops open a browser window. As you click around, type, and navigate, you'll see a clean Playwright script being generated in real-time in a separate window. It's an incredibly powerful way to get a solid baseline test for a complex user flow without writing a single line of code yourself.
The code it generates is a perfect starting point. From there, you can polish it up, add more robust assertions, and refactor it into reusable functions. For new team members, Codegen is a fantastic teaching tool. It lets them see their manual actions translated directly into code, bridging the gap between manual testing and full automation and giving any project a massive head start.
Building Resilient and Maintainable Tests
Anyone can write a test that passes once. That’s the easy part. The real challenge—and where the real value lies—is building a test suite that doesn’t completely fall apart every time a developer tweaks a CSS class. This is what separates a frustrating, brittle test suite from a genuine engineering asset.
The foundation for this kind of resilience is moving away from fragile selectors. Instead of targeting internal attributes like an element's id or a complex CSS path that’s bound to change, you should focus on user-facing locators. These are the things a real person actually sees and interacts with, which makes your tests far more stable and intuitive.
Playwright really encourages this with locators like:
- Roles:
getByRole()lets you find elements by their accessibility role, like 'button', 'link', or 'heading'. - Text:
getByText()is perfect for finding elements based on the visible text they contain. - Labels:
getByLabel()helps you grab form inputs by finding their associated label text.
When you use these, your tests behave more like a human user would, which drastically cuts down on failures caused by minor, non-functional code changes.
Implementing the Page Object Model
As your test suite grows, you'll inevitably find yourself writing the same selectors and action sequences over and over again. This is where the Page Object Model (POM) becomes an absolute lifesaver. It’s a design pattern that helps you organize your test code by creating a class for each page or major component in your application.
Think of it this way: you’d create a LoginPage class that holds the locators for the username and password fields. It would also have a method like login() that fills them out and clicks the sign-in button. Your actual test scripts then just call these high-level methods instead of messing with the page directly.
The benefits here are huge:
- Reusability: You write the code once and use it everywhere. It saves a ton of time.
- Maintainability: If a UI element changes, you only have to update the locator in one place—the page object. Not in every single test that touches it.
- Readability: Your tests become clean and descriptive. It’s easy to see exactly what they're supposed to be doing at a glance.
This screenshot from Playwright’s documentation shows this perfectly. The PlaywrightDevPage class bundles up all the locators and actions for that page.
You can see how complex interactions are boiled down into simple, readable methods like goto() and getStarted(). It makes the test logic crystal clear.
Avoiding Flaky Tests with Auto-Waiting
One of the biggest headaches in test automation has always been timing. Tests fail constantly because they try to click something before it's actually loaded and ready. In the old days, we threw in sleep() commands and just hoped for the best.
Thankfully, Playwright solves this with its incredible auto-waiting feature. It automatically waits for elements to be "actionable" before it tries to do anything. This means you can finally get rid of all those unreliable sleep() calls. This built-in stability is a massive help in https://blog.mergify.com/flaky-test-detection-prevention-developers-guide/ right from the start.
The combination of AI and Playwright is pushing this even further. Some firms are reporting a 50% reduction in test script creation time and a 30% boost in test reliability. It’s pretty clear how these tools are making automation not just faster, but fundamentally more effective.
By combining smart, user-facing locators, the Page Object Model, and Playwright’s own reliability features, you’re not just building tests for today. You’re building a foundation that’s scalable and easy to maintain for years to come.
Alright, you've got the basics of Playwright down. You're writing tests, selecting elements, and making assertions. That's a great start, but now it's time to unlock the features that turn Playwright from a simple testing tool into an absolute powerhouse for your team.
These aren't just fancy add-ons; they're the key to building a test suite that's fast, stable, and comprehensive. This is how you move from just checking for bugs to creating a truly robust quality gate that gives your developers confidence with every commit.
Supercharge Your Runtimes with Parallel Execution
Is your test suite starting to feel sluggish? As it grows, so does the runtime. A 10-minute test run can quickly become a bottleneck, slowing down feedback loops and frustrating developers.
Luckily, Playwright has a brilliant, built-in solution: parallel execution. It uses workers to run your test files simultaneously, leveraging your machine's CPU cores to slash execution times. A suite that took ten minutes to run sequentially could easily finish in just two. It's a game-changer.
Getting this set up is surprisingly simple. Just a quick tweak in your playwright.config.js file:
- Set the
workersproperty to the number of parallel threads you want. A good starting point is usually half the number of your machine's CPU cores. - For your CI environment, you can set it to
process.env.CI ? '100%' : undefined. This tells Playwright to use as many workers as the CI runner can handle, maximizing efficiency.
Running tests in parallel isn't just a "nice-to-have" anymore. It's essential for maintaining the fast feedback developers need. When tests are quick, they get run more often, and that means catching bugs before they make it into the main branch.
Master True Cross-Browser Testing
It's a non-negotiable reality of web development: your application has to work flawlessly for everyone, no matter what browser they're using. Playwright makes this incredibly easy by bundling Chromium, Firefox, and WebKit right out of the box. With a small change to your configuration file, you can run your entire test suite against all three.
This is a massive advantage. Playwright’s architecture uses a WebSocket connection and browser-specific DevTools Protocols, leading to faster and more reliable execution than older frameworks that often depend on sluggish HTTP requests. This technical design is a big reason so many developers have made the switch, especially when they need an efficient cross-browser solution. You can actually see a great breakdown of how it stacks up against other tools over on caw.tech.
Debug with Precision Using the Trace Viewer
We've all been there: a test fails in the CI pipeline, and you're left digging through endless logs trying to figure out what went wrong. It's a nightmare.
Playwright’s Trace Viewer is the phenomenal debugging tool you've been dreaming of. It gives you a complete, time-traveling view of your test run, capturing a DOM snapshot, console logs, network requests, and every single action taken.
To get a trace, just run your tests with the --trace on flag. Playwright will generate a trace.zip file. Open it, and you get a full, interactive replay of the test. It’s like having a perfect video recording of the failure, but with all the technical details you need to pinpoint the bug and fix it fast.
Isolate Your Frontend with Network Mocking
Tests that rely on live backend services can become slow and flaky. A network hiccup or a staging server outage can bring your entire test run to a halt, even if the frontend code is perfectly fine.
Playwright lets you sidestep this problem entirely by mocking network requests. This effectively isolates your frontend, allowing you to run tests without any live server dependencies. You can intercept a specific API call and return a predefined JSON response, letting you simulate all sorts of scenarios—like API errors or empty data states—without touching the backend. Your tests become faster, more reliable, and far more focused.
Let's be real—writing tests is just one piece of the puzzle. For your Playwright testing to actually make a difference, those tests need to run automatically. You need immediate feedback every single time code changes. This is where plugging Playwright into your Continuous Integration/Continuous Deployment (CI/CD) pipeline becomes a game-changer.
It's how you build a solid quality gate. Every time a developer opens a pull request, the Playwright suite kicks off. If the tests pass, the team gets a green light. If they fail, the problem is flagged instantly, long before it has a chance to get merged into your main branch. That tight feedback loop is what separates good teams from great ones, and it finally puts an end to the dreaded "well, it works on my machine" excuse.

Building a GitHub Actions Workflow
I'm a big fan of GitHub Actions for this. It's powerful, well-integrated, and surprisingly straightforward to get started with. Everything is defined in a single YAML file that lives right in your repository, inside the .github/workflows directory. This file is your instruction manual, telling GitHub what to do when something happens, like a push or a pull_request.
Here’s a practical blueprint for a playwright.yml workflow file that you can adapt for your own projects:
- Trigger: First, you define when the workflow runs. The most common and useful trigger is on any
pull_requestthat targets your main branch. - Job Setup: Next, pick your environment. I almost always use
ubuntu-latestfor its speed and reliability. - Code Checkout: This is a standard step. You'll use
actions/checkout@v4to pull your repo's code into the runner. - Environment Setup: Get your environment ready by installing Node.js with
actions/setup-node@v4, followed by your project dependencies withnpm ci. - Playwright Installation: This is a critical step. You have to run
npx playwright install --with-depsto download the specific browser binaries your tests need to run against. - Run Tests: Time for the main event. Execute your test suite with a simple
npx playwright testcommand. - Upload Reports: Finally, use
actions/upload-artifact@v4to save the HTML report that Playwright generates. This makes it downloadable right from the GitHub Actions run summary.
Pro Tip: Cache your dependencies. This is a small change that makes a huge difference. By caching the~/.npmand~/.cache/ms-playwrightdirectories, your pipeline can skip the lengthy download and installation steps on subsequent runs. I've seen this shave minutes off of CI jobs, which means a much faster feedback loop for your team.
Essential Workflow Configuration
Let's turn that blueprint into a more concrete configuration. Your YAML file will have a job that runs these steps in sequence. The goal is to have this job fire on every single pull request to make sure no buggy code ever sneaks past your defenses.
But the real magic comes from making the test results easy to digest. After your tests run, Playwright creates a fantastic, detailed HTML report. You absolutely must configure your workflow to upload this report as an artifact. It's non-negotiable.
When a test inevitably fails, a developer can download that report with a single click. They'll see exactly what went wrong—complete with traces, screenshots, and even video—without ever having to run the test on their local machine. This kind of automated visibility is core to effective CI/CD. For a deeper dive, check out our guide on CI/CD best practices. By automating both the testing and the reporting, you create a powerful, self-service system for quality assurance that your whole team can rely on.
When you first dive into Playwright testing, a few questions always seem to pop up. It's totally normal. Getting clear on these early on can make a huge difference in how quickly your team gets comfortable and starts trusting the new framework. Let's walk through some of the most common ones I hear from teams making the switch.
One of the first things that feels a bit like magic is Playwright’s auto-waiting feature. How does it actually know when to act? It’s not magic, but it is incredibly smart. Before Playwright performs an action like a click() or fill(), it runs through a quick checklist.
This isn't a blind wait. Playwright is actively checking to confirm the element is:
- Actually attached to the DOM.
- Visible on the screen.
- Stable (meaning it's not mid-animation).
- Ready to receive events (not covered by another element).
- Enabled and interactive.
Only when all these conditions are true does the action proceed. This simple, built-in patience is what wipes out an entire class of flaky tests caused by timing issues. And the best part? You don't have to litter your code with sleep() commands.
How Should I Handle Authentication in Tests?
Another big one: login flows. Nobody wants to write login steps in every single test. It’s a huge time-waster and a classic source of test flakiness. The best way to handle this is by using authentication state.
Here’s how it works in practice:
- First, you create a global setup file that logs in just once before all your tests run.
- Next, you save the browser’s authentication state—things like cookies and local storage—to a JSON file.
- Then, in your tests, you simply tell Playwright to use that saved state for every new test run.
With this approach, every test starts as if it's already logged in. This makes your tests way faster and keeps them focused on the feature you're actually trying to verify. It neatly separates the "getting in" part from the "testing the thing" part.
By isolating the authentication step, you create a more modular and efficient test suite. When a test fails, you can be more certain the issue lies with the feature under test, not a flaky login sequence.
Can Playwright Be Used for API Testing?
Absolutely! While Playwright is famous for its browser skills, its request context is a seriously powerful tool for API testing. You can fire off GET, POST, PUT, and DELETE requests right from your test script, no browser needed.
This is perfect for a few scenarios. You can test your API endpoints in complete isolation, or you can use API calls to set up the perfect state for a UI test. For instance, you could hit an API to create a new user or populate a database with specific data right before the browser even launches.
While you might reach for a dedicated tool for super-complex API contract testing, Playwright's built-in abilities are often more than enough for most teams' needs.
Ready to stop wrestling with flaky tests and slow CI pipelines? Mergify's Merge Queue and CI Insights streamline your development workflow, catching issues before they merge and providing clear, actionable data to resolve them faster. See how Mergify can transform your CI/CD process.