A Guide to Flawless Playwright Mobile Testing

When it comes to testing web apps on mobile devices, the old ways just don’t cut it anymore. For years, we've wrestled with flaky tests, painful setups, and the constant headache of trying to make one tool work across different browsers. Playwright changes the game by offering a fast, modern, and reliable way to test on emulated mobile browsers, all through a single, clean API. It cuts through the complexity by talking directly to browser engines like WebKit and Chromium, making it a seriously powerful alternative to legacy frameworks.
Why Playwright Is Dominating Mobile Web Testing
In test automation, speed and reliability are everything, especially when you’re on the hook for a perfect mobile user experience. Playwright was built from the ground up to solve the exact problems that keep engineering teams up at night.
Its real advantage is how it connects with browsers. Instead of going through clunky external drivers like older tools, Playwright plugs directly into the browser engine. This isn't just a technical detail; it delivers some massive wins:
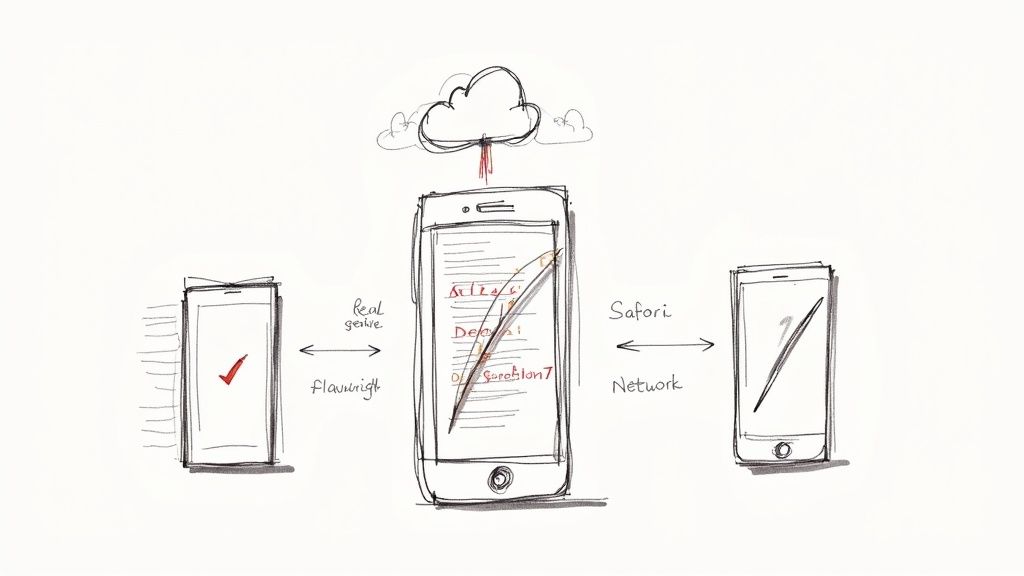
- True Cross-Browser Emulation: It can automate Chromium (the engine behind Chrome on Android), Firefox, and—most importantly—WebKit, which powers Safari on iOS. This is huge. It means you can get far more accurate mobile Safari testing than what’s possible with tools stuck in the Chromium world.
- Reduced Flakiness: Playwright’s auto-waiting feature is a lifesaver. It intelligently waits for elements to be ready before trying to click or type, which dramatically cuts down on the random, frustrating failures that plague so many test suites.
- Unified API: You can write a test once and run it across all three major browser engines with minimal tweaks. This makes maintaining your cross-device tests so much simpler.
To see just how different this approach is, here's a quick look at how Playwright stacks up against the old guard.
Playwright vs Legacy Tools for Mobile Testing
| Feature | Playwright | Legacy Tools (e.g., Selenium) |
|---|---|---|
| Architecture | Direct connection to browser engines | Relies on external WebDriver binaries |
| Auto-Waits | Built-in, waits for elements to be actionable | Requires explicit, manual waits |
| Mobile Safari | Native WebKit automation for true emulation | Limited to Chromium-based emulation |
| Setup | Simplified, all-in-one installation | Complex setup with multiple dependencies |
| Execution Speed | Generally faster due to modern architecture | Slower, with more points of failure |
It's clear why so many teams are making the switch. The direct-to-engine architecture isn't just a gimmick; it translates to more reliable tests and faster feedback loops.
The Shift in the Automation Landscape
This superior design hasn't gone unnoticed. The industry data paints a clear picture: teams are flocking to Playwright for both web and mobile testing. In fact, a comprehensive survey from TestGuild in early 2025 revealed that Playwright's adoption rate has exploded to 45.1%, making it the fastest-growing automation tool on the planet.
This explosive growth has come at the expense of older tools. The same survey showed that Selenium, despite its long history, has seen its market share fall to 22.1%.
The real magic of Playwright is its simplicity. It solves complex mobile testing problems—like handling different viewports and touch events—with an elegant and intuitive API, allowing engineers to focus on building quality, not fighting their tools.
This trend is a direct response to the real-world frustrations QA engineers face every day. We've all been there—a test fails for no reason, eroding trust in the entire automation suite. With Playwright, the stability baked into its design means teams can actually rely on their test results and ship code with confidence.
If you want to dig deeper, our guide on what Playwright testing is breaks down its core concepts. This shift proves that when it comes to the complexities of mobile testing, teams are choosing the framework that delivers consistent, dependable results.
Configuring Your Environment for Mobile Testing
Getting set up for solid Playwright mobile testing is about more than just installing a package. You need to build a solid foundation to make sure your tests are both realistic and reliable. Before you even think about writing code, the very first thing to check is that you have Node.js installed, as it’s the runtime that powers Playwright.
You can do a quick check by popping open your terminal and running node -v. If a version number pops up, you’re good to go. If not, a quick trip to the official Node.js website for a download is all you need.
Once Node.js is ready, it's time to initialize your Playwright project. This is where the practical work begins.
Initializing Your Project
To get started, just navigate to your chosen project folder in the terminal and run one simple command:
npm init playwright@latest
This command is fantastic because it's interactive and scaffolds an entire project for you. It handles installing Playwright, its test runner (@playwright/test), and all the necessary browser binaries for Chromium, Firefox, and WebKit. Crucially, it creates a playwright.config.ts file, which is the absolute heart of your testing setup.
A well-structured playwright.config.ts file is the key to scalable mobile testing. This is where you define device profiles, set up different test environments, and configure project-specific settings to run your suite against multiple mobile viewports efficiently.This config file is where the real power of Playwright mobile testing comes alive. It lets you define different "projects," where each one can target a specific mobile device.
This diagram gives a high-level look at the process, from that initial installation to running your first test.
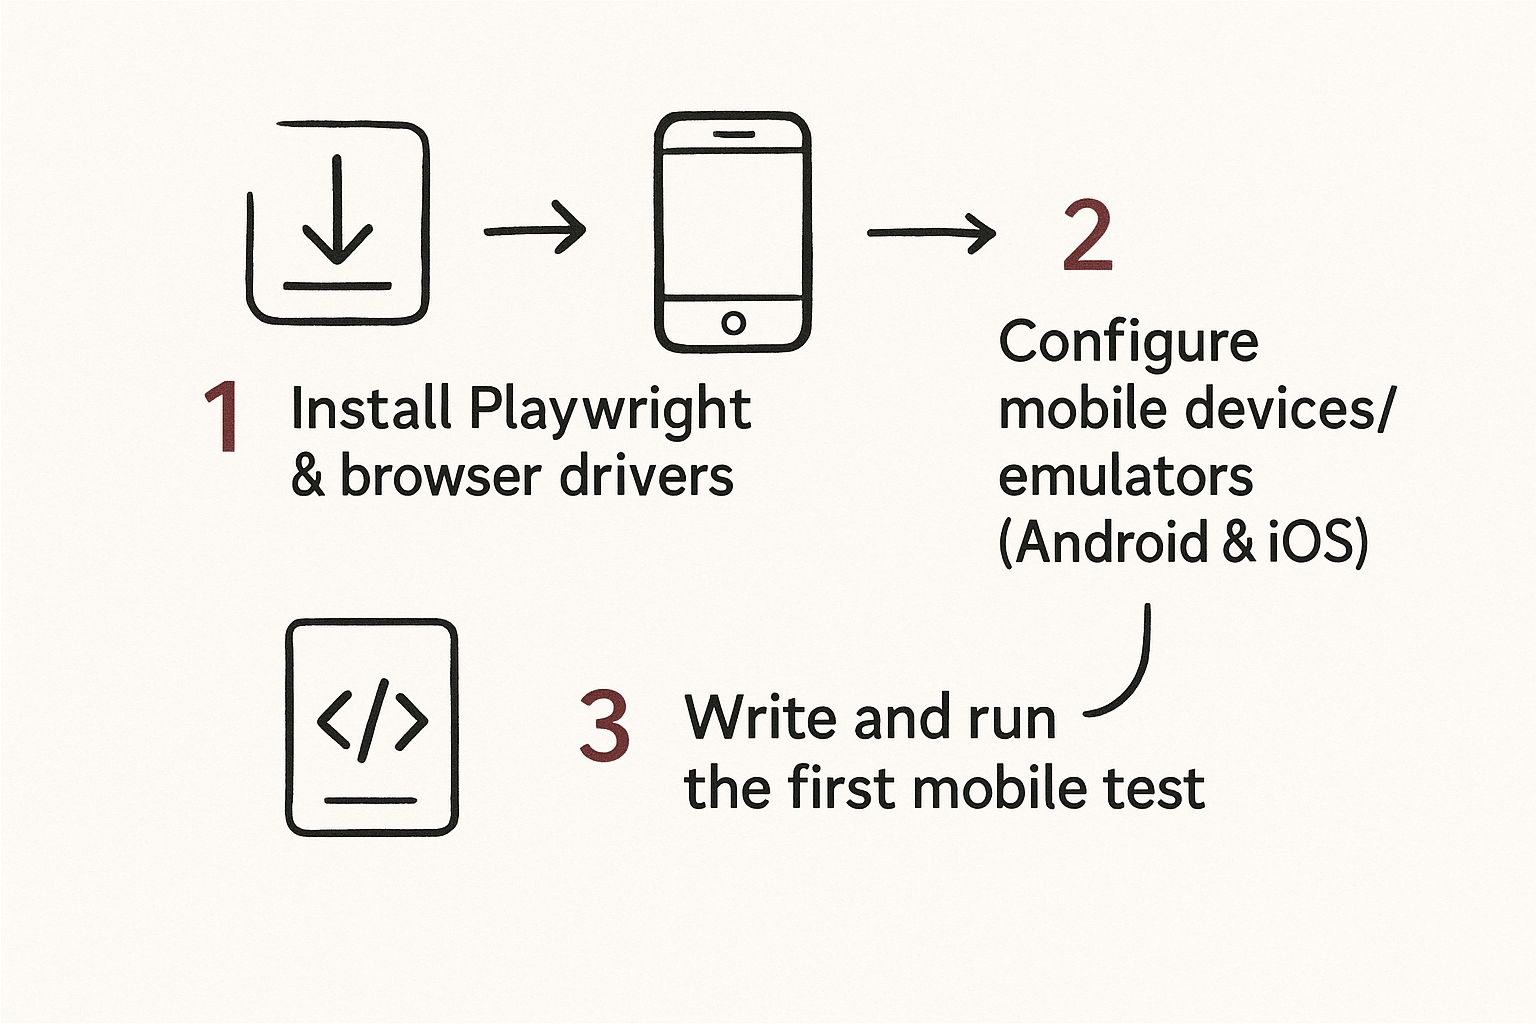
As you can see, a one-time setup creates a repeatable cycle of writing and running tests against any mobile configuration you need.
Configuring Mobile Device Emulation
One of Playwright's best features is its device emulation. It comes packed with a built-in library of device descriptors that pre-configure everything—the viewport, user agent, and even touch capabilities—for a whole host of popular mobile devices.
To tap into this, you'll be working inside your playwright.config.ts. Let's walk through how to set up two projects: one for an iPhone and another for a Google Pixel.
First, you'll import the devices object right from Playwright. Then, inside the projects array, you just define your mobile targets. It’s surprisingly straightforward.
import { defineConfig, devices } from '@playwright/test';
export default defineConfig({ // Other configurations...
projects: [ // Project for an emulated iPhone 13 Pro { name: 'Mobile Safari', use: { ...devices['iPhone 13 Pro'] }, },
// Project for an emulated Pixel 5
{
  name: 'Mobile Chrome',
  use: { ...devices['Pixel 5'] },
},
], });
With that simple setup in place, you can now run your tests against a specific device just by using the --project flag. For example, if you wanted to test on the emulated iPhone, you’d run this command:
npx playwright test --project="Mobile Safari"
This command tells Playwright to execute your entire test suite using the exact viewport size, user-agent string, and touch event settings of an iPhone 13 Pro. It's an incredibly simple way to validate your app's responsive design and mobile-specific features across different operating systems and screen sizes, helping you ensure a consistent user experience everywhere.
Writing Your First Effective Mobile Test

With the environment configured, it's time to move from setup to action. Writing your first effective Playwright mobile testing script is about more than just stringing commands together; it’s about translating a real user's journey into a reliable, automated check.
Let's walk through a classic e-commerce scenario: a user finds a product, adds it to their cart, and confirms the cart updated correctly. This simple flow hits several common snags in mobile web automation, like dealing with responsive layouts and dynamic content.
Interacting with Mobile UI Elements
On mobile, screen space is precious. Websites often tuck navigation links behind a "hamburger" menu, which means your test needs to find and click that menu before it can do anything else. Playwright's locators are perfect for this because they automatically wait for elements to become actionable.
Imagine you need to click that hamburger menu, which might be an SVG icon inside a button. You can target it with a clean, role-based locator.
test('should add an item to the cart on mobile', async ({ page }) => { // Use a descriptive locator to find and click the hamburger menu await page.getByRole('button', { name: 'Open navigation menu' }).click();
// Now click the 'Shop' link that just became visible await page.getByRole('link', { name: 'Shop' }).click(); });
This approach is far more resilient than leaning on brittle CSS selectors or XPaths. It focuses on how a user actually sees and interacts with the page, making your tests easier to understand and less likely to break from minor code changes.
Adding an Item and Verifying the Cart
Once you've navigated to the product listing, the next step is picking an item. On a phone, this usually means tapping a product card to see its details and then hitting the "Add to Cart" button.
Playwright's real power shines in its ability to handle these multi-step interactions without needing a chain of explicit waits. When you tell it to click, it automatically checks that the element is visible, enabled, and not covered by something else—a lifesaver with mobile pop-ups or cookie banners.
Let's flesh out the rest of our test script to complete the flow. We'll need to:
- Click a specific product: Find a product by its title.
- Add it to the cart: Click the main call-to-action button.
- Verify the cart icon: Check if the cart indicator updates, maybe showing "1".
// ...continuing from the previous test block
// Click on the first product in the list await page.locator('.product-card').first().click();
// Add the item to the cart await page.getByRole('button', { name: 'Add to Cart' }).click();
// Assert that the cart icon now shows one item const cartIcon = page.locator('.cart-icon-count'); await expect(cartIcon).toHaveText('1');
That simple assertion confirms the core functionality is working. By combining powerful locators with Playwright's built-in smart waits, you can build tests that are both stable and genuinely reflect a real user's experience on a mobile device.
These capabilities are always getting better. For instance, recent Playwright updates have improved support for mobile-specific browser features in both Safari on iOS and Chrome on Android. For teams using agile methods, these enhancements are crucial for getting fast feedback from end-to-end tests covering mobile journeys. You can learn more about Playwright's expanding cross-browser support on contextqa.com. This progress just further cements its role as a key tool for modern mobile web development.
Automating Your Tests with a CI/CD Pipeline
Writing tests is just one piece of the puzzle. The real magic happens when your Playwright mobile test suite runs automatically with every single pull request or merge. When you integrate your tests into a Continuous Integration/Continuous Deployment (CI/CD) pipeline, you build an automated safety net that validates every code change against your mobile targets, catching bugs long before they ever see the light of day in production.
This simple step transforms testing from a manual chore into a powerful, automated workflow. With a solid CI/CD setup, you can run tests in headless mode, parallelize them across multiple mobile profiles to get feedback faster, and automatically archive artifacts like test reports, screenshots, and video recordings for easy debugging.
This community-driven focus on practical automation is a huge reason for Playwright's explosive growth. As of mid-2025, market metrics show Playwright has rocketed past 74,000 GitHub stars—more than double Selenium's—and is a dependency in over 412,000 repositories. This momentum isn't just hype; it reflects Playwright's strength in real-world workflows, especially CI/CD. You can find more insights on Playwright's rise over competitors on belitsoft.com.
Configuring GitHub Actions for Mobile Tests
Setting up a workflow in GitHub Actions is remarkably straightforward. All you need to do is create a YAML file inside your repository's .github/workflows directory. This file tells GitHub Actions what should trigger the workflow, what environment to use, and the exact steps to run your tests.
Here’s a practical example of a workflow file that runs your Playwright tests every time code is pushed to the main branch.
name: Playwright Mobile Tests
on: push: branches: [ main ] pull_request: branches: [ main ]
jobs: test: runs-on: ubuntu-latest steps: - uses: actions/checkout@v4 - uses: actions/setup-node@v4 with: node-version: 18 - name: Install dependencies run: npm ci - name: Install Playwright browsers run: npx playwright install --with-deps - name: Run Playwright tests run: npx playwright test --project="Mobile Safari" - uses: actions/upload-artifact@v4 if: always() with: name: playwright-report path: playwright-report/ retention-days: 30
Pro Tip: Thatif: always()condition on theupload-artifactstep is crucial. It ensures your test reports are uploaded even if the tests fail, giving you the artifacts you need to debug the issue quickly.
This workflow is simple but effective. It checks out your code, installs all the necessary dependencies, and then runs your test suite against the "Mobile Safari" project you defined back in your playwright.config.ts. The final step archives the generated Playwright report, making it available for download right from the GitHub Actions run.
For teams looking to truly optimize their development cycles, mastering these automated testing workflows is a game-changer. You can dive into more advanced strategies by reading our detailed guide on how to master Playwright automated testing, which covers other techniques for building incredibly robust test suites. This level of automation gives you rapid, reliable feedback, allowing your team to merge code with total confidence.
Advanced Mobile Testing Techniques and Patterns
Okay, so you've got your basic tests up and running. That's a huge first step. But to really build confidence in your mobile app, you need to go deeper. This is where advanced techniques come in—they’re what separate a simple set of checks from a truly robust, enterprise-grade automation framework that catches the gnarly, real-world bugs.
These patterns are all about making your tests more than just functional. They need to be scalable, maintainable, and designed to reflect how users actually interact with your app.
One of the most impactful practices you can adopt right away is simulating different network conditions. Let's be real: your users are rarely on a perfect Wi-Fi connection. They’re on spotty 4G, slow 3G in a crowded area, or dealing with intermittent connectivity on the subway. Playwright lets you throttle the network directly in your tests, which is fantastic for uncovering how your app behaves under stress. It's how you find those pesky loading state bugs or performance bottlenecks that only show up on a weak connection.
Building a Scalable Test Suite with POM
As your test suite expands, organization becomes a real headache. I’ve seen it happen time and again: what starts as a clean project devolves into a tangled mess of duplicated code. This is exactly where the Page Object Model (POM) becomes your best friend.
POM is a design pattern that organizes your test code by creating a dedicated class for each page or major component of your application. This class is the single source of truth for all the locators and interaction methods for that specific part of the UI.
So, instead of sprinkling locators like page.getByRole('button', { name: 'Add to Cart' }) all over your test files, you define it just once inside a ProductPage class. Your test script suddenly becomes a clean, highly readable sequence of actions.
This approach pays off in a big way:
- Maintainability: When a UI element changes (and it will), you only update the locator in one spot—the page object. No more hunting it down across dozens of test files.
- Readability: Your tests start to read like user stories (
productPage.addToCart()) instead of a jumble of implementation details. This makes them infinitely easier for everyone on the team to understand. - Reusability: Page objects can be shared across multiple tests, which dramatically cuts down on code duplication.
Adopting the Page Object Model is a turning point for any serious automation effort. It shifts your focus from writing brittle scripts to building a durable, reusable testing framework that can grow with your application.
If you want to dig deeper into the fundamentals that make these advanced patterns click, this detailed overview of the Playwright testing tool is a great resource. Understanding the core concepts will make implementing these techniques feel much more intuitive.
Handling Complex Gestures and Mocking Data
Modern mobile web apps are full of interactions that go way beyond simple clicks. Think about pinching to zoom on a map, swiping through a photo gallery, or long-pressing an item to see more options. These gestures are critical to the user experience.
Thankfully, Playwright’s page.touchscreen API gives you the power to automate these gestures with precision. You can simulate multi-touch events like pinch() to properly test those interactive components that define a great mobile experience.
Another pro-level technique is to mock your API requests. Your front-end tests shouldn't fail just because a back-end service is down or returning weird data. Using Playwright’s page.route() method, you can intercept network requests and feed your test a predefined JSON response.
This completely isolates your UI tests. It makes them faster, more reliable, and allows you to test every edge case imaginable—like what happens with an empty state or how the UI handles a specific error message—without having to manipulate the back-end. This is a true cornerstone of effective Playwright mobile testing.
Common Questions About Playwright Mobile Testing
When you're getting your hands dirty with a new framework, it's only natural to have a few questions. As teams start exploring Playwright for mobile testing, a handful of topics almost always come up. Getting these sorted out early on helps you make the right calls and set your team up for success.
Can Playwright Test Native Mobile Apps?
Let's get this one out of the way first: Can you use Playwright for native mobile apps? The short answer is no.
Playwright is a beast when it comes to web technologies. It’s built to automate mobile browsers like Chrome on Android and Mobile Safari on iOS, and it does a fantastic job with Progressive Web Apps (PWAs). But it stops there. It simply wasn't designed to interact with native Android or iOS components.
If you need to test native applications, you'll want to look at frameworks built specifically for that world, like Appium or Detox. Playwright's focus remains squarely on delivering a world-class experience for everything web-based.
How Does Playwright Compare to Cypress?
Another common question is how Playwright stacks up against Cypress for mobile testing. Both are incredible, modern tools, but Playwright has a major architectural advantage for validating mobile web experiences. Its secret weapon? True cross-browser support that extends beyond Chromium and Firefox to include WebKit.
This is a huge deal. WebKit is the engine that powers Safari on iOS. This means Playwright can give you an incredibly accurate, high-fidelity picture of how your web app actually looks and behaves on an iPhone. Cypress, on the other hand, primarily operates in Chromium environments, so it can't offer that same level of native Safari testing. For any team that needs to guarantee a perfect experience for their iOS users, Playwright’s approach is far more reliable.
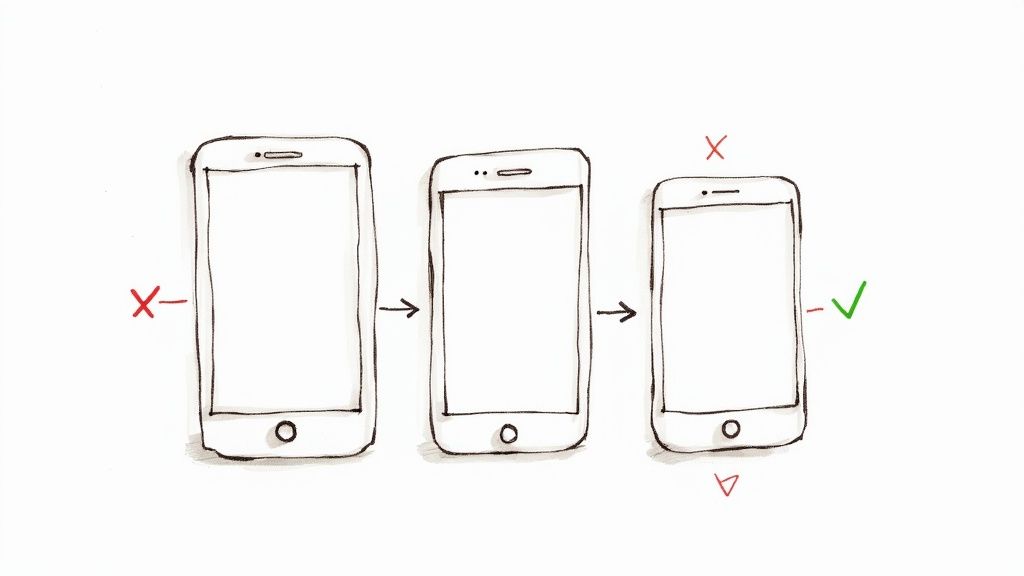
The Best Way to Handle Different Mobile Screen Sizes
So, how do you manage testing across the vast sea of mobile screen sizes without pulling your hair out? The most effective and scalable way is to define your target devices right in the playwright.config.ts file. Forget hardcoding viewports in every test. Instead, you create distinct "projects" for each device configuration you want to validate.
By using the devices import from Playwright, you get a whole library of pre-configured profiles for popular devices like the 'iPhone 13' or 'Pixel 5'. These profiles handle everything—the viewport, user agent, and even touch support—automatically.This approach keeps your test logic clean and completely separate from your environment configuration. Running your entire test suite against a new device is as simple as firing off a single command, like npx playwright test --project="Mobile Safari iPhone 13". It’s a clean, powerful way to make sure your app's responsive design is solid, giving you confidence it works perfectly on the phones your users actually have in their hands.
Are you tired of slow, flaky CI pipelines holding your team back? Mergify's intelligent Merge Queue and CI Insights help you ship faster and with more confidence by automatically prioritizing pull requests, batching checks to reduce costs, and identifying infrastructure issues before they become showstoppers. See how you can transform your development workflow by visiting Mergify.