Playwright for Mobile App Testing A Practical Guide

Absolutely. When people think about mobile testing, their minds often jump straight to native apps and complex tools like Appium. But what about mobile web applications, PWAs, or hybrid apps? For those, Playwright is not just a good choice—it’s an excellent one.
It’s fantastic at emulating mobile device viewports and user agents, letting you test responsive designs and web-based features without a massively complicated setup.
Why Use Playwright for Mobile Testing?
The screenshot above gets to the heart of Playwright's value: fast, reliable, and capable testing across all modern browsers. This philosophy extends directly to its mobile emulation capabilities, creating a unified approach that's a huge win for teams already using Playwright for their desktop web testing.
Let's be real—while a tool like Appium is essential for purely native applications, forcing your team to use a completely separate framework just for mobile web testing adds a layer of complexity that’s often unnecessary. This is where the case for Playwright for mobile app testing gets really compelling. It allows you to unify your testing stack, meaning one tool and one set of skills can cover both your desktop and mobile web environments.
This unification pays off almost immediately:
- Less Maintenance Overhead: You're managing one framework, not two. That means updates, configurations, and even test scripts can be shared or adapted with minimal effort, saving a ton of engineering time.
- Faster Onboarding and Test Creation: If your developers and QA engineers already know Playwright, they can start writing mobile tests on day one. There’s no steep learning curve that comes with a new, mobile-only framework.
- Consistent Test Logic: The core logic for interacting with web elements—finding a button, filling a form, checking for text—stays the same whether your target is a desktop browser or an emulated iPhone.
The push for high-quality mobile experiences is a huge deal globally. The Mobile Application Testing Services market was pegged at USD 6.36 billion in 2024 and is still growing, which just goes to show how much the industry is investing in solid testing.
Playwright vs. Native App Frameworks Quick Comparison
When deciding on a testing strategy, it helps to see where each tool shines. While Playwright is a powerhouse for anything browser-based on mobile, native frameworks like Appium are built for a different purpose. Here’s a quick breakdown to clarify the distinction.
| Aspect | Playwright (for Mobile Web/Hybrid) | Native Frameworks (e.g., Appium) |
|---|---|---|
| Primary Use Case | Mobile web, PWAs, hybrid apps (WebView/Capacitor/Cordova) | Pure native iOS and Android applications |
| Setup & Configuration | Simple. Part of the core Playwright package, no extra drivers. | More complex. Requires Appium Server, drivers, Xcode, Android SDK. |
| Test Execution Speed | Very fast, as it controls the browser engine directly. | Slower due to the architecture of mediating with device OS. |
| Language Support | JavaScript, TypeScript, Python, Java, .NET | Supports multiple languages via WebDriver bindings. |
| Key Advantage | Unified testing for desktop and mobile web with a single codebase. | Deep integration with native OS features (notifications, etc.). |
| Best For... | Teams wanting to test their web app's responsive design and functionality on mobile viewports. | Teams needing to test the full functionality of a native app installed on a device. |
Ultimately, the choice isn't about which one is "better" overall, but which one is right for the type of application you're testing. If your app lives in a browser, Playwright offers a much more streamlined path.
Seeing the Practical Advantages in Action
Think about a common task: you need to verify that a new feature in your e-commerce PWA works perfectly on both a laptop and a smartphone.
With a split-stack approach, you’d be writing one test in a framework like Cypress for the desktop view and a completely separate one in Appium for mobile. With Playwright, you can write a single test suite that runs against different configurations—one for desktop Chrome and another emulating Mobile Safari on an iPhone 14 Pro.
This streamlined workflow makes debugging a breeze and guarantees consistency. You can confidently assert that an element is visible or a button is clickable across all your target platforms using the same fundamental code. This guide will walk you through the hands-on aspects of Playwright for mobile app testing, helping you build a testing strategy that's both robust and incredibly efficient.
Building Your Mobile Test Environment
Alright, let's get our hands dirty. Jumping into Playwright for mobile app testing means starting with a solid foundation. Before you can script a single tap or swipe, you need a properly configured environment. The good news? Playwright makes this surprisingly painless, especially if you're already comfortable in the Node.js ecosystem.
Your first stop is Node.js. Since Playwright is a Node.js library, you’ll need it installed to get anything done. If you don't have it yet, grabbing it from the official website is a quick job. A simple node -v in your terminal will tell you if you're good to go.
With Node.js ready, installing Playwright is next. Just navigate to your project directory in the terminal and kick things off with one command.
npm init playwright@latest
This command is more than just a simple package installer. It’s an interactive scaffolding tool that builds out a complete test project for you. It drops in a playwright.config.js file, gives you some example tests to learn from, and even downloads the browser binaries (Chromium, Firefox, and WebKit) that are the secret sauce to Playwright's cross-browser magic.
Configuring for Mobile Emulation
Now for the fun part. The heart of your setup is the playwright.config.js file. This is where you tell Playwright how to behave, and most importantly, which mobile devices you want it to pretend to be. I love this feature because Playwright ships with a huge library of pre-configured device profiles, which makes this incredibly easy.
Inside the config file, you define different "projects." Think of each project as a unique test run configuration. This lets you run the same test suite against completely different environments—like a standard desktop browser and then a specific mobile device.
Here’s a real-world example of how I’d set up projects for a Pixel 5 and an iPhone 13 Pro, alongside a desktop baseline.
// playwright.config.js import { defineConfig, devices } from '@playwright/test';
export default defineConfig({ projects: [ // Project for desktop Chrome { name: 'chromium', use: { ...devices['Desktop Chrome'] }, },
// Project for mobile Chrome on Android
{
  name: 'Mobile Chrome',
  use: { ...devices['Pixel 5'] },
},

// Project for mobile Safari on iOS
{
  name: 'Mobile Safari',
  use: { ...devices['iPhone 13 Pro'] },
},
], });
Once this is in place, you can target a specific mobile device using the --project flag. For instance, running npx playwright test --project="Mobile Safari" will execute your tests using the iPhone 13 Pro's exact viewport, user agent, and touch event settings. It’s that simple.
By defining projects this way, you create a versatile and scalable testing foundation. You're not just testing on a "small screen"; you're running checks against specific, real-world device profiles. This is absolutely vital for catching those subtle rendering bugs that only show up on certain phones.
This approach is non-negotiable in modern app development. By 2025, the complexity of mobile app testing is only going to ramp up with the wider adoption of 5G, the rise of foldable phones, and even wearables. Each of these introduces new variables we need to account for. You can explore the key trends and challenges to get a sense of what's coming. A robust configuration like this ensures your test environment is ready for whatever comes next.
Scripting Realistic Mobile User Interactions
Alright, with the environment configured, you're ready to get to the good part: scripting. The real goal here isn't just to check if an element exists. It's to validate that a user can actually interact with your app in a way that feels natural on a phone. This is what truly effective playwright for mobile app testing is all about.
The basic actions you already know, like page.click() and page.fill(), work just fine in mobile emulation. But let's be honest, mobile interaction is so much more than a simple click. It's about gestures.
Simulating Essential Mobile Gestures
Playwright is fantastic at mimicking the core gestures that define the mobile experience. The most common one you'll need is a tap, which is critically different from a click. Using page.tap() sends a much more realistic touch event to the browser, which is exactly what you want.
Think about testing a classic "hamburger" menu. A good test doesn't just see if the button is there; it taps it and waits for the navigation drawer to slide into view.
import { test, expect } from '@playwright/test';
test('should open mobile navigation menu on tap', async ({ page }) => { // Assuming this selector is specific to the mobile menu button const menuButton = page.locator('.mobile-nav-toggle');
// Use tap for a realistic touch event await menuButton.tap();
// Assert that the navigation drawer is now visible const navDrawer = page.locator('#mobile-nav-drawer'); await expect(navDrawer).toBeVisible(); }); This simple script gives you way more confidence than a basic visibility check because it validates the exact interactive path a real user would follow.
But what about more complex gestures, like swiping? While Playwright doesn't have a built-in swipe() method out of the box, you can easily create one using its lower-level mouse events. This is perfect for testing things like image carousels or interactive maps that users flick through.
A common mistake I see is teams relying solely onpage.click()for all mobile interactions. Always, always preferpage.tap()when you're scripting for touch devices. This ensures you trigger the correcttouchstartandtouchendevents that mobile web apps often listen for, helping you catch bugs that only show up with real-world use.
Mastering Mobile-Specific Assertions
A huge part of mobile testing is just making sure the UI adapts correctly. This means writing assertions that look for conditions unique to mobile viewports. Your tests need to confirm not just what is there, but also what isn't.
Some key mobile assertions you should be making include:
- Element Visibility: Is the mobile-only bottom navigation bar visible? Are the desktop-only sidebar links hidden?
- Layout Shifts: Does the layout hold up correctly after a screen orientation change from portrait to landscape?
- CSS Properties: Are the fonts using the right mobile-friendly size? Are certain flexbox or grid properties active only on small screens?
If you need a refresher on how Playwright works at a high level, getting a good overview of what Playwright testing is can help you see how these core principles apply across different testing scenarios.
Let's say you have a big, chunky footer that should only appear on screens wider than 768px. Your mobile test should explicitly assert that this footer is not visible. This prevents layout bugs and keeps your mobile UI clean.
test('desktop footer should not be visible on mobile', async ({ page }) => { const desktopFooter = page.locator('#desktop-footer');
// This assertion is crucial for a clean mobile UI await expect(desktopFooter).not.toBeVisible(); });
When you combine smart gesture simulation with sharp, mobile-specific assertions, your tests start painting a much more accurate picture of the user experience. You'll move beyond simple functional checks and start validating the true look, feel, and responsiveness of your app on the devices your customers use every day.
Testing on Emulators and Real Android Devices
While mobile emulation is fast and fantastic for catching layout issues, nothing beats the confidence that comes from seeing your tests pass on an actual device. This is where we bridge the gap between simulation and reality, moving from Playwright's emulated viewports to running tests on real Android hardware or high-fidelity emulators.
Getting this right is a cornerstone of any serious playwright for mobile app testing strategy. It helps you catch device-specific performance quirks, rendering bugs tied to a specific OS version, or issues with how your PWA interacts with the underlying system—things emulation alone might miss.
Setting Up Your Android Debugging Environment
Before Playwright can talk to a device, you need to set up the communication channel. This all happens through the Android Debug Bridge (ADB), a command-line tool that lets your computer interface with an Android device.
First things first, you'll need the Android SDK Command-Line Tools, which you can grab from the official Android Developer site. Once you have it installed, make sure the platform-tools directory is added to your system's PATH so you can run ADB from anywhere.
With the tools in place, you need to enable developer mode on your physical Android device or emulator.
- For a Physical Device: Go to
Settings > About Phoneand find the "Build Number." Tap on it seven times—yes, really. This little trick unlocks a new "Developer options" menu. - Inside Developer Options: Find and toggle on "USB debugging."
When you connect your physical device to your computer via USB, you'll see a prompt pop up on your phone asking you to authorize the connection. Go ahead and accept it. You can quickly verify the connection by running adb devices in your terminal, which should list your connected device.
Pro Tip: I always run adb devices before starting a test run on a physical device. It’s a quick sanity check to ensure the connection is active and authorized. If the device shows up as "unauthorized," it's usually a sign you missed the authorization prompt on the phone screen.The goal is to get these real-device tests integrated directly into a CI/CD pipeline for continuous validation, creating a feedback loop like this:
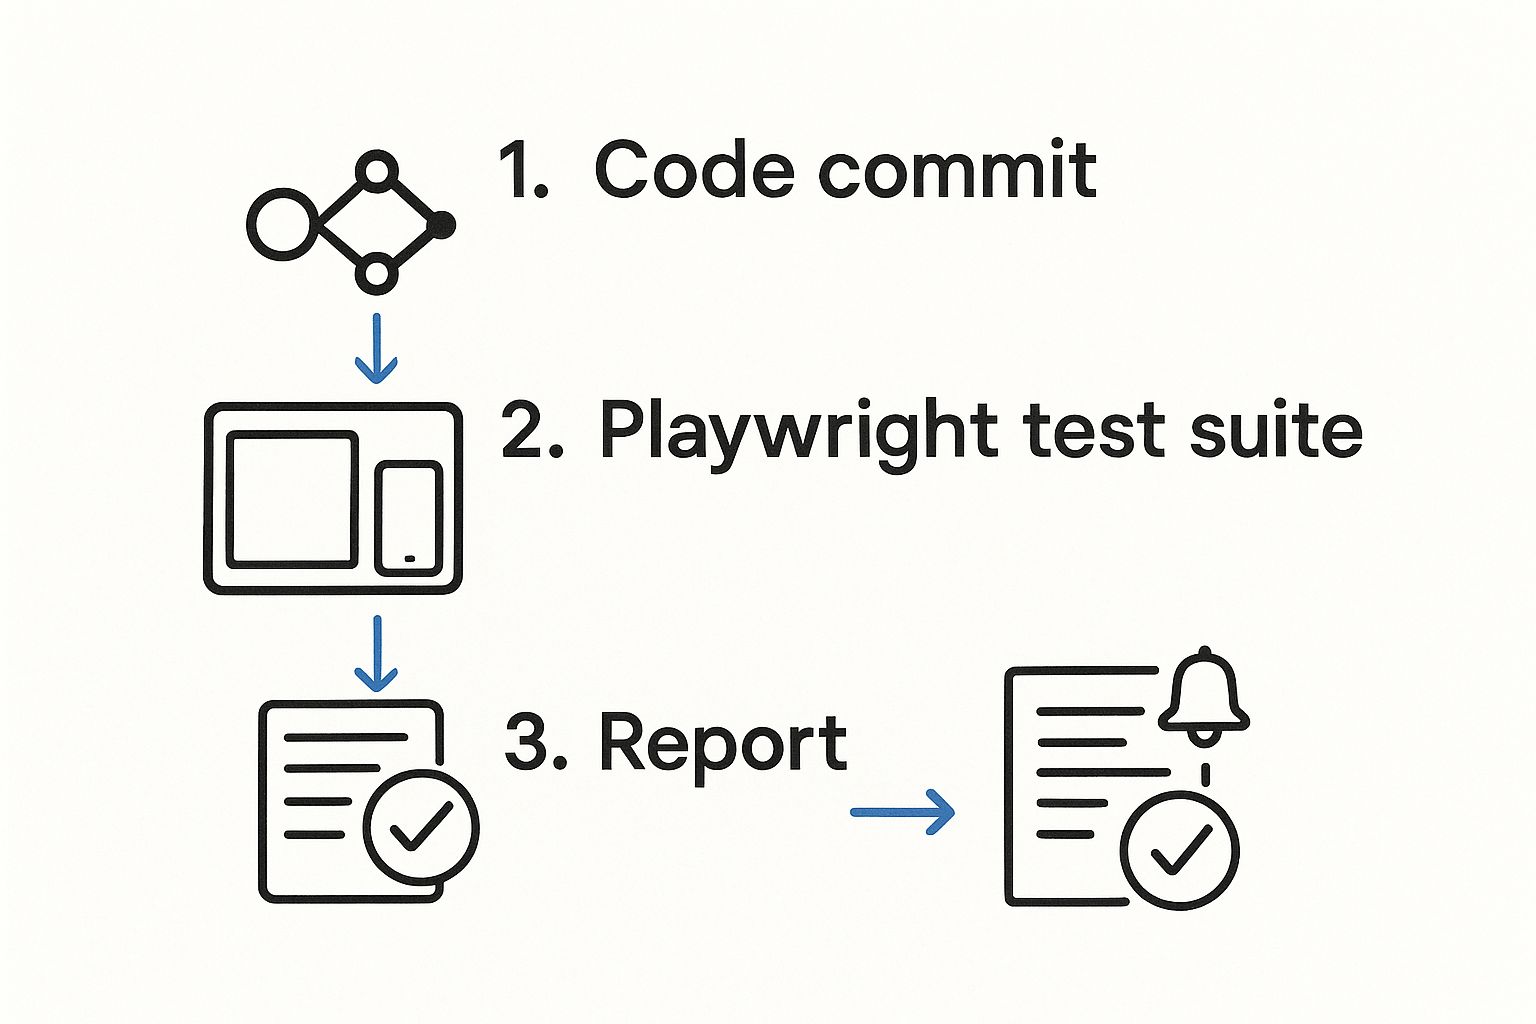
This workflow shows how a simple code change can automatically trigger tests across multiple mobile devices, generating a final report without any manual intervention.
Running Tests on Your Connected Device
Unlike emulation, which is configured neatly in playwright.config.js, connecting to a real device requires a slightly different approach right inside your test script. You'll be using Playwright's experimental _android module to discover and take control of the device.
Here’s a quick example of how you can launch Chrome on the first connected Android device and run a simple test:
import { test, expect, _android } from '@playwright/test';
test('should run on a real Android device', async () => { // Discover connected devices const devices = await _android.devices(); if (devices.length === 0) { console.log('No devices found'); return; }
// Connect to the first device const device = devices[0]; console.log(Running on: ${device.model()});
// Launch Chrome on the device const context = await device.launchBrowser(); const page = await context.newPage();
// Your test logic goes here await page.goto('https://mergify.com'); await expect(page.locator('h1')).toBeVisible();
// Clean up await context.close(); await device.close(); }); This script interacts directly with the device's browser, giving you the highest level of accuracy for testing your mobile web experiences. This kind of cross-platform consistency is vital. In fact, research shows over 60% of users expect seamless functionality no matter what device they are on.
As testing continues to evolve, it's also expected that 50% of organizations will move toward cloud-based testing environments to scale these efforts. You can discover more insights about mobile testing trends for 2025 to see how these practices fit into the bigger picture.
A solid test suite is one thing, but it’s not doing you any good if it just sits there collecting dust. The real magic of playwright for mobile app testing happens when you get your tests running automatically, catching bugs with every single code change before they ever see the light of day. Integrating these checks into your Continuous Integration/Continuous Deployment (CI/CD) pipeline is what turns them from a manual chore into an always-on, proactive safety net.
Let's walk through a real-world setup using GitHub Actions, since it's a go-to for so many teams. The idea is to build a workflow that fires up on its own, installs everything you need, runs your entire suite of mobile emulation tests, and then bundles up the results for your team to check out.
Configuring a GitHub Actions Workflow
In GitHub Actions, your whole process is defined in a YAML file that lives in your project's .github/workflows/ directory. This file is basically the recipe for your automated testing. It tells the runner exactly what to do whenever an event happens, like a developer opening a pull_request.
Here’s a complete workflow file you can lift and adapt for your own projects. This isn't just a generic template; it's a practical starting point to get automated mobile testing up and running fast.
name: Playwright Mobile Tests
on: push: branches: [ main, master ] pull_request: branches: [ main, master ]
jobs: test: timeout-minutes: 60 runs-on: ubuntu-latest steps: - uses: actions/checkout@v4 - uses: actions/setup-node@v4 with: node-version: '18.x'
- name: Install dependencies
  run: npm ci

- name: Install Playwright Browsers
  run: npx playwright install --with-deps

- name: Run Playwright tests for all mobile projects
  run: npx playwright test

- uses: actions/upload-artifact@v4
  if: always()
  with:
    name: playwright-report
    path: playwright-report/
    retention-days: 30
This setup ensures that any time someone opens a pull request against your main branches, the entire Playwright suite kicks off, running against all the mobile viewports you've configured. The last step is the real game-changer: it uploads the test report as an artifact, complete with detailed results, traces, and even video recordings of the test runs. This makes figuring out what went wrong incredibly straightforward, right from the pull request itself.
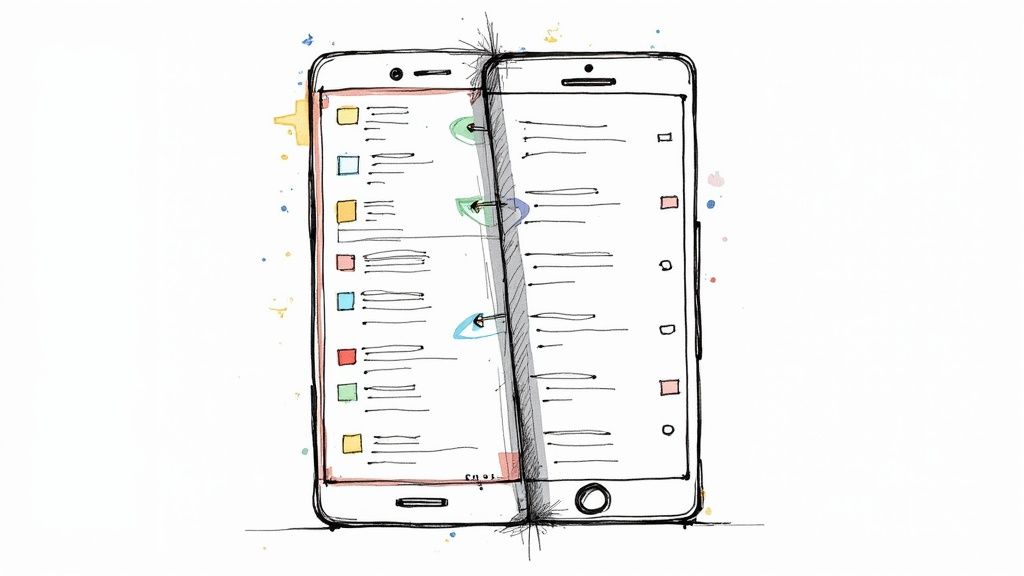
The real value here is the feedback loop. Instead of discovering a layout bug on an iPhone viewport during manual QA days later, your team gets notified automatically within minutes of pushing code.
This is what that seamless automation looks like—turning code commits into clear, actionable test results.
By automating this process, you empower developers to find and fix mobile-specific issues on their own, cutting down the frustrating back-and-forth with the QA team. If you want to go deeper and make Playwright a core part of how you build, you can explore more advanced strategies for Playwright mobile testing and see how they fit into a modern workflow. This CI integration is what bridges the gap between just writing tests and confidently shipping high-quality mobile web experiences.
Common Questions About Playwright Mobile Testing
As more and more teams start exploring Playwright for mobile testing, a few questions almost always pop up. Getting these sorted out early on helps set the right expectations and ensures you’re using the framework where it truly shines. Let's dig into some of the most common ones I hear.
Can Playwright Test Native iOS and Android Apps?
This is probably the most critical distinction to get straight right away: No, Playwright can't directly test native applications. At its heart, Playwright is a browser automation tool.
Its real power is in automating anything and everything that runs inside a mobile browser. This includes:
- Responsive Websites: The standard sites you build that adapt their layout to mobile screen sizes.
- Progressive Web Apps (PWAs): Those web apps that feel like native apps and can be "installed" on a device's home screen.
- Hybrid Apps: Applications built with frameworks like Capacitor or Cordova that essentially wrap a web view inside a native application shell.
If you need to test true native components—the parts built with Swift or Objective-C for iOS, or Kotlin/Java for Android—you’ll have to reach for a different tool. Native-specific frameworks like Appium, Espresso (for Android), or XCUITest (for iOS) are built for that job. Playwright automates the browser on the device, not the native OS itself.
Emulation vs. Real Device Testing
Another frequent point of confusion is the difference between Playwright's default device emulation and connecting to an actual, physical device.
Emulation, which you set up in your playwright.config.js file, is a simulation. It’s a clever way of tricking a desktop browser into thinking it's a mobile device by mimicking its viewport size, user agent string, and touch event behavior. This approach is incredibly fast and absolutely perfect for catching responsive design bugs and other UI quirks early in the development cycle.
Connecting to a real device or a high-fidelity Android emulator takes things a step further. This method runs your tests inside the actual Chrome for Android browser on a genuine Android operating system. You get a much more accurate testing environment that accounts for the device's specific rendering engine, OS-level behaviors, and real-world hardware resources. It's essential for sniffing out performance bottlenecks or device-specific glitches that emulation might miss.
How to Handle Mobile Gestures
Mobile interaction is all about touch, swipes, and pinches. While Playwright doesn't have a simple, built-in .swipe() method like you might find in a tool like Appium, it gives you all the fundamental building blocks you need to create any gesture imaginable.
You should always use page.touchscreen.tap() or locator.tap() for simple taps, as this correctly fires the underlying touch events. For more complex gestures like a swipe or a pinch-to-zoom, you can chain together lower-level actions like mouse.down(), mouse.move(), and mouse.up() to simulate the dragging motion.
My advice? Create a set of reusable helper functions for these common gestures. It's a great practice that will keep your test scripts clean, readable, and much easier to maintain.
Ready to stop wrestling with your CI pipeline and start shipping faster? Mergify's Merge Queue and CI Insights features help you automate pull request updates, batch CI runs to save costs, and pinpoint infrastructure flakes before they slow you down. See how you can build a more stable and efficient CI/CD workflow.