A Practical Guide to Playwright Component Testing

If you've spent any time with modern frontend development, you know it's all about components. We build our UIs piece by piece—a button here, a form there, a complex data grid over there. So why do we still test them by firing up the entire application?
Playwright component testing offers a much saner approach. It lets you test your UI components in complete isolation, running them in a real browser without the overhead of your full app. Think of it as a focused, high-speed feedback loop for the individual building blocks of your user interface, and it works beautifully with frameworks like React, Vue, and Svelte.
Why Playwright Is a Game-Changer for Component Testing
Let's get straight to the point: what makes Playwright the right tool for this job? It's not just another testing library. Unlike older tools that often add layers of abstraction, Playwright communicates directly with browser engines—Chromium, WebKit, and Firefox.
This architecture isn't just a neat technical detail. It has real-world consequences: your tests run faster and are significantly more reliable. That means quicker feedback for your developers and a more stable CI/CD pipeline. No more flaky tests that pass one minute and fail the next for no apparent reason.
This direct-to-browser approach is perfectly suited for the component-driven world we live in. Instead of spinning up an entire server and navigating through multiple pages just to see if a button's disabled state works, you can mount just that button and test it on its own. It’s a fundamental shift from the slow, cumbersome world of traditional end-to-end testing.
The Speed and Reliability Advantage
The core benefit here is cutting out the flakiness that often plagues other testing protocols. By running tests in a genuine browser environment, you're ensuring that what you're testing is precisely what your users will see and interact with. It’s that simple.
The Playwright team has built an entire ecosystem around this philosophy, offering a powerful, unified API for all major browsers. This focus on developer experience is a huge part of why it's become a favorite.

This philosophy simplifies the entire testing process, making it much easier for teams to write and maintain robust tests.
The big idea is to test small, test fast, and do it all in a real browser. Playwright component testing nails all three, giving you the confidence to build and ship resilient UIs.
To better understand this shift, it helps to see how component testing stacks up against the end-to-end (E2E) approach most of us are familiar with.
Playwright Component Testing vs Traditional End-to-End Testing
| Aspect | Component Testing | End-to-End Testing |
|---|---|---|
| Scope | Tests a single component in isolation (e.g., a button, a form). | Tests a complete user journey across multiple pages (e.g., login, purchase). |
| Speed | Extremely fast. Tests run in milliseconds. | Slower. Tests can take several seconds or even minutes. |
| Setup | Minimal. Mounts the component directly in a test harness. | Complex. Requires a running application, server, and database. |
| Feedback Loop | Instant. Developers get feedback as they code. | Delayed. Feedback often comes much later, usually in CI. |
| Flakiness | Low. Fewer moving parts mean more reliable tests. | High. Prone to network issues, timing problems, and external dependencies. |
| Use Case | Verifying component logic, appearance, and interactions. | Validating critical application flows and integrations. |
While E2E tests are still essential for validating critical user flows, component tests provide a faster, more granular level of quality control right where the code is being written. The two aren't mutually exclusive; they're complementary parts of a strong testing strategy.
A Rapidly Growing Ecosystem
The numbers speak for themselves. Playwright's adoption has been explosive, with a market share of 45.1% as of 2025. This isn't just a trend; it's a clear signal that development teams are moving towards more efficient and reliable testing tools. This growth has come at the expense of older, more brittle frameworks that are seeing their dominance decline.
This momentum is fueled by features developers have been asking for:
- True Isolation: Each test runs independently, so you don't have to worry about one test's state bleeding into another.
- Framework-First Support: It’s not an afterthought. Playwright was built with first-class support for React, Vue, and Svelte.
- Unified Tooling: You can use the same Playwright API and tooling for your component tests, API tests, and end-to-end tests, creating a consistent experience across your entire test suite.
This powerful combination of speed, reliability, and a unified API makes playwright component testing an invaluable addition to any modern developer's toolkit. To see how to put this into practice, check out our complete guide on Playwright component testing.
Your First Playwright Component Test Setup
Diving into Playwright component testing is refreshingly simple. If you've ever wrestled with complex configurations for other testing frameworks, you'll appreciate how quickly Playwright gets you from zero to writing your first test. It all starts with a single command.
This command fires up an interactive setup process right in your terminal, adding all the necessary dependencies and configuration files to your project. No manual fuss.
Initializing Your Project
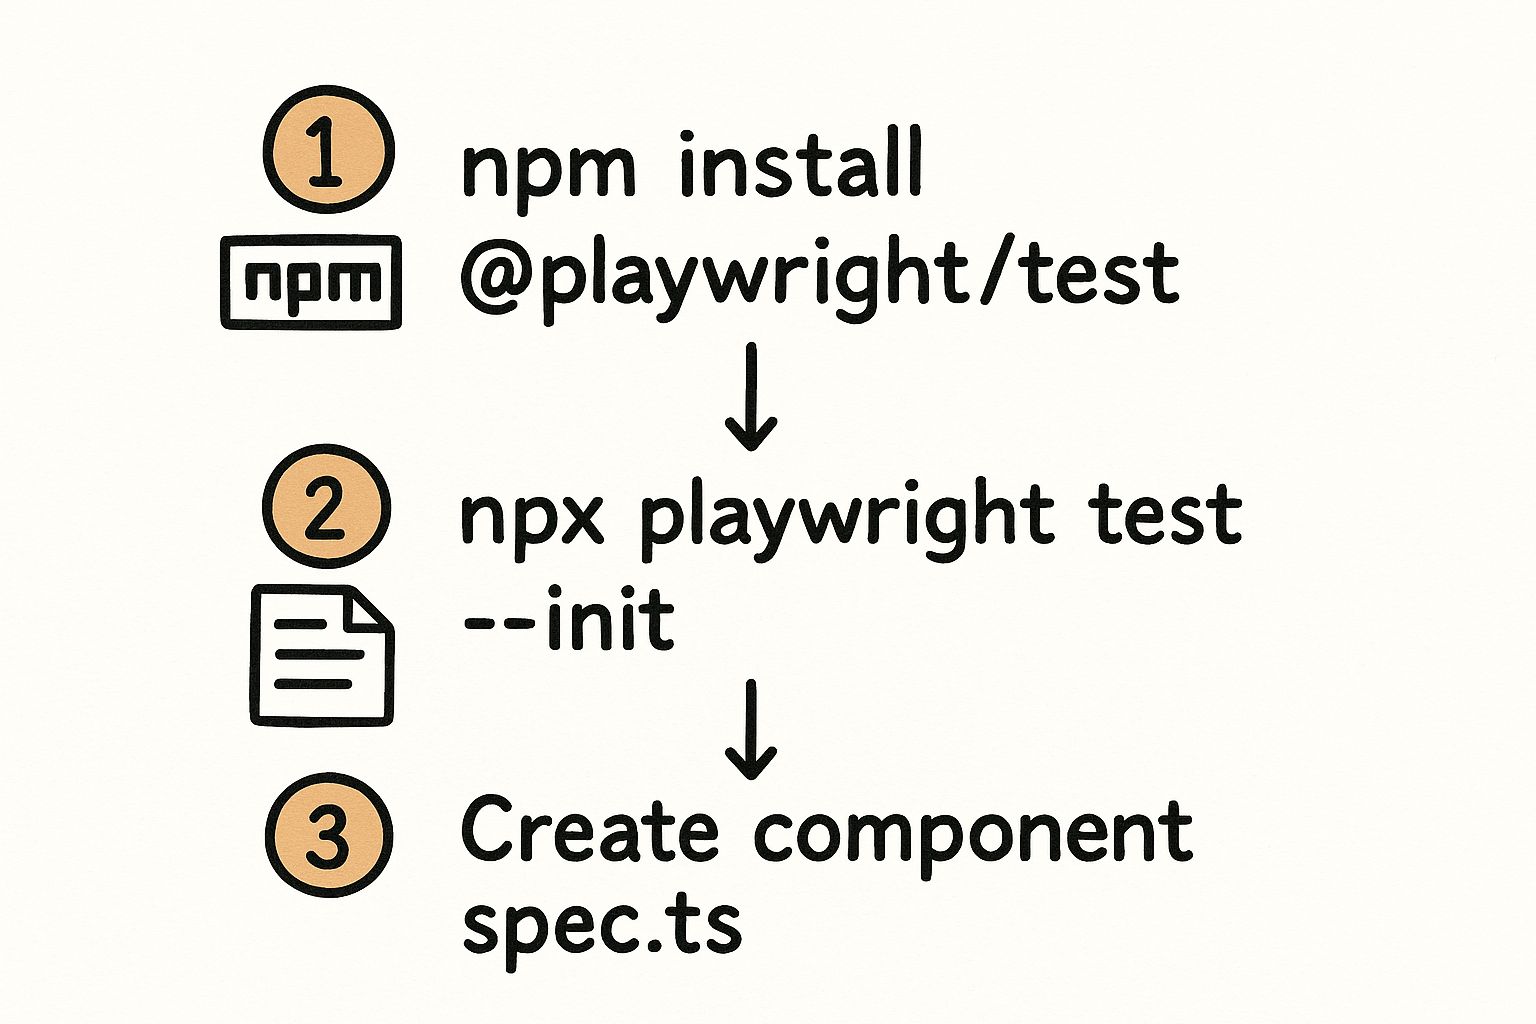
To get Playwright integrated into your project, you'll want to use its official initialization script. It's the best way to make sure everything is wired up correctly for component testing from the get-go.
Just pop open your terminal at your project's root and run this:
npm init playwright@latest -- --ct
That --ct flag is the key. It tells the installer you’re specifically setting up for component testing. The script will then walk you through a few quick questions—like which framework you’re using (React, Vue, Svelte) and where you want your tests to live. Once it’s done, you have everything you need.
The whole process is designed to be as direct as possible, getting you to the good part—writing tests—in just a few minutes.
As you can see, the path from installation to a working test is short, cutting out a ton of friction.
Understanding the Configuration Files
After the installer works its magic, you’ll find a couple of new files in your project. The most important one by far is playwright-ct.config.ts. This file is the command center for your entire component testing setup.
Think of playwright-ct.config.ts as the brain of your testing operation. It defines which browsers to test against, sets timeouts, and configures how test reports are generated. Getting familiar with it early on is key to building a scalable test suite.Inside this file, you can tweak all sorts of options:
- Projects: Define which browsers to run tests on (e.g., Chromium, Firefox, WebKit).
- Test Directory: Tell Playwright where to find your
*.spec.tsxor*.spec.jsxfiles. - Reporters: Choose how you want to see test results, whether it's a full HTML report or a simple dot matrix in the console.
- Web Server: Configure a dev server to mount your components if needed.
The other file you'll see is playwright/index.html. This is a lightweight HTML shell where Playwright will mount and render your components during tests. You'll rarely need to touch this file, but it's good to know what it’s for.
Creating Your First Component Test File
With the setup out of the way, you're ready to write a test. Playwright keeps the naming convention simple: test files just need to end with .spec.js, .spec.ts, or their JSX equivalents.
For instance, in a React project, you'd create a file like src/components/Button.spec.tsx right next to your Button.tsx component.
Placing tests alongside the components they cover is a fantastic practice. It makes it dead simple for any developer on the team to find, update, and run tests for the component they're working on. This small habit goes a long way in fostering a culture where testing is a natural part of the development workflow, not an afterthought.
Writing Component Tests That Actually Matter
Alright, with the setup out of the way, it's time to get to the good stuff. We need to move beyond the simple "does it render?" check. Meaningful playwright component testing is all about verifying behavior—how a component reacts when a user pokes it, when its props change, or when async events fire off. This is how you build real confidence in your UI.
Think about a common scenario: a component that fetches data. A basic test just confirms it shows up on the screen. A robust test, on the other hand, confirms it correctly displays a loading state, renders the data when the fetch succeeds, and shows a clear error message if it fails. Thankfully, Playwright makes simulating these states surprisingly straightforward.
The core of this process is simple: interact with your component just like a user would. That means clicking buttons, typing into fields, and then checking that the UI updated exactly as you expected.
Simulating User Interactions and State Changes
Playwright's real power comes from its locators and action commands. They give you a rock-solid way to find elements and mess with them. Let's take a classic example and test a simple counter button that increments a value on click.
A solid test for this boils down to three key steps:
- Mount the component in its default state.
- Find and click the increment button.
- Assert that the number on the screen has updated correctly.
This simple "act, then assert" pattern is the foundation for almost every valuable component test you'll ever write. It’s a powerful mental model to stick with.
Now imagine something a bit more complex, like editing a cell in a data grid. A test could double-click a cell, wait for an input field to appear, type in a new value, hit 'Enter', and then verify the cell's text has changed. This directly validates the entire user flow from start to finish.
import { test, expect } from '@playwright/experimental-ct-react'; import { Counter } from './Counter';
test('should increment the count on button click', async ({ mount }) => { // 1. Mount the component const component = await mount();
// 2. Locate the button and click it await component.getByRole('button', { name: 'Increment' }).click();
// 3. Assert the new state is reflected in the DOM await expect(component.locator('#count-display')).toContainText('1'); });
Testing Conditional Rendering with Props
Your components are rarely static. They render differently based on the props they receive, and testing this conditional logic is absolutely crucial for building a resilient UI.
For instance, a Button component might have a disabled prop. You need to write separate tests to cover both states.
- Test one: Mount
<Button disabled={false} />and assert that it's clickable. - Test two: Mount
<Button disabled={true} />and assert it is not clickable, and maybe even check that it has a different style.
This approach ensures every variation of your component works as designed. By mounting the component with specific props for each test case, you isolate each piece of logic. This makes your tests far easier to write, understand, and debug when they (inevitably) fail.
The real value of component testing emerges when you test each state your component can be in. By passing different props and simulating various user flows for each, you create a comprehensive safety net that catches regressions before they reach users.
Handling Asynchronous Operations
Modern web apps are swimming in asynchronous actions, like API calls. A component might show a loading spinner while fetching data, then pop in the results once they arrive. Your playwright component testing strategy has to account for this reality.
When you’re testing a data-fetching component, the flow looks something like this:
- Mount the component.
- Immediately check that the loading indicator is visible.
- Wait for the data to be fetched (or better yet, mock the network response so the test is fast and predictable).
- Assert that the loading indicator is now gone.
- Finally, assert that the data is correctly displayed on the screen.
Playwright's auto-waiting capabilities handle most of this gracefully. When you write something like expect(element).toBeVisible(), Playwright intelligently waits for a bit for that condition to become true. This is perfect for dealing with UI updates that don't happen instantly and makes testing async behavior much less flaky than it used to be with older tools.
Automating Your Tests with a CI/CD Pipeline
Writing tests is only half the battle. Their real power is unlocked when they run automatically on every single code change. When you integrate your Playwright component testing suite into a Continuous Integration/Continuous Delivery (CI/CD) pipeline, you create a safety net that ensures buggy code never makes it into your main branch.
Think of it as the ultimate gatekeeper. Using a platform like GitHub Actions, you can set up a workflow that triggers on every pull request. This workflow will check out your code, install all the dependencies, and run your entire component test suite. You get immediate feedback right there in the PR, preventing merges until every single check passes.
Setting Up a GitHub Actions Workflow
To get started, you'll need to create a workflow file inside your project. The standard location is .github/workflows/playwright.yml. This YAML file is the blueprint for your automated testing process, defining the sequence of jobs and steps that GitHub Actions will execute.
Here’s a quick rundown of what a solid workflow for Playwright component testing usually includes:
- Trigger: The workflow should run on both
pushandpull_requestevents. This means it kicks off for every commit and pull request, keeping your branches clean. - Jobs: A job is a set of steps that execute on a fresh virtual machine. You’ll have a primary
testjob to handle the entire validation process. - Steps: These are the individual commands that get things done, from checking out your repository and installing Node.js to caching dependencies and finally, running your tests.
This structure gives you a clean, repeatable process for validating your components every time. For a deeper look into automation strategies, you can explore more about Playwright automated testing and see how it fits into larger, more complex workflows.
A Practical Workflow Example
A well-structured workflow file is your key to success. You want it to be efficient, leveraging caching to speed up builds and publishing test reports to make analysis a breeze.
The screenshot below shows how GitHub Actions visualizes these steps. It provides a clear, real-time log of your pipeline as it runs.
This visual feedback loop is invaluable. When a build fails, you can quickly diagnose why—whether it was a flaky dependency or a legitimate test failure.
Key Takeaway: The whole point of a CI pipeline is fast, reliable feedback. Caching your node_modules directory is one of the most effective ways to slash your build times. I’ve seen jobs that take five minutes get cut down to under two, just with proper caching.A crucial final step in your workflow is to upload the test results as an artifact. Playwright generates a beautiful HTML report, and by uploading it, you can easily download and inspect the detailed results of any failed run. It comes complete with traces and screenshots, which makes debugging CI failures significantly less painful.
Advanced Techniques for a Bulletproof Test Suite
Once you've got your basic component tests running, it's time to level up. A solid foundation is great, but a bulletproof test suite is what separates the pros from the amateurs. This is where we move beyond just checking if a button clicks and start catching the subtle bugs that often slip into production.
Advanced playwright component testing isn't about making things overly complex. It's about being strategic and precise.
Two techniques I’ve found invaluable are visual regression testing and dependency mocking. They address common blind spots in testing, ensuring your components not only work correctly but also look right and aren't at the mercy of flaky external services.
Catching Unintended UI Changes with Visual Regression
We've all been there. A functional test passes with flying colors, but a tiny CSS tweak completely breaks the layout, knocks an icon out of alignment, or changes a color just enough to look wrong. These are the kinds of visual bugs that drive users (and designers) crazy.
Visual regression testing is your automated safety net for this. And luckily, Playwright has this capability baked right in with the toHaveScreenshot() assertion.
The process is refreshingly simple:
- The first time you run the test, Playwright snaps a "golden" or baseline screenshot of your component.
- On every run after that, it takes a new screenshot and compares it pixel-for-pixel against the baseline.
- If anything is different, the test fails. You get an immediate alert that something in the UI has changed, whether you intended it to or not.
This is a game-changer for component libraries and design systems where visual consistency is non-negotiable. It's like having an automated QA engineer with a perfect eye for detail, making sure your UI stays pixel-perfect with every single commit.
Isolating Components by Mocking Dependencies
Let’s be real: components rarely exist in a perfect bubble. They fetch data from APIs, interact with third-party services, or use browser APIs. Trying to hit real network endpoints in your component tests is a recipe for disaster—they're slow, unreliable, and can even cost you money.
The solution? Mock those dependencies.
Playwright’s page.route() method is your best friend here. It lets you intercept any network request your component makes and feed it a predictable, instantaneous response.
Mocking isn't just about making tests faster; it's about gaining complete control. It gives you the power to simulate every possible scenario—a loading state, a successful API call, a network error—without depending on an unpredictable external service.
By mocking API calls, you make your tests deterministic and laser-focused on your component's logic. This lines up perfectly with the core principles of a solid CI/CD pipeline, which you can read more about in our guide to CI/CD best practices.
This isn’t just a niche trick; it's a cornerstone of modern development. The global test automation market was valued at $15.87 billion in 2019 and is on track to hit nearly $49.9 billion by 2025. This growth is fueled by the demand for faster, more reliable workflows that techniques like advanced mocking make possible. When you master these strategies for your playwright component testing suite, you're putting yourself at the forefront of this industry shift.
Common Questions About Playwright Component Testing
As you start weaving a new testing strategy into your workflow, it's completely normal to have a few questions pop up. Getting those answered clearly is the best way to move forward with confidence. I've seen teams run into the same hurdles time and again, so let's tackle some of the most common questions developers have about Playwright component testing.
Think of this as your quick-start guide. We'll demystify some of the concepts that can be a bit confusing when you're just getting your bearings.
How Is Playwright Component Testing Different From Storybook?
This is probably the most frequent point of confusion I hear, but it's a great question. The short answer is they serve different, but very complementary, purposes.
- Storybook is fundamentally a development environment. It's a visual workshop where you can build, view, and document your UI components in total isolation from the rest of your app.
- Playwright component testing is a test runner. Its job is to automate interactions and run functional checks on those same isolated components to make sure they actually work as expected.
The real magic happens when you use them together. Many teams have a powerful workflow where they use Storybook for the visual development and documentation, and then layer on Playwright tests to programmatically verify that the components function correctly under all sorts of conditions.
Can I Test Components That Make API Calls?
Absolutely. But the trick here—and this is non-negotiable for reliable tests—is to always mock the API calls. If you let your component tests hit a real backend, you're inviting slowness and flakiness, which completely defeats the purpose of fast, isolated testing.
Playwright’s built-in network interception feature, page.route(), is your best friend here. It lets you intercept any outgoing network request your component tries to make and feed it an instant, predictable mock response instead.
By mocking API calls, you gain total control over your test environment. You can effortlessly simulate loading states, successful data fetches, and all kinds of error scenarios. This ensures your component can handle every possibility gracefully, without relying on any external services.
This approach keeps your test laser-focused on what you actually want to verify: your component's logic and how it renders.
Should I Use Component or End-to-End Testing?
There's no "or" here. The definitive answer is: you need both. They are not interchangeable. They test different layers of your application and are designed to catch entirely different kinds of bugs.
Component tests are the bread and butter of your testing suite. They're fast, you'll have a lot of them, and they're highly focused. They confirm that individual UI building blocks—a button, a form input, a dropdown—work correctly on their own. They form the broad, stable base of your testing pyramid.
End-to-end (E2E) tests, on the other hand, are slower and more comprehensive. They validate complete user journeys that might span multiple pages and even different services, like a full checkout process or a user signing up and creating their first project. These sit at the very top of the pyramid.
A solid testing strategy relies on having lots of granular component tests for wide coverage, backed by a smaller, carefully chosen set of E2E tests for your most critical user flows. The great news is that Playwright is exceptional at handling both.
At Mergify, we're all about helping teams build stable and efficient development workflows. Our Merge Queue and CI Insights features automate pull request updates to keep your codebase pristine and give you clear observability into your pipeline. You get to focus on building great software, and we'll handle the rest. Discover how we can cut your CI costs and put an end to developer frustration at https://mergify.com.