A Guide to Playwright Component Testing

Let's be honest: frontend development moves at a dizzying pace, and keeping quality high is a constant battle. This is where Playwright component testing comes in, bridging the critical gap between traditional unit tests and full-blown end-to-end (E2E) tests. It’s a powerful way to test individual UI components in a real browser environment, making sure they look and behave correctly in isolation.
Why Component Testing with Playwright Matters
Modern web apps are built from dozens, if not hundreds, of individual components. While unit tests are fantastic for verifying the business logic inside a function, they’re completely blind to the visual output. They can't tell you if a button is rendering correctly or if a critical CSS class is missing.
This is the exact problem Playwright component testing was designed to solve. It strikes a perfect balance, giving you more realism than a simulated DOM environment like JSDOM but with way less overhead and complexity than a full E2E test.
Finding the Sweet Spot in Your Testing Strategy
To see where component tests fit, it helps to visualize your testing strategy as a pyramid with three distinct layers.
Playwright Testing Types Compared
| Testing Type | Scope | Execution Speed | Primary Use Case |
|---|---|---|---|
| Unit Tests | Single function or module | Fastest | Validating business logic and algorithms in isolation. |
| Component Tests | Single UI component | Fast | Verifying visual rendering and user interactions (clicks, input). |
| End-to-End (E2E) Tests | Full user workflows | Slowest | Simulating complete user journeys across multiple pages. |
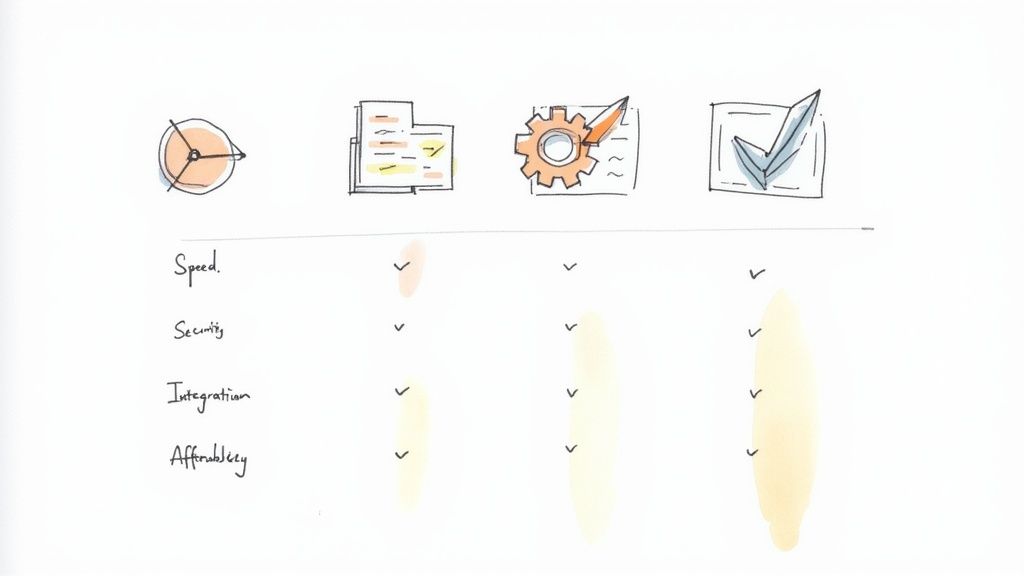
Each layer serves a purpose, but component tests hit that sweet spot between speed and confidence. They mount a single component and let you test its appearance and user interactions directly in a real browser. This gives you the best of both worlds—the speed of focused tests with the visual accuracy of a real user environment.
By testing components in isolation, you create a much faster feedback loop. Instead of waiting for a lengthy E2E suite to run, you can get immediate confirmation that your UI changes work as expected, right from your local machine.
The Real-World Benefits You'll Actually Feel
The adoption of Playwright component testing has surged recently, and for good reason. It’s quickly becoming a go-to for automation because it just works reliably across multiple browsers. In fact, industry analysis shows that teams using Playwright's parallel execution have cut their test suite run times by up to 50%, a massive boost for development velocity. You can dig into more findings on how Playwright is expanding its capabilities on contextqa.com.
The platform's own marketing nails its core value proposition.

This image perfectly captures Playwright's ability to run tests across any browser on any platform. It’s not just a nice-to-have; it's central to its power for component testing.
This underscores the promise of writing one test and having confidence it works everywhere your users are. This cross-browser capability is crucial for catching those frustrating UI inconsistencies that are completely invisible to other testing methods that don't use real browser engines.
Your First Playwright Component Test Setup
Jumping into Playwright component testing is refreshingly simple. I’ve wrestled with plenty of testing setups that feel like you’re piecing together a puzzle with half the pieces missing. Playwright, on the other hand, practically holds your hand through it, using a single command to get everything installed and configured for your specific framework.
To get started, just pop open your terminal in your project’s root directory and run this command:
npm init playwright@latest -- --ct
This kicks off a friendly, interactive installer. It’s smart enough to ask about your framework (like React, Vue, or Svelte), where you want to keep your tests, and if you'd like to set up a GitHub Actions workflow right away. My advice? Just stick with the defaults for your first run. It’s the quickest way to get going. This one command installs everything you need, from @playwright/test to the right test runner for your framework (like @playwright/experimental-ct-react).
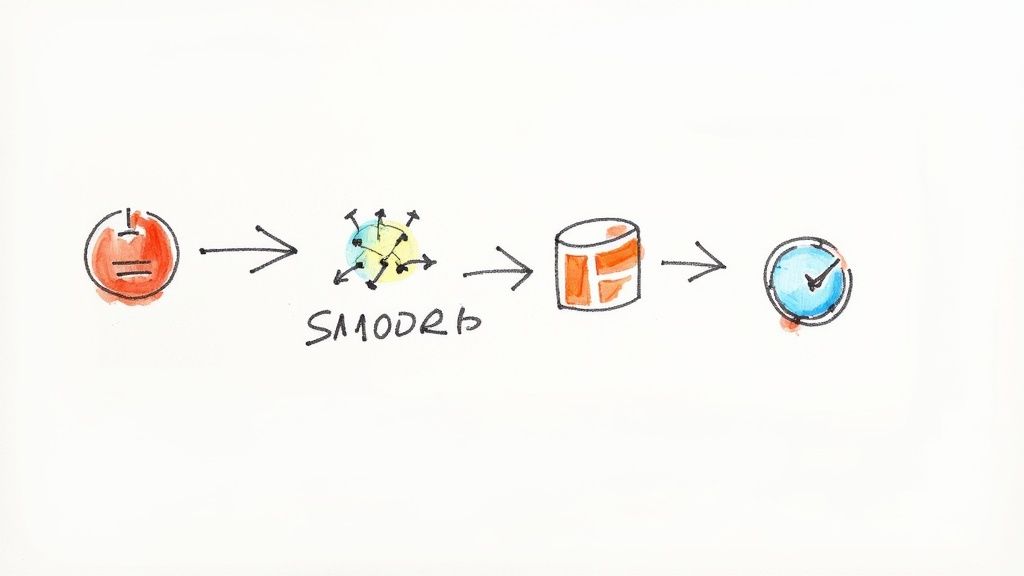
It's a straightforward process: install, configure, and run. This infographic gives a great high-level view.
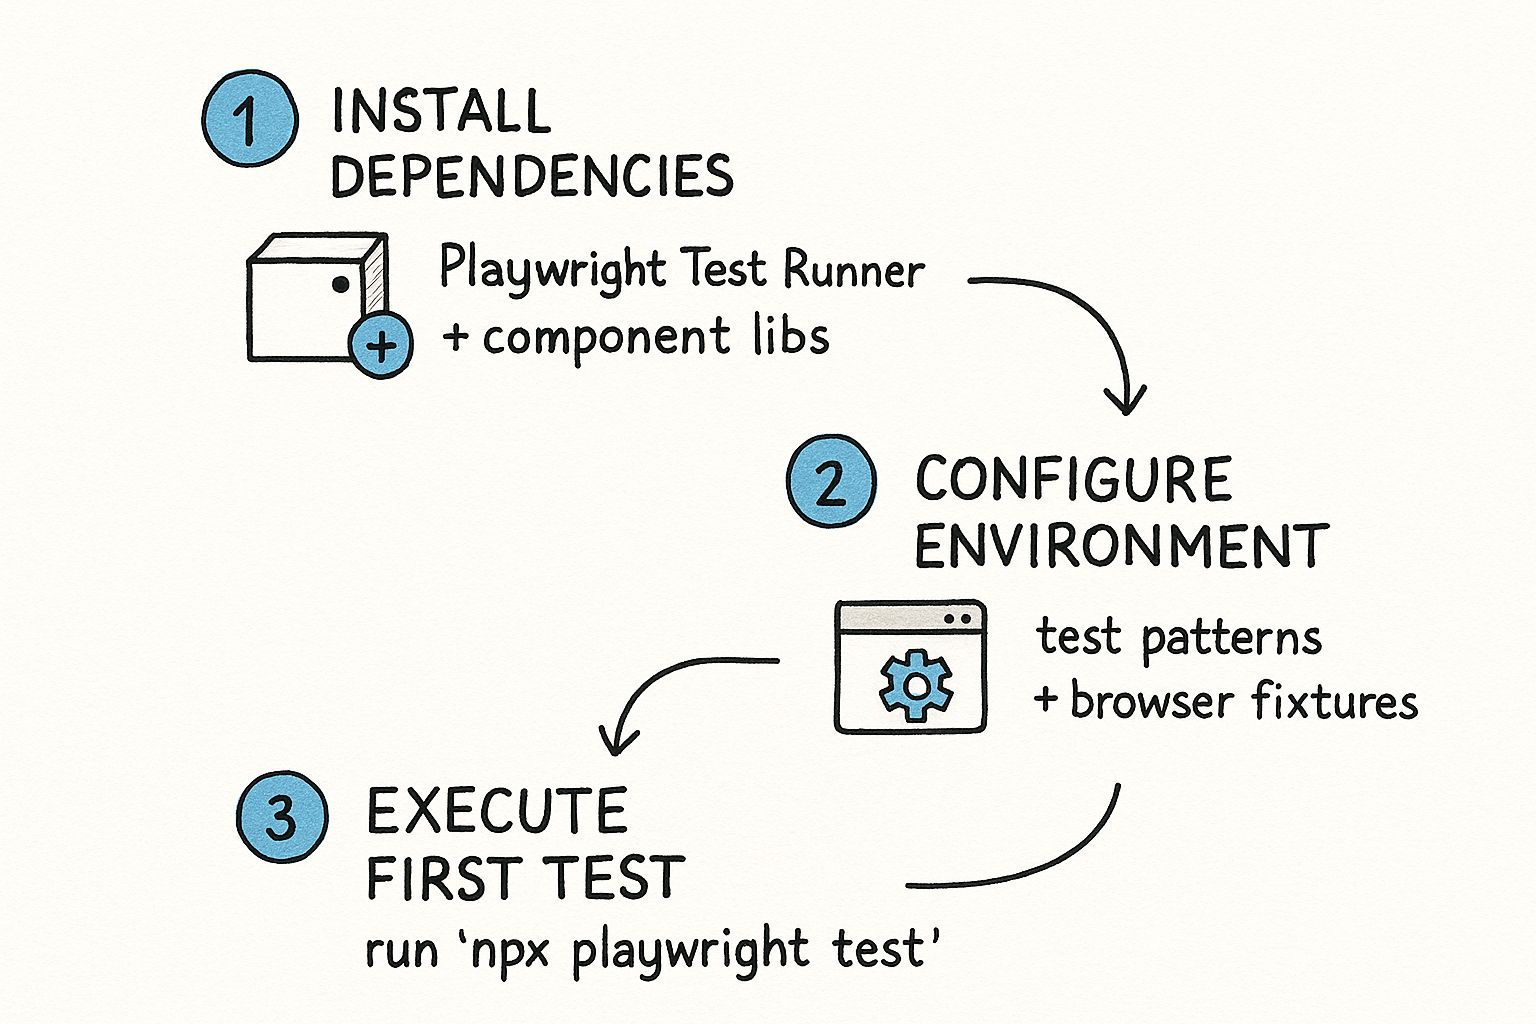
As you can see, the path from installation to running your first test is clean and repeatable.
Making Sense of the Configuration File
Once the installer finishes, you'll find a new file in your project: playwright-ct.config.ts. Think of this as the command center for all your component tests. It can look a little intimidating at first with all the options, but you only need to understand a few key properties to get started.
Here are the ones that matter most initially:
testDir: This tells Playwright where your test files live. The default is usually./, meaning it scans your entire project.snapshotDir: If you start doing visual regression testing, this is where Playwright will save the baseline screenshots.timeout: A global time limit for each test, set in milliseconds. It’s a safety net to stop tests from running forever if something goes wrong.use: A powerful section for setting global options. Here, you can turn on video recording, configure tracing for debugging, or define the browser viewport size for all tests.
My Advice: Don't get bogged down in the config file. The defaults are perfectly fine to start. You can always come back later to tweak things like browser settings or reporting as your test suite grows. For more context on the bigger picture of test automation, our guide on Playwright automation testing is a great resource.
Writing Your First Real Test
Now for the fun part—actually writing a test. Let's say we have a basic Button component. Our goal is simple: make sure it renders and shows the right text.
First, create a test file right next to your component. A common convention is Button.spec.tsx. Here, Playwright gives us a special mount function, and it’s the star of the show. Instead of firing up a whole webpage, mount renders just your component on a blank test page. This makes your tests incredibly fast and completely isolated.
Here’s what a simple test for our Button component would look like:
import { test, expect } from '@playwright/experimental-ct-react'; import Button from './Button';
test('should render the button with correct text', async ({ mount }) => { // 1. Mount the component with a 'Click Me' label const component = await mount(Click Me);
// 2. Assert that the component contains the text 'Click Me' await expect(component).toContainText('Click Me'); });
Let's break that down. The test mounts the Button with the text "Click Me" inside. The mount function gives us back a locator, which is how Playwright finds and interacts with the component in the DOM. Finally, the assertion expect(component).toContainText('Click Me') checks if the rendered button actually contains our text. Simple.
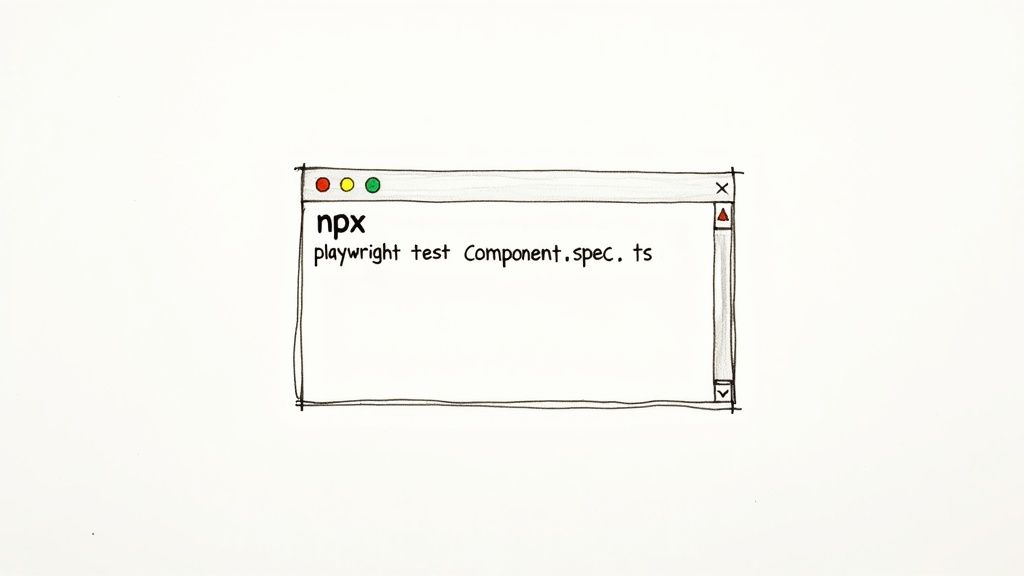
To see it in action, run this command from your terminal:
npx playwright test --ct
Playwright will find your test, spin up a browser engine, mount the component, check the assertion, and give you the results. And just like that, you’ve gone from zero to a passing component test.
Writing Component Tests That Actually Work
Getting a test to pass is just the starting line. The real challenge—and where the value lies in Playwright component testing—is crafting tests that confirm your components work exactly how a user expects. This means moving past simple rendering checks and diving into the world of simulating genuine user behavior.
A truly valuable test answers one simple question: "Does this component do its job when someone interacts with it?" To find out, we have to mimic those interactions—clicking buttons, typing into forms, and triggering events. This is where the art of writing effective tests really shines.
Simulating Real User Interactions
Let's ground this with a common example: a login form. This component isn't just a collection of inputs and a button; it has a clear purpose. Our test needs to prove it fulfills that purpose correctly.
Instead of just checking if a "Submit" button renders on the page, we need to test the entire user journey:
- First, mount the component with any necessary props, like an
onSubmithandler. - Next, fill the input fields with a mock username and password.
- Then, simulate a click on the submit button.
- Finally, verify the outcome. Did the
onSubmitfunction get called with the right data?
This approach tests the component's public contract—what it promises to do—not its internal wiring. As long as the user-facing behavior stays the same, your test will pass, even if you refactor the component's internal state management or swap out CSS classes.
A great component test is resilient to refactoring. Focus on the user's experience and the component's public API (its props). That way, your tests won't break every time you change adivto aspan.
A Practical Example: A Login Form Test
Let's turn that theory into actual code. Imagine a simple LoginForm component that accepts an onSubmit prop. We want to test that when a user fills it out and clicks "Login," our function is called with the form's data.
Here’s how you could write that test using Playwright:
import { test, expect } from '@playwright/experimental-ct-react'; import { spy } from 'sinon'; import LoginForm from './LoginForm';
test('should call onSubmit with credentials on form submission', async ({ mount, page }) => { // 1. Create a "spy" to watch if our function gets called const onSubmitSpy = spy();
// 2. Mount the component, passing the spy as a prop const component = await mount();
// 3. Locate and fill the input fields await component.getByLabel('Username').fill('testuser'); await component.getByLabel('Password').fill('password123');
// 4. Locate and click the submit button await component.getByRole('button', { name: 'Login' }).click();
// 5. Assert that our spy was called correctly expect(onSubmitSpy.calledOnce).toBe(true); expect(onSubmitSpy.getCall(0).args[0]).toEqual({ username: 'testuser', password: 'password123', }); });
This test is incredibly powerful because it mirrors the user's actions and confirms the expected side effect. We're using sinon to create a spy function, a common technique for tracking function calls without interfering with them. It’s a clean and reliable way to verify that the component is behaving as promised.
The Power of Playwright Locators
Did you notice how we found elements with getByLabel and getByRole? These are Playwright’s user-facing locators, and they are your best friends for writing durable tests. They target elements based on attributes that are meaningful to users, like visible labels and accessibility roles.
Here’s why that matters so much:
- Resilience to Change: If a designer wraps your button in a new
divor changes its class name, your test won't care. It’s still a button with the name "Login." - Improved Accessibility: Writing tests this way nudges you toward building more accessible components from day one. If your test can’t find an element by its label or role, it’s a red flag that users with screen readers might struggle, too.
Try to avoid brittle locators like CSS classes or specific XPath selectors. While they have their uses, leaning on them makes your test suite fragile. A small, unrelated style change could trigger a cascade of failing tests, creating noise and eroding trust in your test suite. Your goal should always be to write Playwright component testing scripts that validate outcomes, not implementation details.
Using Data-Driven Tests for Better Coverage
As your test suite starts to grow, you'll inevitably run into a common, frustrating pattern. You find yourself writing the same test logic over and over, just with slightly different inputs.
Think about testing a simple component, like a user profile card. You need to make sure it renders correctly for an admin, a standard user, a guest with an unusually long name, or even a user who hasn't uploaded a profile picture. Writing a separate test() block for every single scenario is not just tedious—it’s a maintenance nightmare waiting to happen.
This is where you need a more strategic approach: data-driven testing.
The core idea is simple but incredibly powerful. You separate your test logic from your test data. You write one single, reusable test function and then feed it multiple sets of data, letting Playwright automatically run the same logic against each variation.
This approach is a total game-changer for Playwright component testing, especially when dealing with components that have a lot of conditional rendering or complex validation rules.
How to Structure Data-Driven Tests
Playwright makes this surprisingly easy. You can just loop over an array of test cases right inside your test file. The trick is to define your different scenarios as an array of objects, where each object represents a unique state you want to test.
Let's go back to our user profile card example. The data might look something like this:
const testUsers = [ { role: 'Admin', name: 'Jane Doe', expectedStatus: 'Administrator Access', hasAvatar: true, }, { role: 'Member', name: 'John Smith', expectedStatus: 'Standard Member', hasAvatar: true, }, { role: 'Guest', name: 'A Visitor With An Exceptionally Long Name', expectedStatus: 'Guest Access', hasAvatar: false, }, ];
This array clearly lays out three distinct test cases. Instead of writing three separate tests, we can use a simple for...of loop to generate a test for each user automatically.
for (const user of testUsers) { test(should render correctly for a ${user.role}, async ({ mount }) => { const component = await mount(<ProfileCard {...user} />);
// Assertions based on the current user data
await expect(component.getByText(user.name)).toBeVisible();
await expect(component.getByText(user.expectedStatus)).toBeVisible();

if (user.hasAvatar) {
  await expect(component.getByRole('img')).toBeVisible();
} else {
  await expect(component.getByRole('img')).toBeHidden();
}
}); } And just like that, with only a few lines of code, we've built a scalable test that covers multiple component states. It's clean, efficient, and far easier to update than three separate test blocks.
Scaling with External Data Files
For simple cases, defining data in the test file is fine. But once you get into more complex scenarios, that array of test data can get unwieldy. A much cleaner practice is to move your test data into an external file, like a dedicated JSON file, and simply import it.
This isn't just a matter of preference; it's a core principle of modern, maintainable testing. Running a single test script against hundreds of data permutations is how top teams achieve massive test coverage with minimal code duplication. By decoupling your logic from your data, you open the door to sourcing test cases from JSON, CSV, or even a database. This makes it incredibly easy to validate against diverse, real-world scenarios without writing a single new line of test logic.
You can learn more about this powerful, maintainable approach and its impact on component testing strategies.
Key Takeaway: Data-driven testing transforms your test suite from a collection of repetitive, brittle scripts into a lean, powerful engine. It helps you maximize coverage with minimal code, making your tests easier to read, update, and scale as your application grows.
Integrating Playwright into Your CI/CD Pipeline
Writing solid component tests on your local machine is a fantastic start, but their real power is unlocked when you automate them. By integrating Playwright component testing into your Continuous Integration and Continuous Deployment (CI/CD) pipeline, your tests transform from a personal safety net into an automated quality gate for the entire team. This is how you prevent buggy component code from ever reaching the main branch, saving everyone time and headaches down the line.
The goal is simple: run the test suite automatically every time someone opens a pull request. This gives developers immediate feedback, confirming their changes haven't accidentally broken an existing component. For this, we'll turn to GitHub Actions, a powerful and popular CI/CD tool that works seamlessly with Playwright.
Setting Up a GitHub Actions Workflow
If you chose to add a GitHub Actions workflow during the initial Playwright setup (npm init playwright@latest -- --ct), you're already ahead. A file named playwright.yml was likely created in your project's .github/workflows/ directory. If not, no worries—creating one is straightforward.
This YAML file is the recipe for your automated workflow, telling GitHub what to do and when to do it. A typical workflow for Playwright component tests will execute on every push and pull_request that targets your main branches.
Here's a foundational example of what your playwright.yml might look like:
name: Playwright Component Tests on: push: branches: [ main, master ] pull_request: branches: [ main, master ] jobs: test: runs-on: ubuntu-latest steps: - uses: actions/checkout@v4 - uses: actions/setup-node@v4 with: node-version: 18 - name: Install dependencies run: npm ci - name: Install Playwright browsers run: npx playwright install --with-deps - name: Run Playwright component tests run: npx playwright test --ct
This workflow is clean and effective. It checks out your code, sets up Node.js, installs all project and browser dependencies, and finally runs the component tests. It's a great starting point. For more ideas, it's always worth exploring some widely recognized continuous integration best practices that apply to any project.
Optimizing Your Pipeline for Speed and Insights
A basic setup works, but we can make it much more efficient. As your test suite grows, the last thing you want is for your CI pipeline to become a bottleneck. Two key optimizations will make a world of difference: parallel execution and artifact reporting.
Playwright’s excellent CI/CD support is a huge reason for its popularity. It fully supports containerized environments like Docker, guaranteeing that tests run in a consistent, isolated setting every single time. Better yet, its built-in support for parallel test execution can dramatically slash your test suite’s runtime—often by 40-60%. That’s a massive win for any fast-moving team.
Key Takeaway: Running tests in parallel is one of the most impactful changes you can make. It splits your tests across multiple virtual machines, or "shards," allowing them to run simultaneously and finishing the entire job much faster.
Another crucial optimization is automatically uploading the test results. When a test fails in the CI pipeline, digging through text-based logs to find the cause can be a real pain. Thankfully, Playwright generates a beautiful HTML report that makes debugging a breeze.
You can configure your GitHub Actions workflow to automatically upload this report as a build artifact. This means that every time a workflow run completes, you'll find a downloadable, interactive report waiting for you directly on the pull request.
Here’s how to add that upload step to your YAML file:
always()condition: This ensures the report is uploaded even if the test step fails.actions/upload-artifact@v4: The official GitHub Action for uploading files.name: The name you want to give the artifact, likeplaywright-report.path: The location of the generated report, which is usuallyplaywright-report/.
By adding this step, you give developers immediate visual feedback on what went wrong. It turns your CI pipeline from a simple pass/fail gate into a genuinely helpful and collaborative tool. A failing build is no longer a cryptic error but an actionable starting point for a fix.
Common Questions About Playwright Component Testing
As you start weaving Playwright component testing into your workflow, some practical questions are bound to pop up. It's natural. You begin to see the power, but then you wonder how it plays with your existing tools or handles the messy reality of complex components.
Let's tackle those common sticking points head-on. This isn't a theoretical overview; it's a collection of direct answers to the questions we see developers ask the most. We'll cover everything from Storybook to API mocking to performance, giving you the clarity you need to move forward with confidence.
How Is Playwright Component Testing Different from Storybook?
This is easily one of the most common questions, and it makes perfect sense. On the surface, both tools help you work with components in isolation, but they serve fundamentally different purposes—and they actually complement each other beautifully.
Storybook is your component workshop. It’s an interactive dev environment built for creating, viewing, and documenting UI components. It's the perfect place for visual exploration, tweaking props in real-time, and building out a living design system for your whole team to reference.
Playwright component testing, on the other hand, is your automated quality assurance engine. Its job is to programmatically test that your components behave correctly in a real browser environment.
Think of it like this: You use Storybook to build and visually perfect your component. Then, you write a Playwright component test to confirm its logic works—like making sure an onClick event fires correctly or a form's validation kicks in when it should.While Storybook has its own addons for interaction testing, Playwright offers a far more robust, dedicated automation framework. You get advanced features like network interception, powerful locators, and seamless CI/CD integration that are all purpose-built for creating a rock-solid, automated test suite.
Can I Test Components That Make Network Requests?
Absolutely, and this is where Playwright really flexes its muscles. It's a rare component that lives in a complete vacuum. Most need to fetch data, submit forms, or talk to an API. Trying to test these without a live backend can feel daunting, but Playwright makes it surprisingly straightforward.
The secret sauce is Playwright’s page.route() function. This incredibly powerful feature lets you intercept any network request your component tries to make during a test run. Once intercepted, you have total control over the response.
This means you can easily simulate any scenario imaginable:
- Success States: Return a mock JSON payload to check how your component renders with realistic data.
- Loading States: Introduce a small delay in the response to verify your loading spinner appears as expected.
- Error Conditions: Send back a 404 or 500 status code to confirm your error-handling logic and UI work perfectly.
By mocking API responses, your component tests become faster, more reliable, and completely detached from external services. This is a massive win for consistency, especially when running tests in a CI/CD pipeline where a live backend might not even be available.
What Is the Performance Overhead of Testing in a Real Browser?
It’s a fair assumption: running tests in a full browser engine like Chromium or WebKit must be slower than a simulated DOM like JSDOM. And while there's a slight overhead, the reality is that Playwright is obsessively optimized for speed.
The small performance trade-off is almost always worth it. Why? Because you're testing how your component will actually behave for a real user. This lets you catch browser-specific rendering bugs, CSS quirks, and interaction issues that are completely invisible to a DOM simulator.
Playwright uses several clever strategies to keep things moving fast:
- Browser Context Reuse: It intelligently reuses browser processes across tests, cutting down on startup time.
- Parallel Execution: It runs your tests in parallel by default, splitting the work across multiple workers to slash the total execution time.
For a single component test, the process is incredibly quick—often finishing in just a couple of seconds. That tiny bit of extra time is a small price to pay for the huge leap in confidence you get from testing in a true-to-life environment.
When Should I Choose Component Tests Over E2E Tests?
This isn't about one being "better" than the other. It's about picking the right tool for the right job. Component tests and end-to-end (E2E) tests are both vital parts of a healthy testing strategy, but they operate at different levels of your application.
- Use Component Tests to... verify individual UI components in isolation. They're perfect for interactive forms, data tables, custom dropdowns, and complex modals. Because they're focused, they run fast, are highly stable, and excel at catching bugs early in the development cycle.
- Use E2E Tests to... verify critical user journeys that span multiple pages and components. These are for testing an entire checkout process, a user registration flow, or any multi-step workflow that represents a core part of your business.
Think of component tests as your first line of defense. They are far less likely to break from unrelated changes, which helps you avoid the headache of flaky tests. For a deeper dive into that all-too-common problem, you can read our developer's guide to flaky test detection and prevention. E2E tests are your final validation, ensuring all the individual pieces work together to deliver a seamless user experience.
At Mergify, we know that a smooth and efficient CI pipeline is the backbone of any high-performing development team. By automating pull request updates and intelligently batching CI runs, Mergify cuts down on merge conflicts, reduces CI costs, and helps your team ship stable code faster. Discover how Mergify can streamline your workflow.