Mobile Testing Playwright: Complete Guide to Seamless Mobile Tests

Of course, mobile testing with Playwright is not just possible—it's one of the most efficient ways to handle web applications today. It truly shines when it comes to emulating mobile browsers like Chrome for Android and Mobile Safari. This lets you test responsive designs and mobile-specific features right inside your usual development workflow, sidestepping the need for sluggish and expensive physical device farms.
Why Playwright Is a Game-Changer for Mobile Web Testing
It’s no surprise that so many development teams are making the switch to Playwright for their mobile web testing. Its real power comes from its built-in device emulation capabilities, which are incredibly robust. We're not just talking about resizing a browser window here; this is about genuinely mimicking the specific characteristics and behaviors of actual mobile devices.
Ditching the Device Farm
The old way of doing mobile testing usually meant dealing with physical device farms or cloud services that were expensive, slow, and a pain to manage. Playwright completely flips that model on its head. Instead of juggling real hardware, you just define the device profiles you need directly in your configuration.
This approach brings some huge wins:
- It’s way cheaper. You cut out massive infrastructure costs by eliminating the need for physical devices.
- You get speed and scale. Running hundreds of tests in parallel across different mobile profiles from your CI/CD pipeline becomes trivial.
- Your workflow gets simpler. Mobile testing is no longer a separate, clunky step but an integrated part of how you build software.
This shift means teams can catch mobile-specific bugs much earlier and with far more confidence.
Before we go further, it's worth seeing how these two approaches stack up.
Playwright Emulation vs Traditional Device Farms
| Feature | Playwright Mobile Emulation | Traditional Device Farms |
|---|---|---|
| Setup Cost | Essentially zero; included with the framework | High initial investment for hardware or significant subscription fees |
| Maintenance | Minimal; just update software versions | Complex; requires physical maintenance, OS updates, and device management |
| Execution Speed | Very fast; tests run in parallel on a single machine or CI runner | Slow; limited by the number of physical devices and network latency |
| Scalability | Highly scalable; spin up as many instances as your CI has capacity for | Limited by the physical number of devices available |
| Realism | High for viewport, user agent, and touch events; cannot test hardware features | Highest; real hardware for testing camera, battery, or cellular components |
Ultimately, for most web application testing, Playwright's emulation provides the perfect balance of speed, cost, and realism, making it the practical choice for modern development teams.
Simulating Real-World Conditions
A great mobile experience is about more than just a layout that looks good on a small screen. Playwright gets this, providing tools to simulate the often-unpredictable reality of how people use their phones. You can easily throttle network speeds to see how your app handles a 'Slow 3G' connection or even test its behavior when it’s completely offline.
By letting you simulate real-world network conditions and different geolocations, Playwright helps you build a more resilient and robust user experience. It’s about making sure your application works for everyone, everywhere.
This kind of testing is absolutely vital in a world where performance has a direct line to user satisfaction and retention. The demand for effective mobile testing is exploding, driven by the sheer dominance of mobile traffic. In fact, the mobile application testing market is on track to grow from about $10.18 billion in 2025 to a staggering $42.4 billion by 2033.
To dig deeper into this trend, check out our complete guide on Playwright for mobile testing. This massive growth underscores why tools offering realistic simulation are becoming non-negotiable for any serious development team.
Setting Up Your Project for Mobile Emulation

Starting a new project can feel like standing at the bottom of a mountain, but getting Playwright ready for mobile testing is more like a brisk walk. This isn't just a dry list of commands; it’s a practical guide to configuring your environment from the ground up, with some real-world context thrown in.
First things first: you'll need Node.js installed, as Playwright is built on top of it. A quick node -v in your terminal will tell you if you're good to go.
With that sorted, you can kick off a new project directory and let Playwright's interactive wizard do the heavy lifting.
npm init playwright@latest
This single command scaffolds everything you need. It generates a playwright.config.ts file, whips up some example tests, and even installs the browser binaries—Chromium, Firefox, and WebKit—that are essential for broad test coverage.
Configuring Your Mobile Devices
The real magic for mobile testing with Playwright happens inside the playwright.config.ts file. This is your command center, where you tell Playwright exactly which mobile devices to pretend to be. The good news is that Playwright ships with a huge list of pre-configured device profiles, which makes this part surprisingly easy.
Let's imagine your team needs to guarantee a new feature looks pixel-perfect on an iPhone 13 and a Google Pixel 5. You'd simply define these as separate "projects" right in your config file.
Here’s what that looks like in practice:
import { defineConfig, devices } from '@playwright/test';
export default defineConfig({
projects: [
// Setup project for Mobile Chrome
{
name: 'Mobile Chrome',
use: { ...devices['Pixel 5'] },
},
// Setup project for Mobile Safari
{
name: 'Mobile Safari',
use: { ...devices['iPhone 13'] },
},
],
});
With this setup, Playwright will now run your test suite against both emulated devices. Each of these devices presets includes all the critical details—viewport size, user agent string, device scale factor, and touch support—to give you a high-fidelity simulation.
The beauty of this approach is how adaptable it is. Need to test on a Samsung tablet? Just add another project using devices['Galaxy Tab S4']. It keeps your mobile testing strategy both powerful and incredibly easy to maintain.Creating Custom Device Profiles
Of course, sometimes the built-in list isn't quite enough. You might be debugging a weird layout issue that only shows up at a specific breakpoint, or maybe you need to test against a brand-new device that isn't on the list yet.
For those moments, you can define a completely custom device right in the configuration.
Let's say you need to test a custom viewport of 390x844 pixels. You can set it up directly like this:
// Inside your projects array in playwright.config.ts
{
name: 'Custom Mobile Device',
use: {
browserName: 'webkit',
viewport: { width: 390, height: 844 },
isMobile: true,
hasTouch: true,
userAgent: 'Your-Custom-User-Agent-String-Here',
},
},
This level of flexibility means you're never boxed in by the defaults. By getting comfortable with both pre-configured and custom device setups, you have total command over your mobile testing environment.
If you want to go even deeper on this, you can explore more about Playwright mobile app testing strategies. With your project all configured, you're now ready to get down to writing the actual tests.
Writing Your First Mobile Test Script
Now that you've configured your project for mobile emulation, it’s time to move from theory to practice and write some code. This is where you’ll really see the power of mobile testing with Playwright. We're going to tackle a classic real-world scenario: testing a responsive navigation menu that only appears on smaller screens.
This is a perfect starting point. It’s a common feature on almost every website, and it lets us explore how Playwright’s smart locators and clear assertions make it simple to interact with the emulated mobile view and confirm everything behaves exactly as it should.
Interacting with Mobile Elements
Let's imagine our website has a hamburger menu button that’s only visible on mobile. Our first test will confirm this behavior. Inside your test file (something like mobile-nav.spec.ts), we'll write a test that navigates to our site and checks for that menu button.
We'll use Playwright's test() block to define our test case. The page fixture, which Playwright provides automatically, is our main tool for interacting with the web page.
import { test, expect } from '@playwright/test';
test('should display the hamburger menu on mobile', async ({ page }) => {
// Navigate to the target website
await page.goto('https://your-website.com');
// Find the hamburger menu button
const hamburgerMenu = page.locator('#mobile-menu-button');
// Assert that the menu button is visible
await expect(hamburgerMenu).toBeVisible();
});
In this script, page.locator() finds an element with the ID mobile-menu-button. The real magic, though, is in expect(hamburgerMenu).toBeVisible(). This is a web-first assertion, meaning Playwright automatically waits for the element to appear before the check fails. This one feature makes your tests far more stable and less flaky.
Simulating Touch and Verifying Results
Next, let's expand the test. We'll simulate a user tapping the hamburger menu and then verify that the navigation links appear. This involves chaining actions and assertions together to test a complete user flow.
test('tapping the hamburger menu should reveal navigation links', async ({ page }) => {
await page.goto('https://your-website.com');
const hamburgerMenu = page.locator('#mobile-menu-button');
await hamburgerMenu.click(); // Simulates a tap or click event
const navLinks = page.locator('.mobile-nav-links');
// Verify the container with the links is now visible
await expect(navLinks).toBeVisible();
});
This script builds right on top of the previous one. After finding the menu button, hamburgerMenu.click() simulates a user's tap. We then locate the container for our navigation links and assert that it becomes visible after the click.
Key Takeaway: Always use locators that are resilient to change. Relying on unique IDs, data-testid attributes, or ARIA roles is much more robust than using fragile CSS classes or complex XPath selectors that can break with minor design updates.The rapid adoption of Playwright speaks volumes. By 2025, it had already surged to become the leading UI automation framework, overtaking long-time giants like Selenium. Just look at the GitHub metrics: Playwright boasts over 74,000 stars and is used in around 412,000 repositories. This momentum is driven by faster, more stable tests and native support for modern browser features—including the seamless mobile emulation we're using here. You can dig deeper into this significant shift in testing preferences on Belitsoft.com.
By combining these simple but powerful commands, you're building a strong foundation for a comprehensive mobile testing Playwright suite. You're now equipped to write stable, effective tests that ensure your mobile user experience is flawless.
Automating Mobile Tests with Mergify and CI/CD
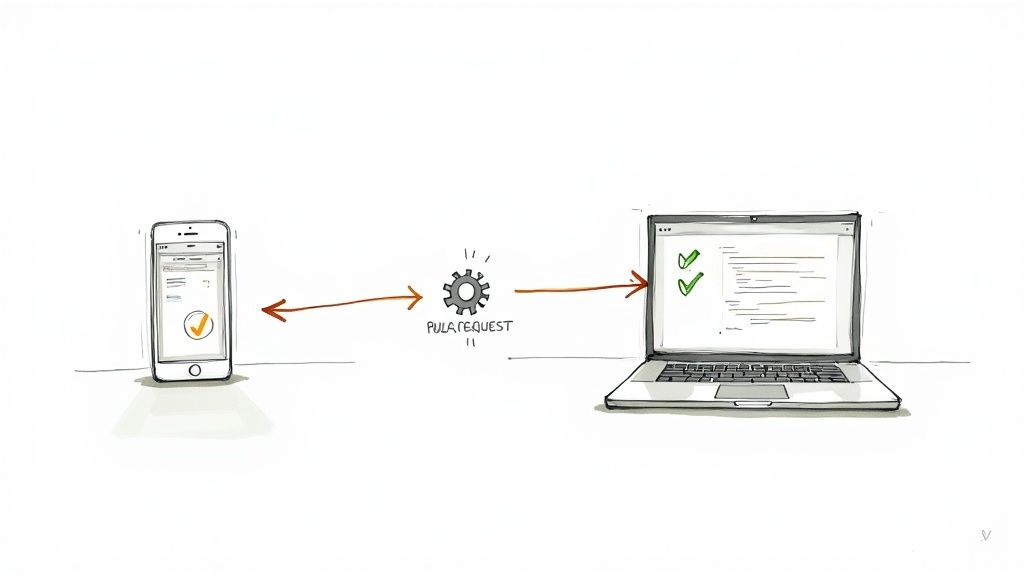
Writing tests is only half the battle. The real magic happens when your mobile testing with Playwright runs on autopilot, shielding your project from regressions without you lifting a finger. This is where a robust CI/CD pipeline comes into play. By hooking our tests into tools like GitHub Actions and Mergify, we can build a seriously powerful quality gate.
This kind of setup means no pull request gets merged until every last mobile test passes. It's an automated checkpoint that gives your team instant feedback and stops code that breaks the mobile experience from ever hitting your main branch. It’s all about shipping faster and with more confidence.
This diagram lays out the basic automated flow, from spinning up the test environment and running the tests to reporting back the results.
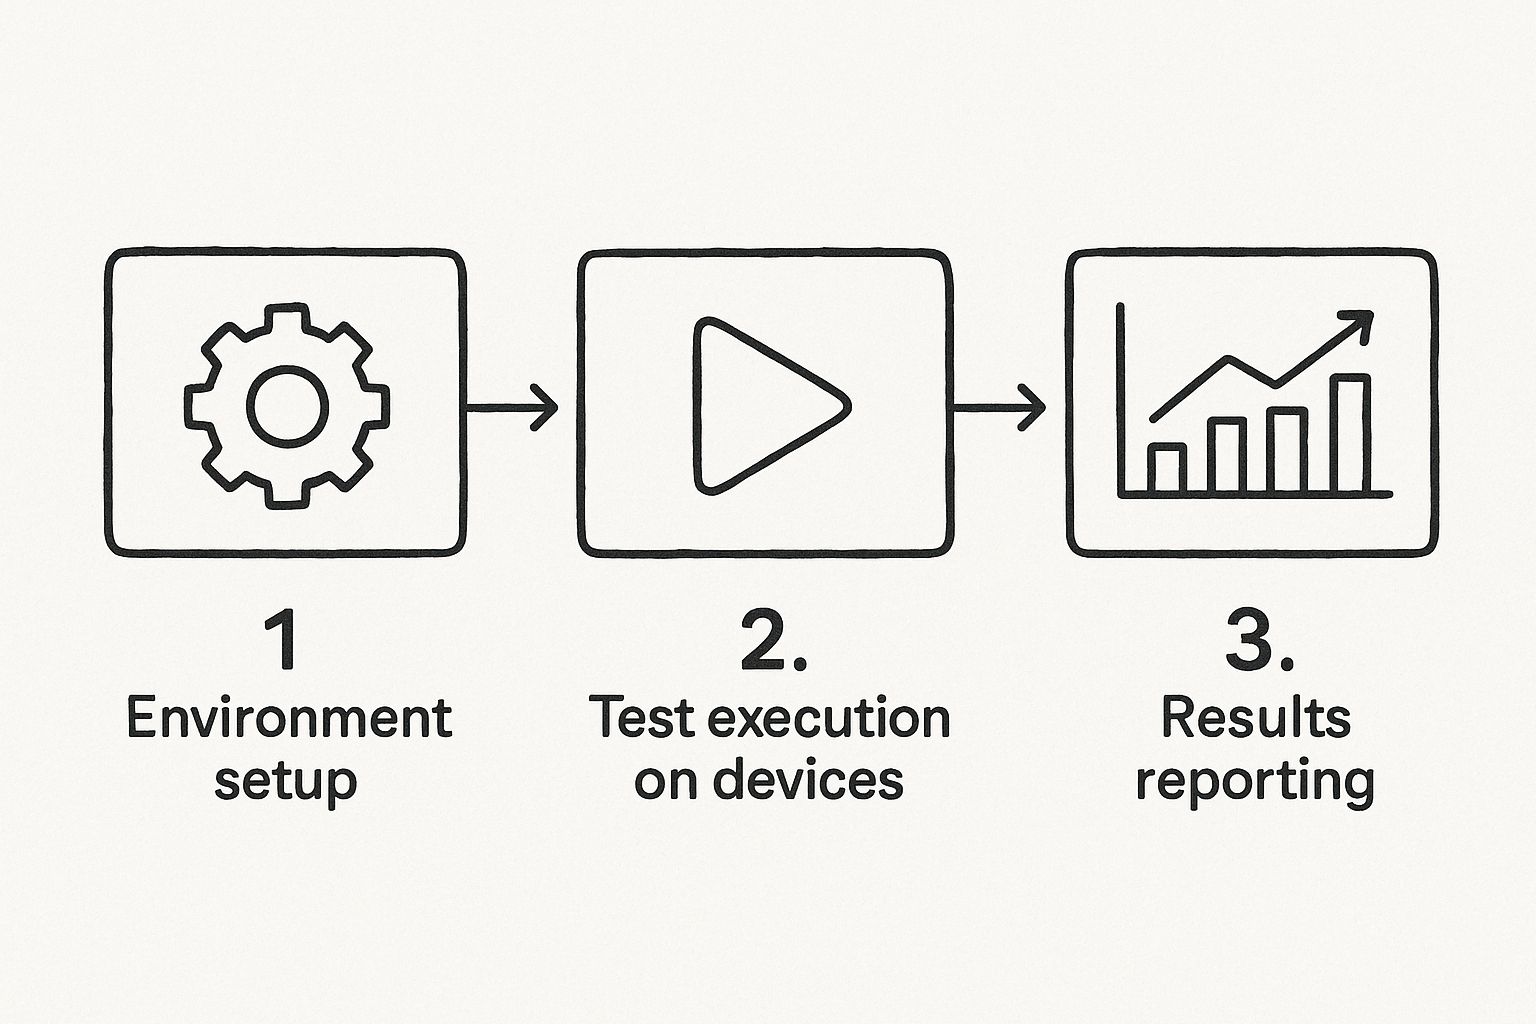
This process transforms isolated tests into a continuous quality feedback loop, which is exactly what you want for giving developers quick, actionable insights.
Building Your CI Workflow with GitHub Actions
The first piece of this puzzle is setting up a GitHub Actions workflow to run your Playwright test suite. You define this workflow in a YAML file, tucked away in your project’s .github/workflows/ directory. This file tells GitHub exactly how to set up the environment, pull in dependencies, and run your tests whenever there’s a new push or pull request.
Here’s a pretty standard example of what that workflow file, let's call it ci.yml, would look like:
name: Playwright Tests
on: [push]
jobs:
test:
runs-on: ubuntu-latest
steps:
- uses: actions/checkout@v3
- uses: actions/setup-node@v3
with:
node-version: 18
- name: Install dependencies
run: npm ci
- name: Install Playwright browsers
run: npx playwright install --with-deps
- name: Run Playwright tests
run: npx playwright test
This simple config handles the whole show. It grabs your code, sets up Node.js, installs everything required, and kicks off the tests you wrote. Now, every time someone pushes new code, this job will spring into action. To get a better sense of where Playwright fits in the broader picture, it's worth checking out the landscape of DevOps Automation Tools.
Creating a Quality Gate with Mergify
While GitHub Actions is busy running the tests, Mergify is the brain that decides what to do with the results. Mergify automates your pull request workflow based on rules you set in a .mergify.yml file at the root of your repository. This is where we create our quality gate.
We can tell Mergify to keep an eye on the status of our "Playwright Tests" job. If the tests pass, great—the pull request can be merged automatically. If they fail, the merge is blocked. Simple as that.
Mergify essentially becomes your team's automated gatekeeper. It enforces your quality standards without requiring a human to manually check CI results and click the merge button, saving valuable time and reducing human error.
Here’s a straightforward but powerful Mergify configuration to make this happen:
pull_request_rules:
- name: Automatic merge on CI success
conditions:- "#approved-reviews-by>=1"
- check-success=Playwright Tests
actions:
merge:
method: squash
This rule is pretty direct and has two conditions:
- The pull request needs at least one approved review.
- The "Playwright Tests" status check must come back with a success.
When both of those conditions are met, Mergify steps in, squashes the commits, and merges the pull request. If the Playwright job fails, that check-success condition isn't met, and the PR stays right where it is, effectively blocking buggy code. This combination of Playwright's speed and Mergify's smart automation creates a workflow that’s both efficient and trustworthy.
Look, Playwright is fantastic for mobile testing. Its speed and convenience are hard to beat. But let's be real—no tool is a silver bullet, and it's crucial to go in with your eyes open. As you start to lean more heavily on Playwright for mobile testing, you're going to hit some real-world hurdles. The good news? With the right mindset and a few smart strategies, they're all manageable.
One of the first things you'll notice as your test suite grows is the time sink of maintenance. Keeping a large suite of tests stable and up-to-date is a serious commitment. We've seen teams where maintaining existing Playwright tests eats up nearly 50% of their total testing time. That’s time they aren't spending on writing new, high-value test cases. This gets even trickier when you factor in things like surprise updates from third-party systems or the natural flakiness that creeps into any large-scale automation effort. You can read more about these end-to-end testing challenges on testrigor.com.
Emulation Limitations and Flaky Tests
It's absolutely critical to remember that Playwright is using emulation, not real devices. It does an excellent job mimicking viewports, user agents, and touch events, which is perfect for most web layout and functionality testing. But it has its limits.
Here are a few scenarios where emulation just won't cut it:
- Hardware-Specific Features: Forget about testing anything that needs a device's camera, GPS, or biometric sensors. It’s just not possible.
- Native OS Interactions: Emulation won't help you with push notifications or other deep interactions with the mobile operating system itself.
- Performance Nuances: You can throttle network speeds, sure. But you can't truly measure things like battery drain or CPU load without real hardware.
For those specific use cases, you'd need to reach for a tool like Appium, which is designed to control actual physical devices.
Then there's the age-old problem of "flaky" tests—the ones that pass one minute and fail the next, with zero code changes. They're a massive headache, disrupting CI/CD pipelines and slowly eroding your team's trust in the entire automation suite.
The best defense against flakiness is to embrace Playwright's built-in resilience features. Proactively designing stable tests is far more effective than reactively fixing them later.
Strategies for Building Reliable Tests
To get ahead of these challenges, your focus should be on writing rock-solid, reliable tests from day one. Trust me, a little proactive effort here will save you countless hours of painful debugging down the road.
Here are a few practical strategies my team and I swear by:
- Use Web-First Assertions: Ditch static waits. Always opt for assertions like
expect(locator).toBeVisible(). These commands are brilliant because they automatically wait for UI elements to reach a stable state, which drastically cuts down on race conditions. - Implement Test Retries: This is a simple but powerful feature. Just configure test retries in your
playwright.config.tsfile. It tells Playwright to automatically re-run a failed test a couple of times, which is often enough to get past random failures from network blips or slow-loading assets. - Choose Resilient Locators: Stay away from fragile selectors. Complex XPaths or CSS class names are brittle and likely to break. Instead, lean on stable locators that developers can add and maintain, like
data-testidattributes, ARIA roles, or even user-facing text.
By understanding where Playwright's limits are and adopting these best practices, you can build a mobile testing Playwright strategy that's both powerful and sustainable. It's how you give your team real confidence in every single deployment.
As you start using Playwright for mobile testing, you're bound to run into a few common questions. Let's tackle some of the most frequent ones I hear from teams, clearing up what Playwright does best and where its limits are.
Can Playwright Test on Real Mobile Devices?
The short answer is no. Playwright's mobile testing capabilities are all about high-fidelity emulation, not physical devices. It excels at simulating mobile browser environments like Mobile Safari and Chrome on Android.
This approach is fantastic for most web-centric tasks—checking responsive designs, validating layouts, and ensuring your core features work on a small screen. But if your tests need to interact with native OS features like push notifications or hardware like the camera, you'll need to reach for a different tool. For that kind of native interaction, a framework like Appium is built for the job.
How Can I Simulate Different Network Speeds?
This is where Playwright really shines. Realistic mobile testing isn't just about screen size; it's about network conditions, and Playwright has excellent built-in support for network throttling. You can easily mimic 'Slow 3G', 'Fast 3G', or even a completely 'offline' state to see how your app holds up.
You can set this for all your tests in playwright.config.ts or get more granular by applying it to specific tests with commands like await context.setOffline(true). This is crucial for building a resilient app that doesn't fall apart for users on a spotty connection.
Remember, a user on a shaky 3G connection should still have a functional experience. Network simulation isn't an edge case; it's a core part of building a robust mobile web application.
What Is the Best Way to Handle Flaky Tests?
Flaky tests are the bane of any CI pipeline. The best way to combat them is to lean into the features Playwright gives you right out of the box. Start by using its web-first assertions, like expect(locator).toBeVisible(). These aren't just simple checks; they intelligently wait for your UI to be ready before making an assertion, which solves a huge percentage of timing-related flakes.
Also, do everything you can to avoid fixed waits like page.waitForTimeout(). They're a code smell for a brittle test. Instead, a simple but powerful change is to configure test retries directly in your playwright.config.ts. This automatically re-runs a failed test, which is often all it takes to get past a random network blip or a minor hiccup in your CI environment. If you want to dive deeper into the fundamentals, you can get a good overview of what Playwright testing is and how it works.
Ready to create a seamless, automated quality gate for your pull requests? Mergify ensures your Playwright tests pass before any code is merged, saving you from costly regressions and streamlining your CI workflow. Discover how Mergify can supercharge your development pipeline.