10 Java Testing Frameworks for Superior Testing


Elevate Your Java Testing Game
Java continues to be a leading language for enterprise and web applications. This continued popularity underscores the need for reliable and efficient testing practices. Finding bugs is simply not enough in today's development environment. Code quality, maintainability, and fast release cycles are also essential.
Picking the right Java testing framework is crucial to reach these goals, whether you're building specific unit tests, integrating complex components, or checking end-to-end user flows. Choosing poorly can result in unreliable tests, slow feedback, and compromised software quality.
When selecting a framework, consider the type of testing (unit, integration, UI, performance, etc.), the size and complexity of your project, and your team's specific needs. A good framework should offer a clear and easy-to-use syntax for writing tests, strong assertion capabilities, easy integration with your build process (like CI/CD pipelines), and thorough reporting features.
Some frameworks are great for mocking dependencies, some excel at behavior-driven development (BDD), and others concentrate on areas like API or UI testing. Pricing (though many popular Java testing frameworks are open-source) and technical aspects like supported Java versions and integration with other tools are also worth considering.
Top 10 Frameworks for 2025
This guide reveals the top 10 essential Java testing frameworks for 2025, offering insights to help you make informed choices. We’ll cover a variety of frameworks that meet diverse testing needs, from simple unit testing tools to full solutions for full-stack testing.
Discover the tools that will optimize your workflow, improve your testing efficiency, and take your Java testing to the next level.
1. JUnit 5
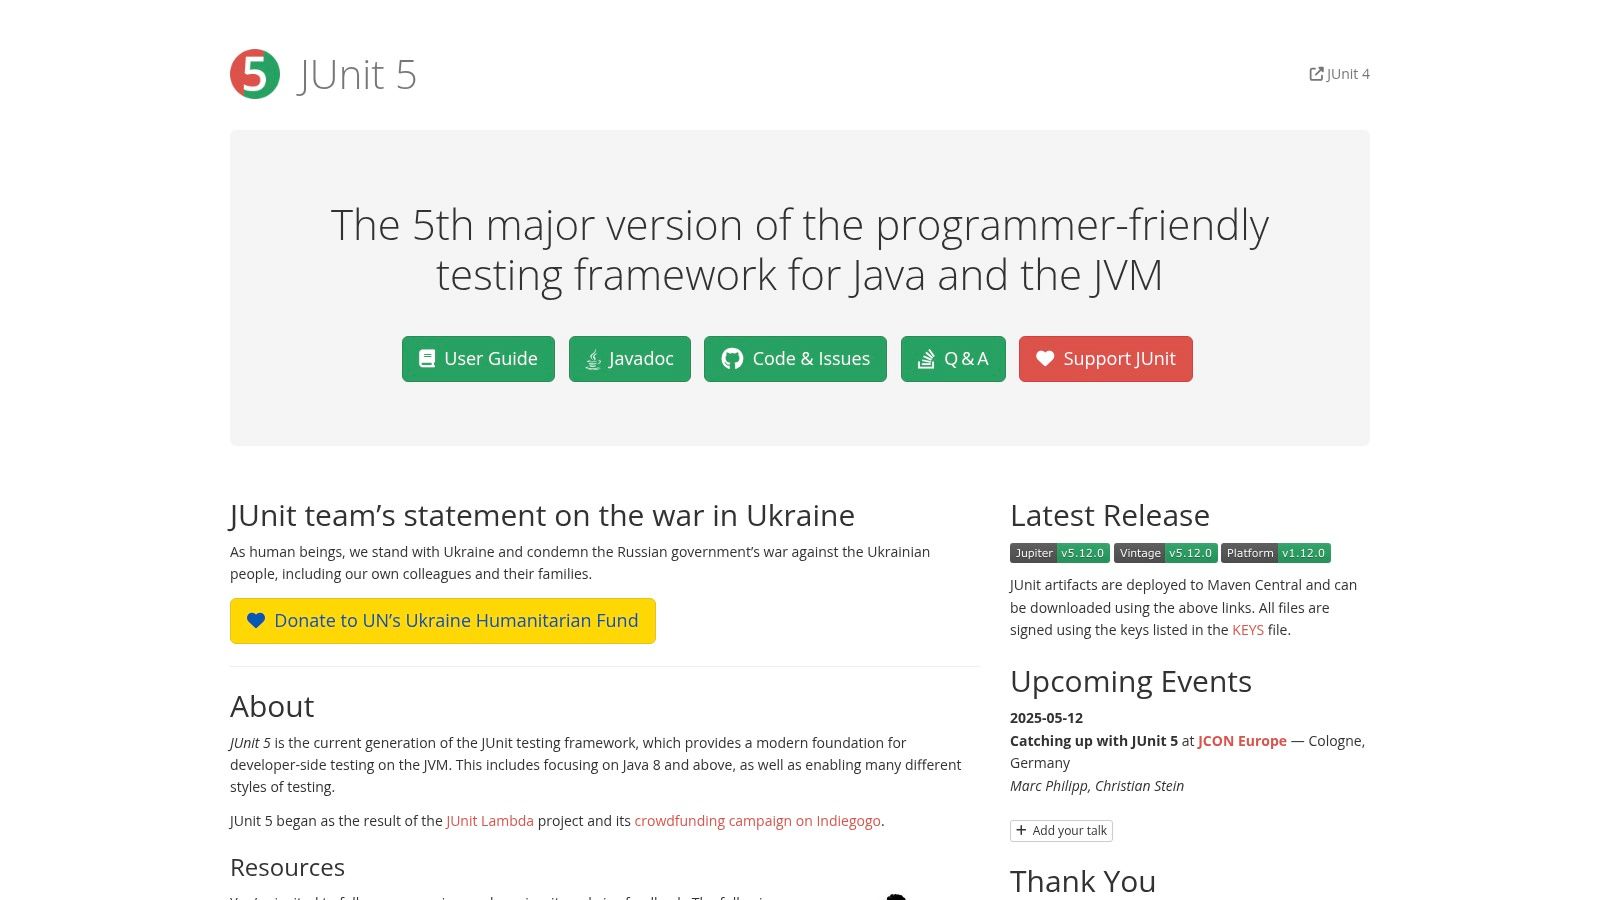
JUnit 5 stands as the leading testing framework for Java. Its widespread use means a large community, plenty of helpful resources, and easy integration with popular tools. Think IntelliJ and Eclipse for coding, and Maven and Gradle for building your projects. This accessibility makes JUnit 5 a powerful asset for any Java team.
Beyond its popularity, JUnit 5's modular design (JUnit Platform, JUnit Jupiter, and JUnit Vintage) offers flexibility. It adapts to various testing needs while staying compatible with older JUnit versions (3 and 4).
JUnit 5 goes beyond the basics, offering a rich set of features for writing robust and easy-to-maintain tests.
Key Features of JUnit 5
- Annotations: Annotations like
@Test,@BeforeEach,@AfterEach, and@DisplayNamemake tests clearer and better organized. - Parameterized Tests: Test with diverse data sources, eliminating code duplication. This is especially useful for boundary and data-driven testing.
- Nested Tests: Organize related tests to show hierarchy and improve code structure in complex testing scenarios.
- Conditional Test Execution: Run tests based on specific conditions, creating flexible and efficient testing strategies. This is great for targeting tests during development or in CI/CD pipelines.
- Extension Model: Expand JUnit's functionality with custom extensions for greater control and adaptability.
Imagine building a RESTful API. JUnit 5 lets you create complete test suites covering everything from request validation and response codes to data integrity and error handling. Parameterized tests handle different input combinations, and nested tests organize tests by API endpoints or features.
Pros and Cons of JUnit 5
Pros:
- Industry Standard: Large community and readily available resources.
- Seamless IDE Integration: Works effortlessly with major IDEs and build tools.
- Modular and Extensible: Adapts to diverse testing needs and maintains backward compatibility.
- Active Maintenance: Ensures continuous support and improvements.
Cons:
- Learning Curve: Switching from JUnit 4 can take some effort to learn new concepts.
- Dependencies: Advanced features may require additional dependencies.
- Configuration Complexity: Setting up complex tests can be tricky.
Website: https://junit.org/junit5/
You might find more helpful resources on software development and DevOps at the Mergify Blog Sitemap.
JUnit 5 is essential for modern Java development. Its comprehensive features, widespread adoption, and ongoing development make it a crucial tool. Whether you're experienced or just beginning, using JUnit 5 will significantly improve your testing and help you build reliable Java applications.
2. TestNG
TestNG is a robust Java testing framework. It’s designed to streamline the entire testing process, from simple unit tests to complex integration and end-to-end testing. Inspired by JUnit and NUnit, TestNG takes the best aspects of these frameworks and adds advanced functionalities geared towards modern software development. Its flexibility, rich features, and focus on structured testing make it an attractive option for teams of all sizes, from small startups to large corporations.
Why should you consider TestNG? It handles intricate testing needs exceptionally well, excelling where other frameworks often fall short. Its support for parallel execution, comprehensive test grouping and prioritization, and robust handling of test dependencies makes it perfect for complex projects with large test suites. Additionally, built-in reporting provides valuable insights into your test results, helping you find and fix problems quickly.
Key Features and Benefits
TestNG offers a compelling array of features, including:
- Annotations for Test Configuration and Execution: Use annotations like
@Test,@BeforeMethod, and@AfterMethodto define test methods, setup and teardown procedures, and other test configurations. This annotation-based approach simplifies test creation and upkeep. - Flexible Test Configuration with XML Files: Fine-tune control over test execution using XML configuration files. This enables complex test suite organization, parameterization, and dependency management, providing flexibility beyond annotations alone.
- Dependency Testing: Set dependencies between test methods to ensure they execute in the correct order. This is invaluable when certain tests rely on others being completed successfully.
- Data-Driven Testing: Run the same test with different input data using data providers. This dramatically reduces code duplication and enhances test coverage.
- Multithreaded Test Execution: Run tests in parallel across multiple threads, significantly cutting execution time, especially for larger test suites. This is a key feature for fast-paced CI/CD pipelines.
Practical Applications and Use Cases
TestNG shines in various scenarios, including:
- Integration Testing: Verify interactions between different components or modules within your application. TestNG's dependency management makes orchestrating these tests much easier.
- End-to-End Testing: Simulate realistic user journeys and verify the entire application flow. Parallel execution helps speed up these often lengthy tests.
- Regression Testing: Ensure code changes don't introduce new bugs. TestNG's features efficiently manage and run large regression test suites.
- Data-Driven Testing: Test various scenarios with different inputs. For instance, testing a login form with different username and password combinations.
Pros and Cons
Like any tool, TestNG has advantages and disadvantages.
Pros:
- Parallel execution drastically reduces test times.
- Comprehensive test grouping and prioritization capabilities.
- Strong handling of test dependencies.
- Useful built-in reporting.
Cons:
- Can be more complex to configure than JUnit.
- XML configuration can be cumbersome for smaller projects.
- IDE integration may not be as smooth as JUnit.
Technical Requirements and Setup
Getting started with TestNG is straightforward:
- You will need the Java Development Kit (JDK).
- Add the TestNG library as a dependency to your project.
- Annotate your test methods with
@Test. - Configure test suites and dependencies in XML as needed.
- Integrate TestNG with your build tool (like Maven or Gradle) for automated testing.
Pricing: TestNG is open-source and free.
Website: TestNG Documentation
TestNG is a great choice if you’re looking for a powerful and feature-rich Java testing framework that can handle various testing needs. It’s particularly beneficial when parallel execution, dependency management, and structured testing are essential. While the initial learning curve might be steeper than JUnit, the added features and flexibility make TestNG a valuable tool for building reliable software.
3. Mockito
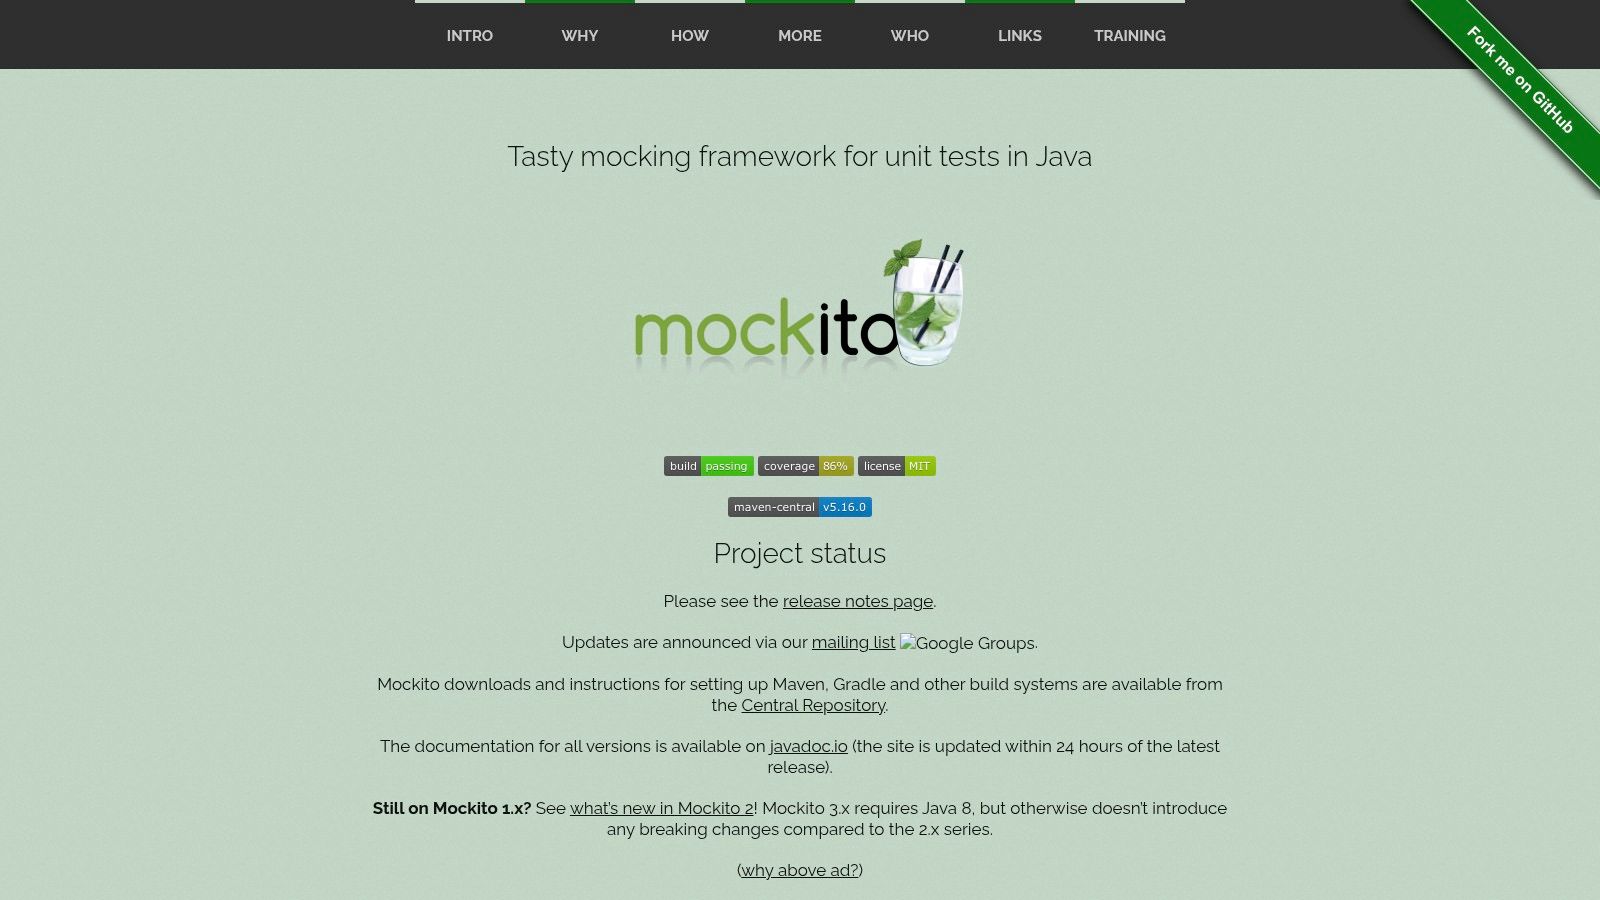
Mockito is a prominent mocking framework for Java, simplifying the creation of robust unit tests. Its clean API integrates seamlessly with popular testing frameworks like JUnit and TestNG, making it a developer favorite. By isolating units of code through mocked dependencies, Mockito ensures tests focus solely on the behavior of the code under test, promoting accurate and effective testing.
Mockito's strength lies in its simple mock object management. Imagine testing a service that depends on a database connection. Instead of using a real database, which can be slow and complicated for testing, Mockito allows you to mock the connection. This lets you define the mock connection's behavior, such as returned data and thrown exceptions, giving you complete control over your testing environment.
Key Features and Benefits
- Creation of Mock Objects With Simple Syntax: Creating mocks is incredibly straightforward with
MyService myService = mock(MyService.class);. - Stubbing Method Calls: Pre-define the behavior of mocked objects with
when(myService.getData()).thenReturn("mocked data");. - Verification of Interactions: Confirm method calls on mock objects with expected arguments using
verify(myService).getData();ensuring proper component interaction. - Spy Functionality: Partial mocking with spies allows mocking specific methods of real objects while leaving others untouched, beneficial for testing complex scenarios.
- Argument Matchers:
verify(myService).process(anyString());offers flexibility in verifying interactions by matching arguments based on criteria rather than exact values.
Practical Applications
- Unit Testing: Isolate individual components for focused testing.
- Integration Testing: Mock external dependencies like databases and APIs to simplify testing interactions between components.
- Test-Driven Development (TDD): Design and develop testable code by defining expected behavior with mocks.
Pros and Cons
Pros:
- Clean, readable syntax improves test understanding and maintenance.
- Excellent documentation and online examples facilitate learning.
- Seamless JUnit and TestNG integration streamlines testing workflows.
- Active development and community support ensure the framework's relevance.
Cons:
- Mocking static methods requires the
mockito-inlineartifact. - Mocking final classes/methods requires additional configuration like
mockito-inlineor bytecode manipulation. - Effective usage requires a solid understanding of mocking concepts.
Technical Requirements, Pricing, and Comparison
- Technical Requirements: Java 8 or higher.
- Pricing: Mockito is open-source and free.
- Comparison: While other mocking frameworks like EasyMock and JMock exist, Mockito's simplified syntax and rich features have made it a popular choice.
Implementation and Setup Tips
- Add the Mockito dependency via Maven or Gradle.
- Annotate test classes with
@RunWith(MockitoJUnitRunner.class)(for JUnit) to enable Mockito annotations. - Use
@Mockfor creating mocks and@InjectMocksfor injecting them into the class under test.
Website: https://site.mockito.org/
Mockito is a powerful and versatile tool for improving Java testing quality and efficiency. Its ease of use, comprehensive features, and community support make it a valuable asset for development teams.
4. Spock Framework
Spock is a powerful testing framework that stands out for its blend of robust features, focus on Behavior-Driven Development (BDD), and the expressive nature of the Groovy language. It simplifies the creation of easily understandable and maintainable tests, making it a great option for teams that value clarity and efficiency. While it's particularly well-suited for Groovy projects, it can also be used effectively in Java applications.
Spock is specifically designed for testing both Java and Groovy applications. By taking advantage of Groovy's dynamic capabilities, it allows developers to write tests that are more concise and easier to grasp compared to traditional JUnit tests. It combines the strengths of JUnit, Mockito, and JBehave, offering a comprehensive solution for various testing needs, especially BDD.
Key Features and Benefits
- Given-When-Then Structure: This structure encourages a clear and organized approach to defining test scenarios. This makes tests easier to follow and understand, which is especially helpful for BDD, as it allows tests to closely mirror user stories and acceptance criteria.
- Built-in Mocking and Stubbing: Spock simplifies the process of mocking and stubbing dependencies. This reduces the need for separate mocking libraries like Mockito. This simplifies test setup and readability.
- Data-Driven Testing With Data Tables: Spock's data tables feature lets you run the same test with various input values. This drastically reduces repetitive code and maximizes test coverage efficiently.
- Expressive Assertion Syntax: Groovy's powerful syntax enables more natural and readable assertions. This makes it easier to understand test failures and simplifies debugging.
- Powerful Interaction-Based Testing: Spock excels at verifying interactions between objects. This ensures that methods are called with the correct arguments and in the right order.
Pros and Cons of Using Spock
Pros:
- Test specifications are highly readable and resemble plain English.
- Integrated mocking and testing eliminates the need for multiple libraries.
- Groovy's expressiveness allows for more concise and maintainable tests.
- Provides excellent failure reporting, which helps in quickly identifying issues.
Cons:
- There's a learning curve associated with Groovy, which might be a hurdle for some teams.
- Integrating Spock into Java-only projects requires additional build configuration.
- Integration with certain Java tooling may not be as smooth as with pure Java frameworks.
Implementation and Setup Tips
For Java projects, make sure to include the Groovy compiler and the Spock library in your build dependencies (Maven/Gradle). IDE support for Spock is generally good, with plugins available for IntelliJ IDEA and Eclipse. Start by writing simple tests to familiarize yourself with the Groovy syntax and Spock's DSL. Make the most of the data tables for efficient data-driven testing.
Comparison With Similar Tools
While JUnit offers a solid foundation for testing, Spock enhances it with BDD features and Groovy's expressiveness. Spock offers a more integrated mocking solution than using Mockito with JUnit. While Cucumber is a popular BDD framework, Spock provides a more developer-friendly syntax, especially for Java developers.
Pricing and Technical Requirements
Spock is open-source and free to use under the Apache 2.0 license. It requires a Java Runtime Environment (JRE) and a Groovy compiler.
Website: https://spockframework.org/
5. AssertJ
AssertJ stands out for its fluent assertion API, designed for readable and maintainable tests. It works alongside testing frameworks like JUnit or TestNG to enhance the clarity of assertions, simplifying debugging and understanding, especially in larger projects.
AssertJ's fluent API enables chaining assertions together, forming a natural, readable structure. This improves on traditional approaches like multiple assertEquals calls, especially when dealing with complex objects and collections.
Features and Benefits
- Fluent Assertion API with Method Chaining: AssertJ's core strength lies in its expressive and readable assertion style. For example, comparing object fields becomes simpler:
assertThat(actual).isEqualToComparingFieldByField(expected);. - Rich Set of Assertions: Pre-built assertions cover various data types like collections, strings, numbers, and dates, reducing the need for custom assertion logic.
- Custom Error Messages: Context-rich feedback is provided through custom error messages, speeding up debugging by pinpointing failures accurately.
- Java 8 Support: AssertJ seamlessly integrates with Java 8 features like
OptionalandStream, providing specialized assertions. - Extensible for Various Libraries: Extensions for libraries like Guava and Joda-Time broaden AssertJ's applicability and minimize boilerplate.
Pros
- Readability: The fluent API significantly improves the readability of test code.
- IDE Support: Most IDEs offer excellent autocompletion for AssertJ, boosting productivity.
- Detailed Error Messages: Descriptive error messages help in quickly identifying and resolving issues.
- Active Community: AssertJ is actively maintained with regular updates and an active community.
Cons
- Learning Curve: Developers used to traditional assertions may face an initial learning curve.
- Not a Standalone Framework: Requires a testing framework like JUnit or TestNG.
- Verbosity in Simple Cases: The fluent API might add slight verbosity for very simple assertions.
Implementation and Setup
Adding AssertJ is straightforward. Include the dependency in your build tool (Maven, Gradle, etc.). Here's an example for Maven:
org.assertjassertj-core3.24.2test
Import org.assertj.core.api.Assertions.* in your test class and start using assertThat.
Comparison with Similar Tools
Alternatives like Hamcrest exist, but AssertJ’s modern, consistently fluent API, along with Java 8+ and library support, makes it a strong choice for current Java projects.
Website
https://assertj.github.io/doc/
AssertJ enhances Java test code quality and maintainability. Its fluent API and comprehensive features make it a valuable tool. While there is a small learning curve, the readability and maintainability benefits are a worthwhile trade-off.
6. Cucumber JVM
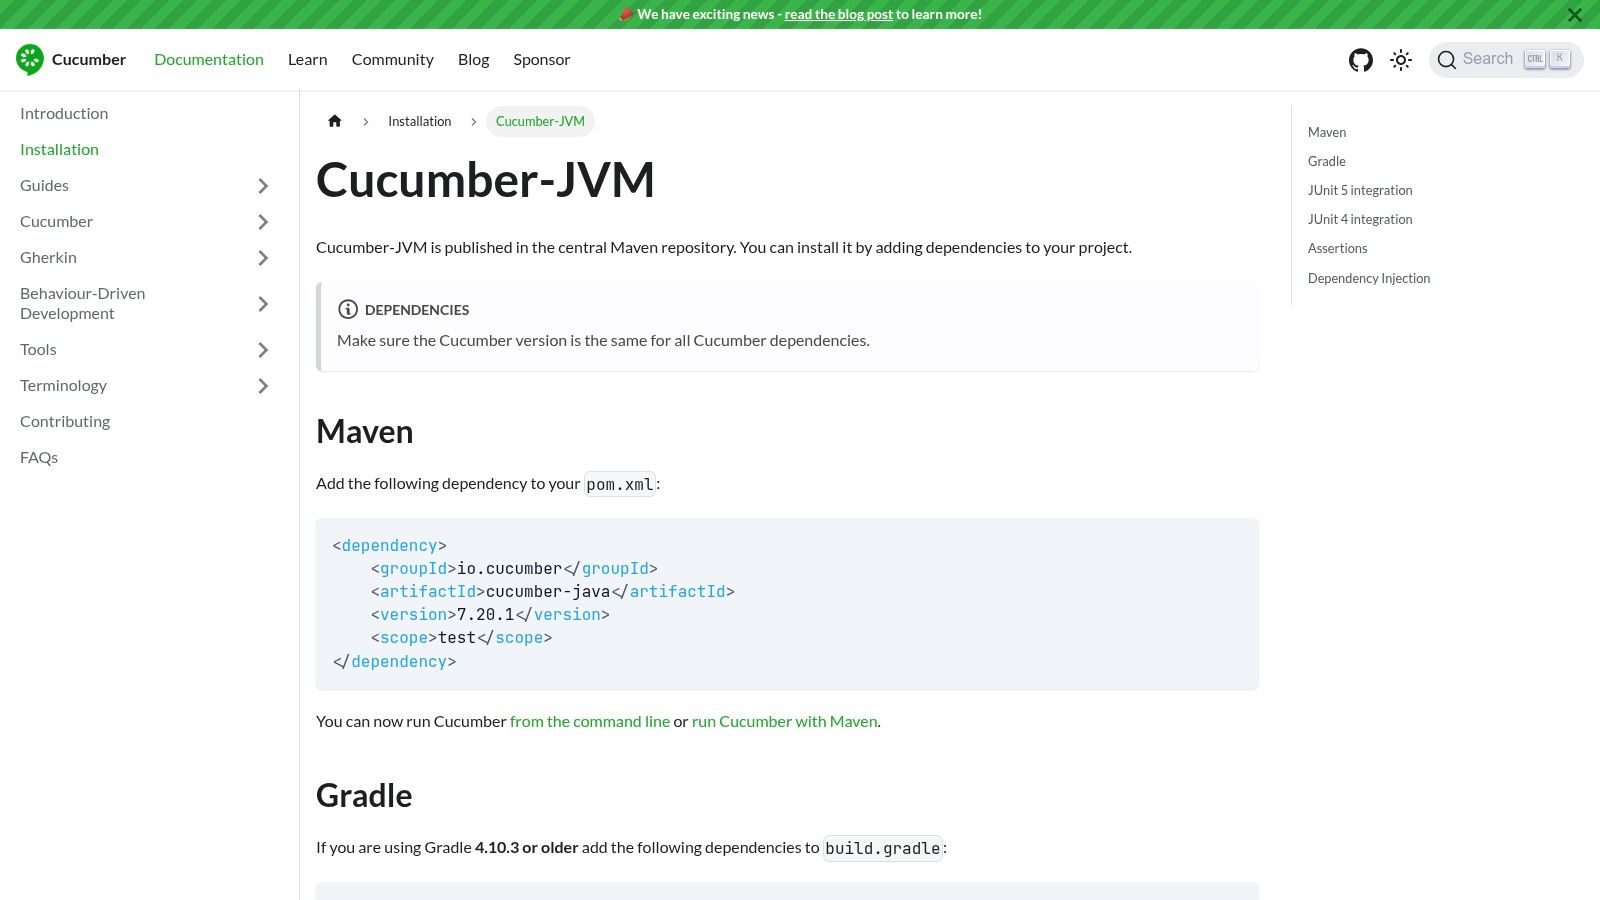
Cucumber JVM is a valuable tool for Behavior-Driven Development (BDD) in Java projects. It helps bridge the gap between technical and non-technical team members, making the testing process more inclusive. Rather than dense technical language, Cucumber JVM uses Gherkin, a plain-text syntax, for defining test scenarios. This allows business analysts, product owners, and testers to work alongside developers, ensuring the software aligns with business needs.
Cucumber JVM excels at creating acceptance tests, which outline how the system should function from the user's perspective. A simple login feature, for example, could be tested with the following scenario:
Feature: Login Functionality
Scenario: Successful Login Given a user is on the login page When the user enters valid credentials And the user clicks the login button Then the user should be redirected to the home page
These easy-to-understand steps are connected to Java code through step definitions. These definitions contain the actual implementation of the test logic, linking business requirements directly to the code.
Key Features and Advantages
Some of the key features of Cucumber JVM include:
- Gherkin Syntax: Tests are written in clear, understandable language.
- Java Step Definitions: The logic behind the Gherkin steps is implemented in Java.
- Data Tables and Docstrings: Efficiently manage complex test data.
- Tags: Organize and filter tests (e.g.,
@regression,@smoke). - Reporting Tool Integration: Generate detailed reports for analysis and tracking.
Using Cucumber JVM provides several benefits:
- Better Collaboration: Improves communication between technical and non-technical team members.
- Living Documentation: Tests act as up-to-date documentation of the system's behavior.
- Reusable Step Definitions: Encourages code reuse and reduces redundancy.
- Focus on Business Value: Ensures the software delivers the intended value to users.
Potential Drawbacks and Implementation Advice
While Cucumber JVM offers many advantages, some potential drawbacks to consider are:
- Overhead for Simple Tests: It might be excessive for testing individual units of code.
- Step Definition Maintenance: Keeping step definitions organized and current requires effort.
- Complexity in Large Projects: Managing Cucumber JVM can become challenging in larger projects.
- Learning Curve: Requires learning Gherkin and understanding the BDD approach.
When implementing Cucumber JVM, consider these tips:
- Start with a solid grasp of the BDD process and Gherkin syntax.
- Organize feature files and step definitions logically.
- Use data tables and docstrings for complex scenarios.
- Integrate a reporting tool for better insight into test results.
Getting Started with Cucumber JVM
Cucumber JVM is free to use. It doesn't have specific technical requirements beyond a Java environment. However, integrating it with build tools like Maven or Gradle is highly recommended. Unlike traditional unit testing frameworks such as JUnit or TestNG, Cucumber JVM focuses on system behavior rather than individual code units, making it particularly useful for acceptance testing and collaboration with non-technical stakeholders.
For further details and setup instructions, visit the official Cucumber JVM documentation. You might also be interested in this guide on Mergify Sitemap Pages for additional insights on software development and testing.
7. Selenide: Concise and Stable UI Tests With Selenium Simplicity
Selenide simplifies UI testing for web applications. Built on top of Selenium WebDriver, it addresses common Selenium challenges with a concise API, automatic browser management, and built-in waits. This makes Selenide a strong choice for teams focused on developer productivity and stable tests.
Imagine verifying user interactions on a complex web form. With standard Selenium, you'd write extensive code for locating elements, managing timeouts, and handling the browser's lifecycle. Selenide streamlines this.
Its concise API and built-in waits dramatically reduce boilerplate code. This lets developers concentrate on the core test logic instead of Selenium's complexities.
Key Features and Benefits
- Concise and Fluent API: Write cleaner, more readable tests with less code than raw Selenium. Common interactions like clicking buttons or filling forms become much simpler.
- Automatic WebDriver Management: Selenide automatically handles browser startup, shutdown, and configuration, simplifying the setup process.
- Built-in Waits and Smart Element Location: Eliminate explicit waits and flaky tests. Selenide intelligently waits for elements, improving test stability.
- Screenshot Capture on Test Failures: Automatic screenshots upon test failure offer valuable debugging data.
- Ajax Support with Automatic Waiting: Selenide seamlessly handles asynchronous requests without manual wait implementations.
Pros
- Significantly less boilerplate code compared to raw Selenium, improving developer productivity.
- Automatic wait strategies greatly reduce test flakiness, delivering more reliable results.
- Easy setup and minimal configuration enable a quick start.
- Good documentation with practical examples facilitates a faster learning curve.
Cons
- While generally efficient, Selenide might offer slightly less flexibility than raw Selenium for very specific edge cases.
- Limited to web testing: It doesn't support mobile or desktop applications.
- Smaller community than Selenium, although it's steadily expanding.
Comparison With Selenium
Selenide isn't a Selenium replacement but an enhancement. It leverages Selenium WebDriver and provides a higher-level API. If you need the fine-grained control of Selenium for very specific browser interactions, raw Selenium might be better. However, Selenide offers a significant productivity boost and improved test stability for most web UI testing.
Implementation Tips
- Add the Selenide dependency to your project (Maven, Gradle, etc.).
- Configure the browser and other settings in a configuration file or programmatically.
- Use Selenide's concise API methods for browser interactions and assertions.
Pricing and Technical Requirements
Selenide is open-source and free. It requires Java and integrates with testing frameworks like JUnit and TestNG.
Website: https://selenide.org/
Selenide is a valuable tool for software development teams, DevOps engineers, and QA professionals aiming to streamline web UI testing. It balances Selenium's power with the need for simplified, stable, and maintainable tests. The concise API, automatic waits, and simplified setup make it a compelling option for modern web application testing.
8. REST Assured
REST Assured secures a spot on this list as a potent and developer-friendly Java DSL. It's specifically designed for simplifying REST API testing and integrates smoothly with popular testing frameworks like JUnit and TestNG. This allows developers to create clean, readable, and easily maintained tests.
Its BDD-like syntax (Given/When/Then) encourages a structured approach to API validation. This makes tests easier to understand and facilitates collaboration among team members.
REST Assured shines in reducing the often cumbersome boilerplate code associated with API testing. Features like JSON and XML path support streamline response validation. Built-in support for various authentication mechanisms, such as OAuth and Basic Auth, simplifies security testing.
The ability to reuse request and response specifications promotes consistency and reduces code duplication across tests. Integrating JSON Schema validation adds another layer of robustness to your API testing strategy.
Example: User Authentication Endpoint Test
Imagine testing a user authentication endpoint. REST Assured expresses this test case clearly and concisely:
given(). param("username", "testuser"). param("password", "password"). when(). post("/authenticate"). then(). statusCode(200). body("token", notNullValue());
This snippet showcases the power of REST Assured's DSL. It handles request setup, execution, and response validation with minimal code.
Features and Benefits of Using REST Assured
Here's a breakdown of key features and advantages:
- BDD-Style Syntax: The Given/When/Then structure makes tests highly readable.
- Simplified Validation: JSON and XML path support simplifies checking responses.
- Authentication Support: Built-in mechanisms for OAuth, Basic Auth, and Digest Auth.
- Reusability: Request and response specifications can be reused for consistency.
- JSON Schema Validation: Integrates with JSON Schema for advanced validation.
Pros of REST Assured
- Intuitive API: Designed specifically for REST testing, making it easy to use.
- Reduced Boilerplate: Write less code for common API testing tasks.
- Robust Validation: Strong support for various response validation techniques.
- Community Support: Active maintenance and a large community provide assistance.
Cons of REST Assured
- Learning Curve: Complex JSON/XML path expressions can be challenging initially.
- Verbosity: For very simple tests, the syntax might feel slightly verbose.
- Performance: Potential overhead for high-volume testing, requiring careful design.
Technical Details and Implementation Tips
- Pricing: REST Assured is open-source and free to use.
- Requirements: Requires Java and dependencies for your chosen testing framework.
- Comparison: While Apache HttpClient offers lower-level HTTP functionality, REST Assured focuses on simplifying REST API testing with a higher-level DSL.
Here are a few tips for implementation:
- Start Simple: Begin with basic tests before moving to advanced features.
- Reuse Specifications: Leverage request/response specifications for code organization.
- Consult Resources: Explore the documentation and community forums for help.
Check out our article about Mergify Authors Sitemap for more insights.
Website and Conclusion
You can find more information on the official website: REST Assured
REST Assured is a valuable tool for any Java developer, especially those working with RESTful APIs. Its focus on simplicity, readability, and robust validation makes it a powerful choice for ensuring API quality.
9. JMeter
Apache JMeter is a valuable tool for performance and functional testing, especially for APIs and web services. While known for load testing, it's capable of much more than simulating heavy traffic. JMeter allows testing across a wide range of applications and protocols, making it a versatile addition to any testing toolkit.
JMeter is a 100% pure Java application built to load test functional behavior and measure performance. You can use it to simulate diverse scenarios, from testing database connections and FTP servers to evaluating the performance of REST and SOAP web services. It excels at simulating real-world user behavior, providing valuable insights into how your application performs under pressure.
Features
- Visual Test Plan Creation: The GUI offers intuitive drag-and-drop test plan design, making it user-friendly even for those with minimal coding experience.
- Multi-Protocol Support: JMeter supports a broad range of protocols, including HTTP, HTTPS, JDBC, JMS, FTP, LDAP, and more. This makes it suitable for testing diverse application components.
- Extensible Architecture: A robust plugin ecosystem provides extended functionality, allowing customization for specific testing needs. This includes integrations with other tools and support for custom protocols.
- Distributed Testing: For large-scale load tests, JMeter enables distributed testing across multiple machines, simulating high user loads.
- Comprehensive Reporting: JMeter provides detailed reports and visualizations of test results, including performance metrics, error rates, and response times.
Pros
- Versatile: JMeter handles both functional and performance testing, potentially reducing the need for multiple tools.
- Easy to Use (Initially): The GUI simplifies basic test creation without requiring extensive programming knowledge.
- Highly Scalable: Distributed testing capabilities make it suitable for demanding load tests.
- Large Community & Ecosystem: An active community offers extensive support, tutorials, and a large library of plugins.
- Open-Source and Free: JMeter is freely available under the Apache License 2.0.
Cons
- Steeper Learning Curve: While basic tests are simple to create, advanced features and scripting can be challenging to master.
- GUI Limitations: The GUI can become slow and cumbersome with complex test plans. For large-scale tests, non-GUI mode is recommended.
- Not Ideal for Unit Testing: JMeter focuses on integration and system-level testing, making it less suitable for granular unit tests.
- Test Maintenance: Maintaining complex test plans can be difficult, especially as applications change and grow.
Implementation/Setup Tips
- Start Simple: Begin with basic test plans and gradually add more advanced features as needed.
- Leverage the Plugin Ecosystem: Explore the available plugins to enhance functionality and integrate with your existing tools.
- Consider Non-GUI Mode for Load Testing: For large load tests, using the non-GUI mode optimizes performance and resource utilization.
- Use the JMeter Proxy for Recording Test Scripts: This streamlines the creation of test scripts for web applications.
Comparison With Similar Tools
JMeter is often compared to Gatling and Locust. While Gatling and Locust may offer better performance for extremely high-load scenarios due to their asynchronous architecture, JMeter's versatility, beginner-friendliness, and broad protocol support make it a strong option, especially for teams needing both functional and performance testing.
Website: https://jmeter.apache.org/
JMeter is a powerful and versatile tool that belongs in any tester's toolkit. Its combined functional and performance testing capabilities, extensibility, and open-source nature make it a valuable asset for teams of all sizes. While mastering advanced features takes time, the initial ease of use and strong community support make it accessible to testers of all skill levels.
10. Karate
Karate stands out as a unique tool, blending API, performance, and even UI test automation within a single framework. Its secret weapon? A Domain Specific Language (DSL) inspired by Cucumber, making tests readable even for team members without Java expertise. This opens up quality assurance to a broader range of individuals.
Karate shines in API testing, perfectly suited for microservice architectures and API-driven development. Imagine validating a user journey across multiple services. Karate allows you to chain API calls, reusing data from responses in subsequent requests, mimicking real-world scenarios. Its built-in JSON and XML assertions further simplify data validation, reducing code and boosting maintainability.
But Karate doesn't stop at APIs. It extends to performance testing and UI automation. This all-in-one approach streamlines testing workflows, eliminating the need for multiple tools. You can even reuse API test scenarios for performance tests, ensuring consistency across testing phases.
Key Features and Benefits
- Script-Based DSL: No Java knowledge required.
- Built-In Assertions: Supports JSON and XML.
- Chained API Calls: Reuse response data effectively.
- Parallel Execution: Faster test runs.
- Combined Capabilities: API, UI, and performance testing.
- Built-In Reporting: Clear and concise results.
Pros of Using Karate
- Accessibility: No Java programming needed for test creation, lowering the barrier to entry.
- Unified Solution: Simplifies testing by combining multiple functionalities into one tool.
- Data-Driven Testing: Efficiently test with various datasets.
- Clear Reporting: Provides comprehensive insights into test results.
Cons to Consider
- Paradigm Shift: Teams used to JUnit or TestNG might need to adjust.
- Learning Curve: While simple, the DSL still requires learning.
- Java Integration: May have limited integration with Java-specific tools.
- Community Size: While growing, the community is smaller than more established frameworks.
Technical Requirements and Pricing
Karate requires a Java Runtime Environment (JRE). It's open-source and free under the MIT License.
Getting Started With Karate
- Documentation: Consult the official documentation and examples on the Karate website.
- Start Small: Begin with focused test scenarios and gradually increase complexity.
- Data-Driven Approach: Explore data-driven testing for maximum efficiency.
- CI/CD Integration: Integrate Karate into your CI/CD pipeline.
Karate presents a powerful alternative to traditional Java testing frameworks. Its accessibility, combined with robust features and open-source nature, makes it a valuable asset for modern software development, particularly for teams focused on API testing.
Top 10 Java Testing Frameworks: Feature Comparison
| Framework | Core Features ★ | Developer Quality 🏆 | Unique ✨ | Target Audience 👥 | Value 💰 |
|---|---|---|---|---|---|
| JUnit 5 | Modular tests, annotations, parameterized, nested | Widely adopted, excellent IDE integration | Backward compatibility | Java developers, enterprises | Free & robust |
| TestNG | Flexible XML config, dependency, parallel testing | Strong parallel support, comprehensive grouping | XML-based configuration | Integration & E2E testers | Free & mature |
| Mockito | Simple mocks, stubbing, verification | Clean syntax, great documentation | Seamless JUnit/TestNG integration | Unit testing developers | Free & efficient |
| Spock Framework | BDD style, Groovy-based, built-in mocking | Expressive, highly readable specifications | Combines testing & mocking | BDD teams, Groovy users | Free & innovative |
| AssertJ | Fluent assertions, rich API, method chaining | High readability, detailed error messages | Extensive library extensions | Developers aiming for clarity | Free & enhancing |
| Cucumber JVM | Gherkin DSL, step definitions, data tables | Bridges communication between tech & non-tech | BDD collaboration | Cross-functional teams | Free & inclusive |
| Selenide | Fluent UI API, automatic waits, auto WebDriver | Minimal boilerplate, stable web test execution | Simplifies Selenium usage | Web UI testers | Free & efficient |
| REST Assured | BDD-like REST API, JSON/XML validation | Intuitive, minimal code for API testing | API-specific DSL | API testers | Free & focused |
| JMeter | GUI test planning, multi-protocol support, plugins | Scalable, extensive plugin ecosystem | Dual use: functional & performance | Load/performance testers | Free & versatile |
| Karate | Script DSL, API/UI/performance testing, parallel | All-in-one, data-driven testing | No Java coding required | Teams seeking multi-testing tools | Free & comprehensive |
Ready to Choose Your Ideal Framework?
Choosing the right Java testing framework hinges on your project's specific needs and requirements. Factors like project size, team expertise, and testing goals (unit, integration, or end-to-end) all play a vital role. For example, JUnit 5 excels at unit testing, while Cucumber JVM shines with Behavior-Driven Development (BDD) and acceptance testing.
Mockito and Spock are powerful mocking frameworks that complement other testing options. Meanwhile, AssertJ provides fluent assertions for more readable tests.
If web applications are your focus, Selenide simplifies UI testing, and REST Assured is perfect for API testing. For performance and API testing, respectively, consider JMeter and Karate. Finally, TestNG offers a robust suite of features, often overlapping with and expanding upon JUnit's capabilities, making it suitable for larger, more complex projects.
Implementing Your Framework
When implementing your chosen framework, begin with a small test suite to familiarize yourself with its core functions. The framework's documentation is your go-to resource for setup instructions and best practices. Remember to structure your tests logically and prioritize code readability.
Budget and resources also factor into the equation. While many of these frameworks are open-source, integrating them may require training and adjustments to your existing CI/CD pipelines. Weigh the long-term benefits of improved code quality and reduced debugging time against the initial investment.
Integration and Compatibility
Integration and compatibility are essential. Ensure your chosen framework seamlessly integrates with your development environment, build tools like Maven or Gradle, and other CI/CD components. Verify compatibility with your Java version and other libraries in use.
Key Takeaways:
- Targeted Testing: Select a framework tailored to your specific testing needs (unit, integration, UI, API, performance).
- Team Expertise: Choose a framework that aligns with your team's skills and experience.
- Integration: Prioritize seamless integration with your existing tools and CI/CD pipeline.
- Scalability: Consider the framework’s capacity to handle your project's growth and increasing complexity.
Leveraging the right framework can significantly improve your development workflow, leading to higher-quality code and faster delivery. Explore these 10 Java testing frameworks and choose the one that best positions you for success in 2025 and beyond!
Streamlining Your CI/CD Pipeline
Streamlining your testing process is vital, as is optimizing your entire CI/CD pipeline. Tired of merge conflicts, slow CI builds, and developer frustration? Mergify offers a solution for seamless code integration, focusing on reducing CI costs, enhancing code security, and alleviating developer frustration. From automated merge queues and merge protections to CI issue identification, Mergify empowers engineering teams to ship code faster and more reliably. Explore how Mergify can transform your CI/CD workflow and save valuable time and resources: Mergify