How to Handle Dependencies Between Pull-Requests

TL;DR
At the end of this article, we will have learned valuable techniques for managing dependencies between Pull Requests (PRs). We would understand how to strategically handle conflicts and optimize the order of merges. 🦸♂️🚀
Introduction
In the dynamic environment of software development, effective management of dependencies between pull requests (PRs) is pivotal to enabling smooth collaboration and seamless code integration. 🔌
But let’s face it, juggling dependencies manually can be a real challenge! 😫.
Why managing dependencies between PRs is a challenge?
Here are some key aspects of the problem:
Order of Merging
If PRs have dependencies on one another, the order in which they are merged becomes crucial.
Merging PRs in the wrong order could lead to broken code or features not working as intended in the main branch.
This challenge becomes even more pronounced when there are a lot of PRs dependent on each other in large projects.
It can sometimes create challenging situations where it’s difficult to assign responsibility and find solutions.

Conflict Resolution
When multiple PRs modify the same codebase, they can lead to dependency issues.
Resolving these issues manually can be time-consuming and error-prone.
Code Review Complexity
PRs that depend on changes introduced in other PRs can complicate the code review process.
Reviewers may need to consider multiple PRs at once to understand the full context, which can slow down the review and merging process.
Solution: Defining PR Dependencies
In this tutorial, we will explore how Mergify helps improve the process and improve workflow efficiency by handling dependencies. 🧑💻
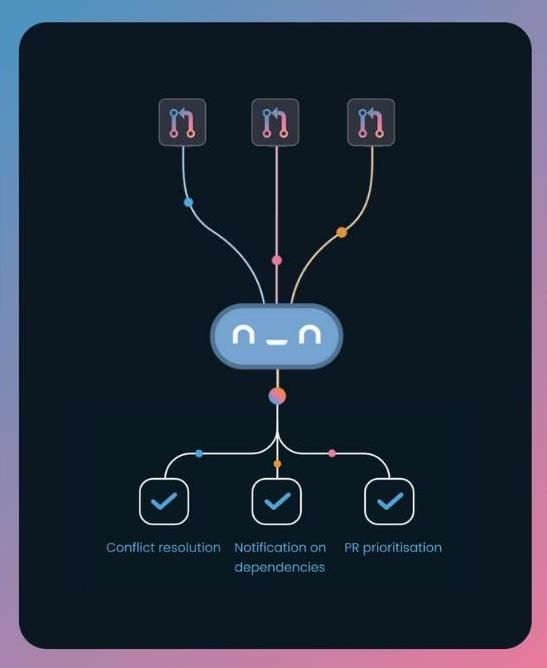
Mergify is a robust solution for GitHub automation, engineered to streamline our workflow and adeptly manage the intricacies of dependency handling.
We could avoid the above cases by defining “Defining Pull Request Dependencies” using Mergify’s Depends-On header. ⛓️
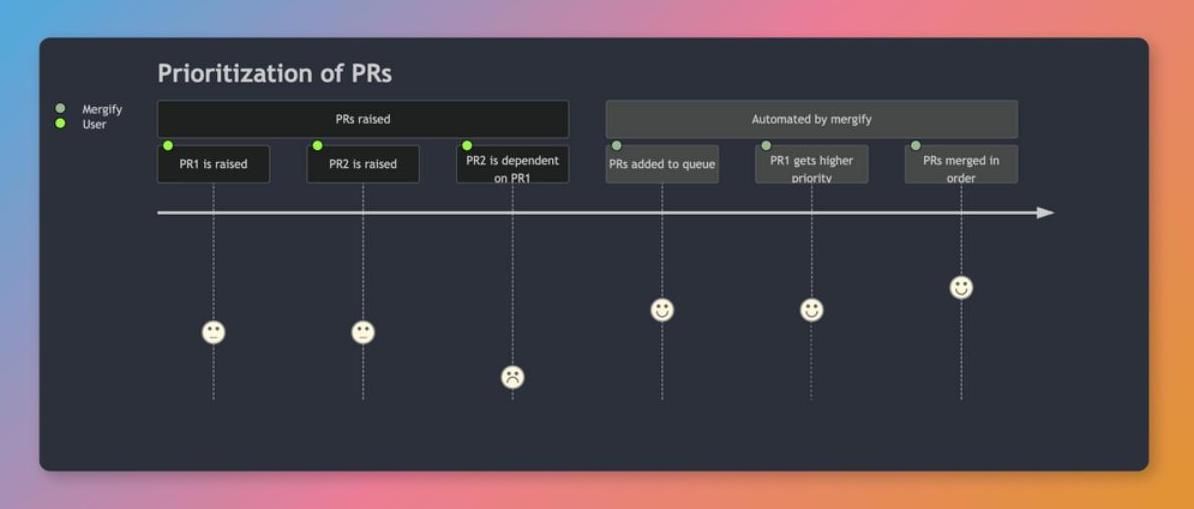
It handles prioritization and streamlines the process by automatically arranging the merging sequence of our pull requests.
We need to simply add a Depends-On header into the body of a pull request to indicate its dependencies.
Mergify will then wait to merge until all linked requests are successfully merged. ✅
Now let’s see this in action with a simple example:
Step 1: Project Setup
For this example, we would start out by setting up a basic React project.
mkdir mergify-demo
cd mergify-demo
git init
npx create-react-app ./
For this example, we would be making pull requests creating different branches for our changes and opening pull requests into the main branch with dependencies.

Step 2: Setting up Rules
We will go ahead and create our .mergify.yml file.
The Mergify configuration file contains a pull_request_rules key, which includes a list of rules.
Each rule has a name, conditions, and actions.
We would need to define the conditions that must match for the rule to be applied and specify the actions that will be executed when the conditions are met.
Here’s what our file would look like 👇
.mergify.yml
queue_rules:
  - name: default
    merge_conditions:
      - label=merge
pull_request_rules:
  - name: Alert on dependency updates
    conditions:
      - files~=package.json
    actions:
      label:
        add:
          - dependency update
      queue:
        name: default
The above rule will check if the package.json file has been changed - if yes, then it will add a label dependency update and put the PR in the queue named default.
It will then merge the PR when the label merge is applied to the PR.
We can use the Mergify config editor to validate our rules before using them.
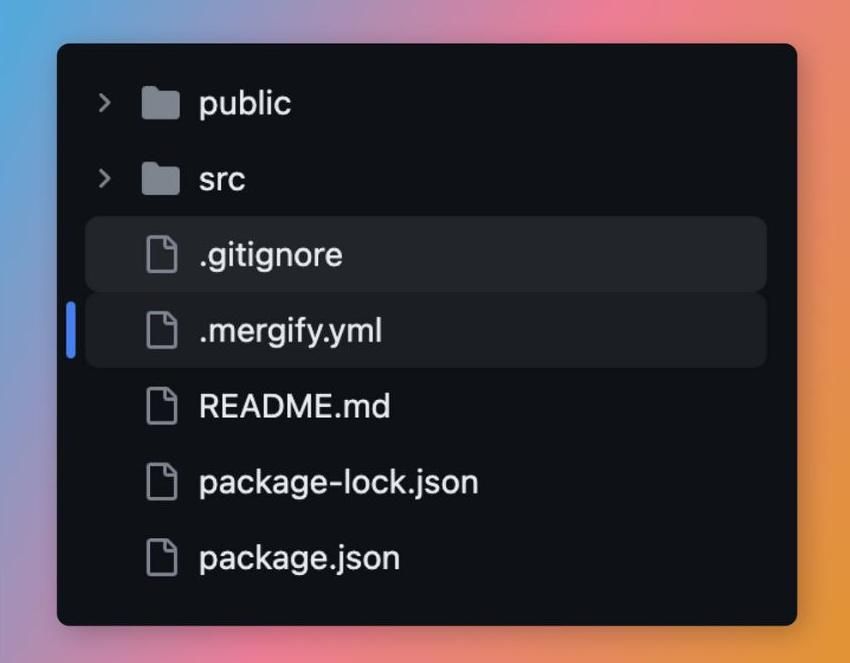
Here’s how our folder structure will look like after adding .mergify.yml file 👇
Step 3: Pushing the repo
Now we would create a new repository in GitHub and push our project to it.
git add .
git commit -m "first commit"
git branch -M main
git remote add origin <Repo Link>
git push -u origin main
Step 4: Setting Up Mergify with our repository
Now we will go ahead and set up Mergify with our repository. 📁
We can install Mergify in our GitHub account by visiting dashboard.mergify.com or github.com/apps/mergify/installations/new and logging in with GitHub.
Then we could select the repositories we want Mergify to give access to (for demo purpose, we will give access to all the repos in this case)
We could now use Mergify's Config Editor to verify our rules. ✅

Step 5: Creating the first PR
Let’s go ahead and create a new branch named pr-1.
git checkout -b pr-1In this branch we would change the version of our project in package.json file from
"version": "0.1.0"to
"version": "0.1.1"Now, we will push our changes.
git add .
git commit -m "chore: version upgrade"
git push --set-upstream origin pr-1
and create a new Pull Request to the main branch without any header.
In our rules, we have defined a merge condition, i.e., label=merge.
We did not put the merge label in the first PR, so Mergify will not merge automatically, and we would need to merge it manually.
Step 6: Creating the second PR
Let’s go ahead and create a new branch named pr-2. In this branch we would change the version of our project in package.json file and also that of react-scripts.
git checkout maingit checkout -b pr-2In this branch, we would change the version of our project as well as of react-scripts in package.json file, from
{
	"name": "mergify-demo",
	"version": "0.1.0",
	"dependencies": {
		"@testing-library/jest-dom": "^5.16.5",
		"@testing-library/react": "^13.4.0",
		"@testing-library/user-event": "^13.5.0",
		"react": "^18.2.0",
		"react-dom": "^18.2.0",
		"react-scripts": "5.0.1",
		"web-vitals": "^2.1.4"
	}
}
to
{
	"name": "mergify-demo",
	"version": "0.1.1",
	"dependencies": {
		"@testing-library/jest-dom": "^5.16.5",
		"@testing-library/react": "^13.4.0",
		"@testing-library/user-event": "^13.5.0",
		"react": "^18.2.0",
		"react-dom": "^18.2.0",
		"react-scripts": "5.0.0",
		"web-vitals": "^2.1.4"
	}
}
Now let’s push this one too.
git add .
git commit -m "chore: change react-scripts version"
git push --set-upstream origin pr-2
Now we would go ahead and open a pull request with the following header.
Updating Version 🎉

You may look at these pull requests for the full picture.

Depends-On: #1
Mergify looks for the Depends-On: keyword in the PR header for dependency information.
Here we have added the merge label, so Mergify will try to merge this PR automatically if all the other conditions are met.
Step 7: Merging the first PR
Now we will go ahead and merge our first PR.
Our second PR still has some merge conflicts, we will resolve them as shown.
Sit back and let Mergify work its magic. ✨
Mergify will automatically check if the conditions of the rules are met for the pull request.
When conditions are satisfied, Mergify will apply the specified actions.
As soon as we resolve our merge conflict, our PR gets merged automatically. 🪄
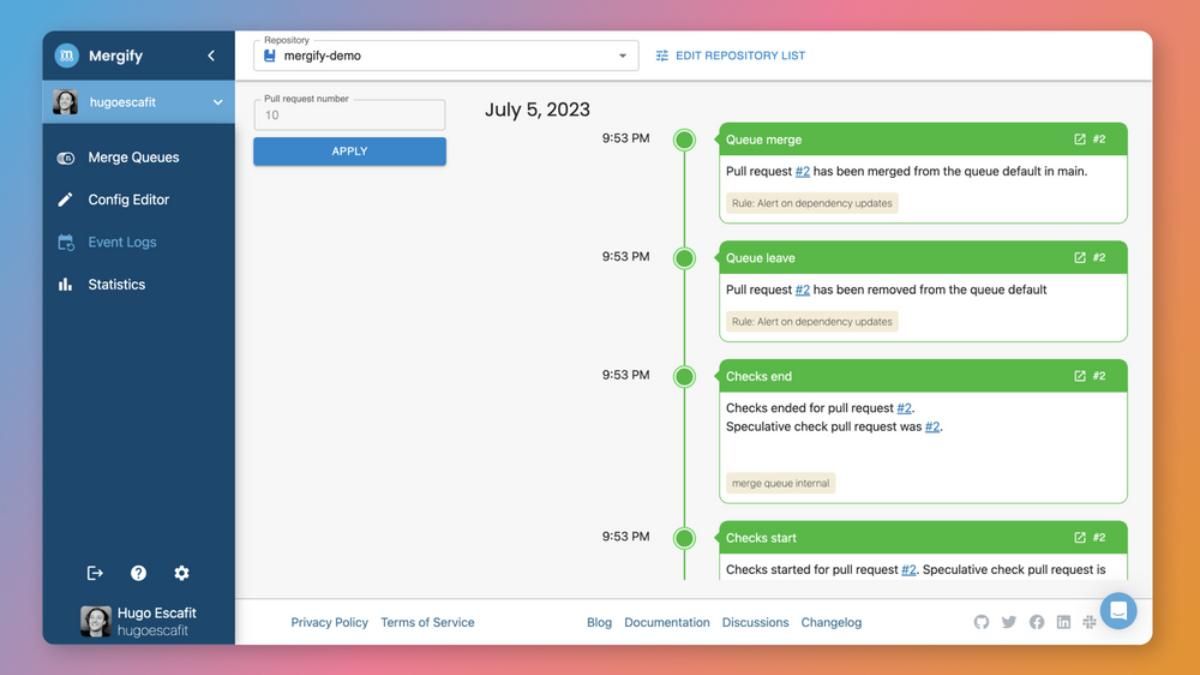
We can go to the Mergify dashboard and check our event logs 👇
You may check out both the Pull Requests here for reference 👉 github.com/hugoescafit/mergify-demo/pulls?q=is%3Apr+is%3Aclosed
That’s it!🎉 With Mergify set-up, you can now enjoy automated dependency management and smoother PR workflows. Let Mergify handle the complexities while you focus on building amazing software!
Conclusion
In our exploration of dependency management with Mergify, we’ve discovered powerful tools that streamline workflows and conquer challenges in handling dependencies between pull requests.
By automating tasks and ensuring code stability, Mergify proves to be an invaluable ally. 🙌
With features like sequential PR merging, custom rebase strategies, and version compatibility checks. Mergify empowers us to efficiently manage dependencies, embrace automation, optimize collaboration, and unlock the full potential of our software projects with Mergify.
Head on to mergify.com to start building ✨