How do I start a project on GitHub?

GitHub is a great resource for developers of all kinds to control and document their development efforts. New projects sprout up on the platform at an alarming rate and for good reason: GitHub simplifies many complex aspects of distributed development and code safeguarding. However, despite the platform's incredible power, not all new users are enthusiastic about using it.
GitHub and Git—the command-line tool it uses—can be incredibly intimidating for the uninitiated. Staging, committing, and otherwise managing code changes can form quite a conundrum for developers who are new to version control systems. Simply taking the first few steps needed to get started with a project on GitHub can come across as a herculean task in its own right. This article should help you navigate GitHub with confidence from your very first commit.
How to start a project on GitHub
Creating your first GitHub project is not necessarily difficult, although it does involve juggling two versions of your codebase throughout the development process. This is done through the use of Git, which runs on your computer and is in charge of patching you over to GitHub whenever the need arises, among many other things. To get started, you will need to get Git installed on your machine.
Installing Git
Git is essential to anyone looking to use GitHub, so installing it is a must. You can choose an appropriate package for your machine from the downloads page on the project's official website or simply visit the homepage and click the download button to get a version suggested for your detected operating system. A new page with detailed instructions for your OS should load up. Once you’ve chosen a suitable version and downloaded it, you are ready to proceed with the installation (for OS options such as Debian/Ubuntu, installation is generally handled automatically after downloading as a part of a single process). On Windows, executing the installer you've obtained should install Git on your system.
Now you will need to join GitHub as well as get Git configured for use.
Joining GitHub
GitHub is easy to join and free to boot! Choose a username plus a password and you should be all set to get started on the platform. Your account will be used to grant Git access to a remote storage location or repository on GitHub's servers whenever you launch a new project. Next, you will need to configure your Git installation.
Configuring Git
Git requires information about you to function after a fresh installation. Both your name and email address should be provided before you do anything else, as these are used in all of the commits that you create. To add this important information, you will need to interact directly with Git; this means using special commands in a terminal or command prompt window on your machine. With your terminal open, use the following commands with your unique information in the designated spots to configure Git:
git config --global user.name "Your Name Here"git config --global user.email your-email-address@here.com
The global option used in the commands above makes them apply to your entire system, meaning you shouldn't need to execute them again unless you'd like a project-specific user name instead. Besides these details, you will also need a new repository in which to start your project.
Creating a repository
Your repository holds the files that make up your project as well as their histories. This makes it possible to track changes and roll them back at any time in a large variety of ways. Ownership of a given repository can be shared and collaborative features of all kinds are available to help simplify your project's development when multiple contributors get involved.
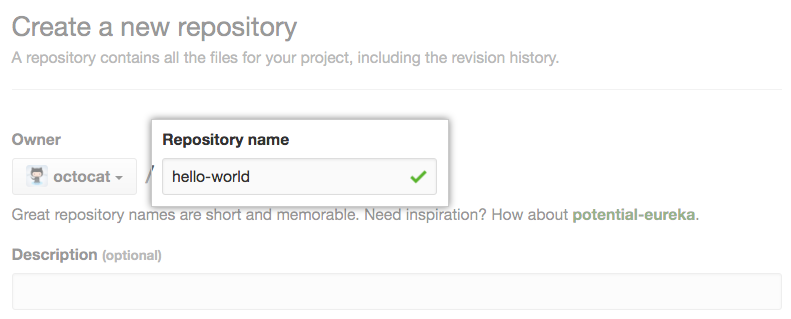
You can select the + icon in GitHub's UI to access the new repository creation option from a dropdown menu. After providing a name, description, and visibility setting for your project's new repo, you will be asked to initialize your new repository or skip ahead to import an existing one. Initializing with a README.md file is a common choice at this stage.
Making a README.md file
During the creation portion of the process of opening your new repository, you should end up with a README.md file that’s shown on the front page of the repository itself. This file can be amended over time with information that reflects the status of your project and informs visitors to your repository of its uses, etc. You can edit this file directly or switch to your project's folder in the terminal on your machine and work from there. To work on your new repository's files locally, you will need to run an initialization operation from within Git and add a remote origin that it can associate with your project's local files.
Initializing your project folder and adding an origin
By using a command like cd YOUR/PROJECT/FILEPATH/HERE and then running git init you can set up your project's local repository. You should then run the following command (with your unique details included) to link this local repository to its remotely hosted (on GitHub's servers) repository:
git remote add origin https://github.com/YOUR-USERNAME/YOUR-REPO-NAME
With the above out of the way, you can now create new files to sync remotely or check out files from your remote repository and work on them locally.
Add an existing project to GitHub
Now that you know how to create a new project on GitHub, you should have no problem adding a project that already exists to your profile. The steps are essentially the same if your project is already well underway on your own machine and you would like to push it to a newly created remote repository.
The primary difference to account for is the addition of an initial commit featuring all of your project's files. This is done by first running git add . to add all of your files as changes to be rolled into your next commit, then git commit -m 'your commit message'. Finally, after adding your remote repository as an origin, you can push your new commit to its main branch with git push -u origin main.
Creating your first GitHub project board
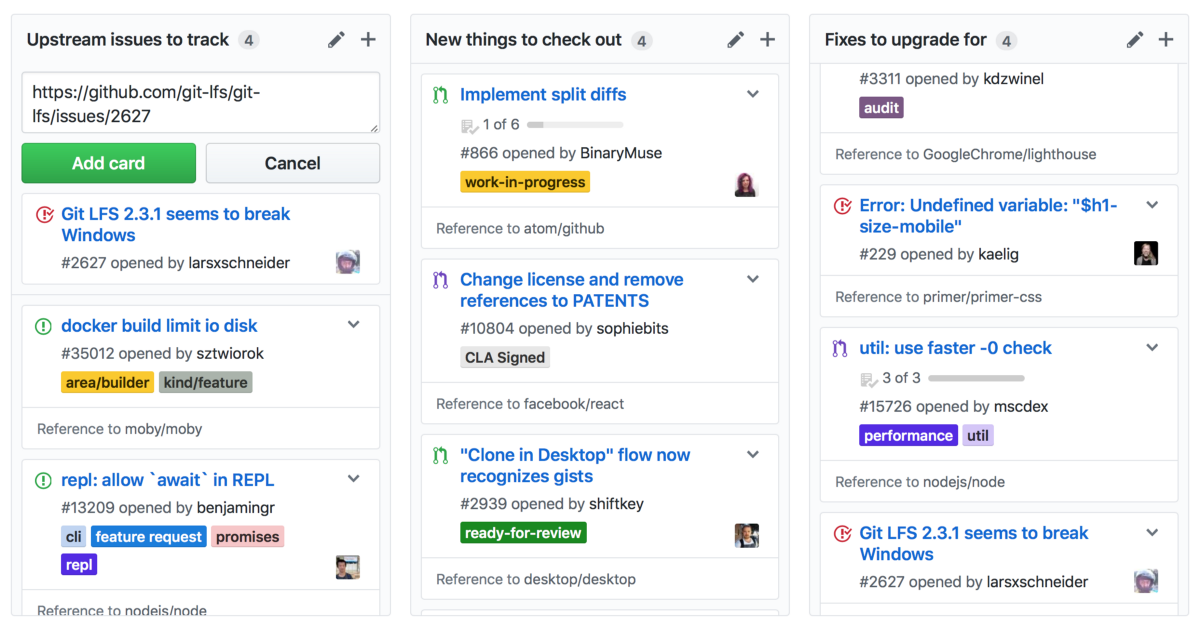
GitHub project boards provide a space for you to assess all of the issues, notes, and pull requests your project has at a given time. To create one on GitHub, you should navigate to the “Projects” tab in your profile and select the "new project" option. Here, you can name and describe your new GitHub project board as well as select a default template to start with. Once you’ve chosen this project board's visibility settings and linked it to any repositories you have in mind, you can refine its layout and configure automated tasks to populate it.
For an organization-wide project board, the process is essentially the same, but you will need to navigate to the "Your organizations" menu option after clicking your profile picture, then click on the name of your organization to access the project tab.
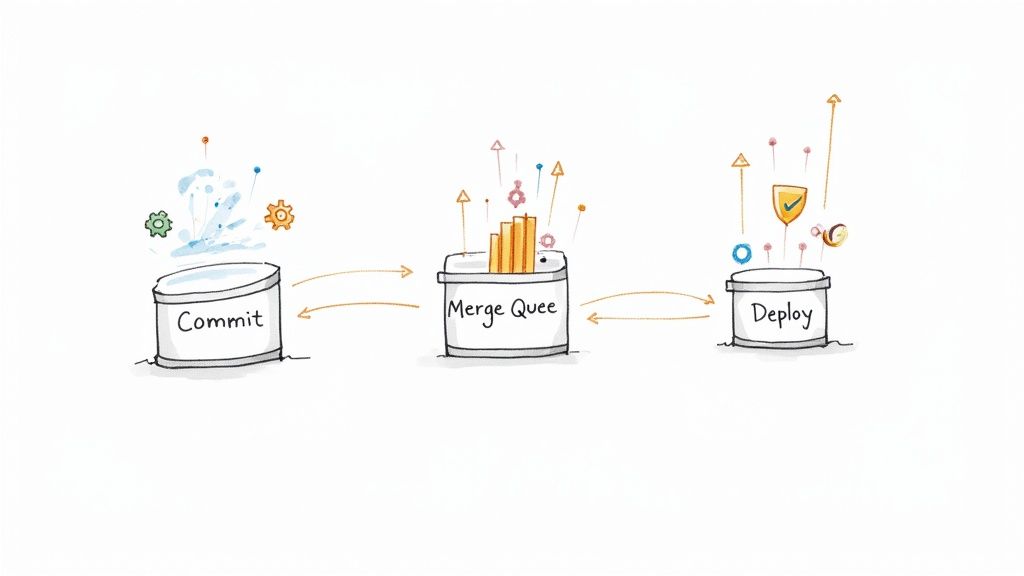
Make GitHub easier with Mergify 🥰
Getting started on GitHub can be a bit of a challenge for some, but there are many ways to make it all a lot easier to manage. Mergify is an excellent option. With Mergify, you can automate everything from merging operations to assigning code contributions to qualified reviewers, freeing up your time and safeguarding your workflow in the process. Give Mergify a try today.