E2E Testing Playwright: Your Ultimate Guide to Reliable Automation

Picking the right framework for your end-to-end (E2E) testing can feel like a high-stakes decision. If you're building modern, dynamic web applications, you've probably heard the buzz around Playwright. It’s a solution built by Microsoft that directly addresses the headaches many of us have faced with older tools. Its entire architecture is engineered for speed, reliability, and genuine cross-browser automation, which is why so many dev teams are making it their top choice.
Why Modern Teams Choose Playwright for E2E Testing
In software development, the quality of your E2E testing framework has a direct line to your release velocity and how stable your application is. Legacy tools had their day, but today's web apps, with their dynamic content and complex user flows, demand a more robust, developer-first solution. This is exactly where Playwright shines and why it’s quickly becoming the go-to for teams that can’t afford to waste time on flaky tests.
The biggest reason for this shift is Playwright's modern architecture. Unlike older frameworks that often lean on clunky external drivers, Playwright talks directly to browsers over a WebSocket connection. This simple design choice cuts out a whole layer of potential flakiness and latency, leading to faster, more dependable test runs. It’s built for the web of today, easily handling single-page applications (SPAs) and content that loads asynchronously.
The Core Features That Matter
Playwright’s most powerful features are a direct result of smart, intentional engineering. It was clearly built from the ground up with the developer's sanity in mind, and that shows in its capabilities.
Here’s what really gets development teams excited:
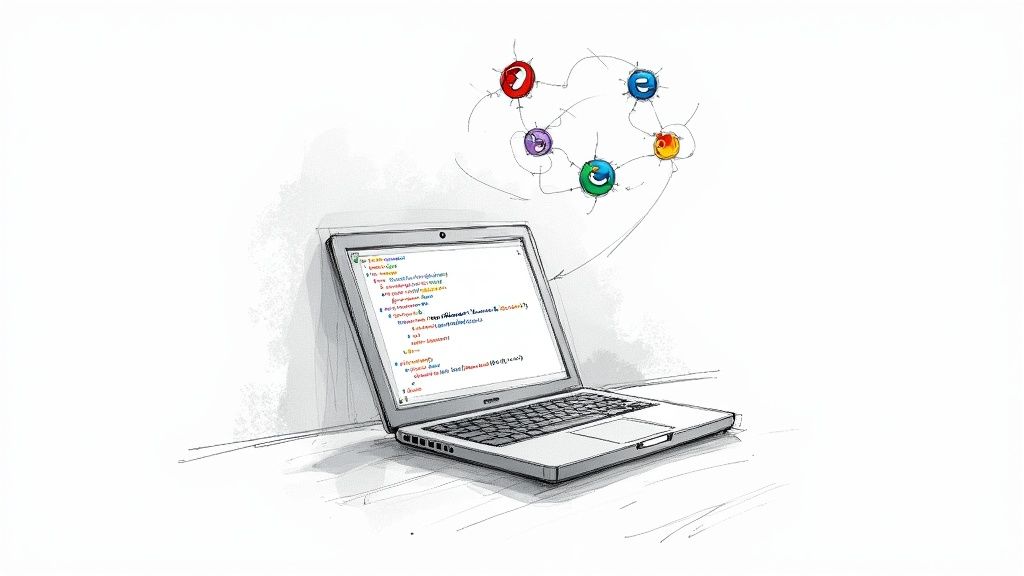
- True Cross-Browser Support: This isn't an afterthought; it's a core feature. You can run your tests against Chromium (Chrome, Edge), WebKit (Safari), and Firefox using a single, unified API. No more separate configs or weird workarounds.
- Auto-Waits: This is, hands down, one of its most celebrated features. Playwright automatically waits for elements to be actionable before trying to interact with them. This one feature alone eradicates a massive source of the flaky tests that plague other frameworks.
- Powerful Tooling: The built-in tools are fantastic time-savers. Codegen records your actions on a site and spits out a ready-to-use test script. The Trace Viewer gives you a full, step-by-step debugging goldmine with network logs, console messages, and before-and-after DOM snapshots. These tools dramatically cut down the time spent writing and fixing tests. To see how these tools fit into a complete testing workflow, check out our comprehensive guide on Playwright e2e testing.
The community has embraced this feature set in a big way. The numbers speak for themselves: Playwright has over 74,000 stars on GitHub and is a dependency in around 412,000 repositories. It's quickly surpassed many established alternatives. While a tool like Selenium has a long history, Playwright's meteoric rise points to a clear industry trend toward more modern, efficient solutions.
Below is a quick breakdown of what makes Playwright a compelling choice.
Playwright Core Features at a Glance
| Feature | Benefit for Developers | Impact on Testing |
|---|---|---|
| Native Cross-Browser | Write one test suite that runs on Chromium, Firefox, and WebKit without modification. | Ensures consistent user experience across all major browsers with less effort. |
| Auto-Waiting | No need to write manual sleep or waitForElement calls; the framework handles it. |
Dramatically reduces test flakiness and makes tests more resilient and reliable. |
| Trace Viewer | A complete visual timeline of test execution with DOM snapshots, logs, and network. | Simplifies debugging, making it incredibly fast to find and fix failed tests. |
| Codegen | Records user interactions and automatically generates test code. | Speeds up test creation, especially for developers new to the framework. |
| Network Interception | Modify network requests, mock APIs, and stub responses directly within tests. | Allows for isolated, predictable testing of frontend components without a backend. |
These features aren't just minor conveniences; they fundamentally change the E2E testing experience for the better.
By fundamentally solving long-standing issues like flakiness and cross-browser complexity, Playwright enables teams to build an automation suite they can actually trust. That trust is what leads to faster feedback loops and more confident deployments.
Setting Up Your First Playwright Project
Jumping into E2E testing with Playwright is refreshingly straightforward. Forget about manually creating config files and wrestling with directory structures. Thanks to its slick command-line interface (CLI), you can get a best-practice setup running in less than a minute.
Just navigate to your project directory in the terminal and fire off the official init command:
npm init playwright@latest
This single line kicks off a slick interactive setup process. It doesn't just blindly install dependencies; it guides you, making sure your new project is configured exactly how you need it right from the start.
The Interactive Setup Process
The CLI will ask a few simple but important questions. This is your first chance to shape your testing environment.
- TypeScript or JavaScript? I'd strongly recommend TypeScript. The type safety it provides is a lifesaver for catching errors early and keeping your code maintainable as your test suite inevitably grows.
- Name of your tests folder: The default is
tests, which is a perfectly sensible convention. Stick with it unless you have a good reason not to. - Add a GitHub Actions workflow? Say yes to this. It automatically creates a
.github/workflowsfolder with a basic CI configuration file. It's a fantastic head start for integrating your tests into a real CI/CD pipeline.
After you've answered, the installer gets to work. It adds the necessary Playwright packages to your project and, more importantly, downloads the browser binaries for Chromium, Firefox, and WebKit. This is huge—it means you're set up for true cross-browser testing right out of the box, with zero extra fuss.
Understanding the Generated Project Structure
Once the installer finishes, you'll see a few new files and folders. Taking a moment to understand what they do is key to working effectively with Playwright.
The real magic of the Playwright CLI isn't just the installation. It's that it scaffolds a well-organized, production-ready test environment, setting you up for success by establishing clear conventions from day one.
The most critical file here is playwright.config.ts. This is the heart of your project. It's where you'll define global settings, configure which browsers to run tests against, set timeouts, and enable powerful features like the Trace Viewer.
Your tests directory is where your actual test files (ending in .spec.ts) will live. The installer even creates an example.spec.ts file for you. Don't just delete it—open it up and read through it. It’s a practical, working example of Playwright's syntax, showing basic navigation and assertions you can borrow for your first real test.
Crafting Your First Meaningful E2E Test
Okay, you've got your project initialized. Now it's time to move past the boilerplate and write a test that actually does something valuable. A truly great test doesn't just check if a button exists; it mirrors a critical user journey from start to finish.
We'll walk through a classic example: simulating a user logging into a fictional e-commerce site. This is a fundamental flow for most web apps, making it a perfect first e2e testing Playwright script. Along the way, you'll get hands-on with the three pillars of Playwright automation: finding elements, performing actions on them, and asserting that the right thing happened.
Finding Elements with Locators
Before you can click a button or fill a form, you have to find it on the page. This is where Playwright's locators come in. They are impressively robust tools for pinpointing elements, specifically designed to withstand the minor frontend tweaks that happen all the time in development.
The best practice here is to lean on user-facing attributes—things a real person would see. Think roles, labels, and placeholder text.
Key Takeaway: Always prioritize user-visible locators (getByRole,getByLabelText,getByPlaceholderText) over fragile ones like CSS classes or complex XPath. This makes your tests far more resistant to breaking when markup changes.
Let's say our login form has an email input, a password field, and a "Log In" button. We can define our locators for these in a really clean, readable way:
const emailInput = page.getByLabel('Email');
const passwordInput = page.getByLabel('Password');
const loginButton = page.getByRole('button', { name: 'Log In' });
See how clear that is? Anyone on your team can read that test and know exactly what it's targeting without ever having to inspect the page's source code.
Performing Actions and Asserting Outcomes
Once your locators are defined, interacting with the elements is just as intuitive. You'll find yourself using methods like .fill() for text inputs and .click() for buttons most of the time.
But the most crucial part comes next: verifying the result. After you perform an action, you have to confirm the application behaved as expected. This is the "testing" part of your E2E test, and it's done with Playwright's expect function.
For our login flow, after the user clicks the "Log In" button, we'd probably expect to land on a dashboard page and see a friendly welcome message.
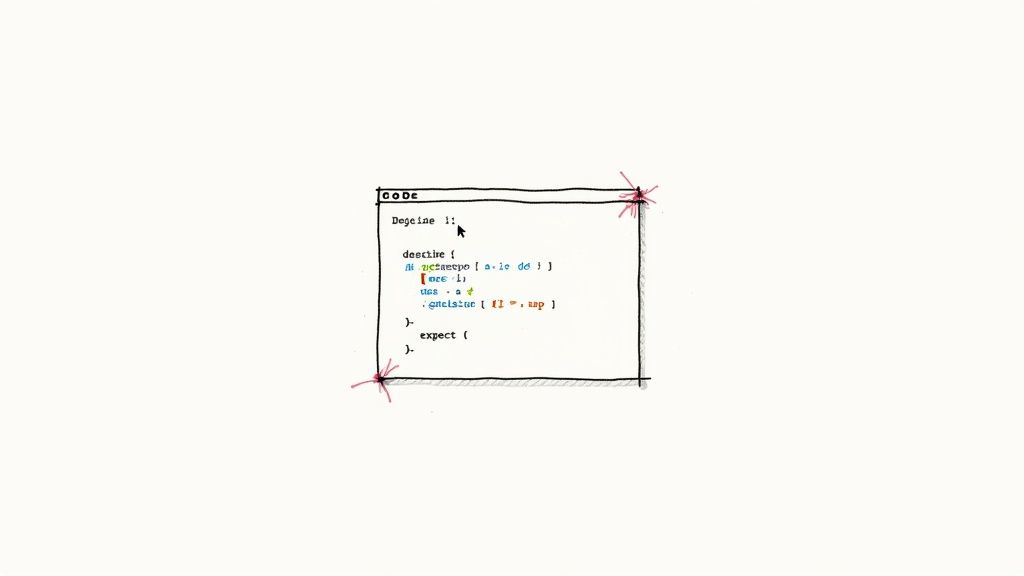
test('user can log in successfully', async ({ page }) => {
await page.goto('/login');
// Locate and fill the form
await page.getByLabel('Email').fill('testuser@example.com');
await page.getByLabel('Password').fill('SuperSecret123');
await page.getByRole('button', { name: 'Log In' }).click();
// Assert the outcome
await expect(page).toHaveURL('/dashboard');
await expect(page.getByText('Welcome back, Test User!')).toBeVisible();
});
This short, focused test delivers immense value. It validates the entire login journey, from user input all the way to the final UI state. Mastering these foundational skills opens the door to much more complex automation. If you're eager for more, our post on a popular testing tool, Playwright, dives into other useful scenarios.
The community's shift toward this framework is hard to ignore. By June 2024, Playwright's weekly downloads had rocketed past those of Cypress. This trend is largely driven by its fantastic cross-browser support and more efficient test runs. You can read more about this shift in automation framework adoption on TestGuild.
Building Scalable and Reliable Test Suites
Writing your first few tests is a great feeling, but the real test in e2e testing with Playwright comes when your application—and your test suite—starts to expand. What begins as a small set of scripts can quickly spiral into a tangled, unmaintainable mess that spits out flaky results and grinds your team to a halt. The secret to long-term success is building a scalable and reliable framework right from the start.
This is where you shift from just writing tests to architecting a test suite. The goal is to create an asset that delivers consistent value, not a liability that demands constant firefighting. We'll dig into the battle-tested strategies that professional automation engineers rely on to keep their tests clean, fast, and trustworthy as the codebase evolves.
Isolate UI Logic with the Page Object Model
One of the most powerful patterns for creating maintainable test suites is the Page Object Model (POM). The idea behind it is simple but incredibly effective: you create a separate class for each page or major component of your application. This class becomes the single source of truth for all locators and methods needed to interact with that piece of the UI.
So, instead of peppering your test files with selectors like page.getByRole('button', { name: 'Add to Cart' }), you centralize them. Your test script transforms into a clean, high-level story about user actions, while the page object handles the messy implementation details of finding and clicking on things in the DOM.
This separation of concerns is a complete game-changer for maintenance. When a developer inevitably changes a button's ID or text, you only have to update it in one spot—the corresponding page object—instead of hunting it down across dozens of different test files.
A well-implemented Page Object Model turns your test code from a series of brittle instructions into a readable narrative of user behavior. It abstracts away the 'how' so your tests can focus on the 'what'.
Create Reusable Helpers and Custom Commands
As you write more tests, you'll start seeing the same sequences of actions pop up again and again. Think about common workflows like logging in, setting up specific test data through the UI, or cleaning up a user's state after a test. Hard-coding these steps in every single test is not only inefficient but also a recipe for massive duplication.
A much smarter way to handle this is to pull these common workflows out into reusable helper functions. For instance, you could create a login function that takes a username and password and handles the entire process behind the scenes.
Suddenly, your test becomes way cleaner:
- Without a helper: You'd have multiple lines for navigating to the login page, finding input fields, filling them out, and clicking the submit button.
- With a helper: It boils down to a single, self-explanatory line:
await login(page, 'testuser', 'password');.
This doesn't just make your tests more readable; it also makes updates a breeze. If the login flow ever changes, you only need to fix the login function once, and every test using it is instantly up to date.
Organize Tests for Targeted Execution
Running your entire E2E suite can take a long time, and you don't always need to. Sometimes you just want to run tests related to a specific feature you're working on, or maybe you need to run a quick smoke test before deploying.
Playwright makes this incredibly easy with test tagging. By adding an @ tag to your test titles, you can sort them into logical groups.
test('user can add item to cart @smoke @cart', ...)test('user can complete checkout @regression @cart', ...)test('user can view their profile @profile', ...)
With these tags in place, you can use the command line to run specific subsets of your tests. This gives you precise control over your CI process and your local development workflow. For example, running npx playwright test --grep @smoke will execute only your most critical smoke tests, giving you the fast feedback you need.
Integrating Playwright into a CI/CD Pipeline
Writing and running tests on your local machine is a great starting point, but the real power of e-2-e testing with Playwright is only unlocked when you automate it. By integrating your test suite into a Continuous Integration/Continuous Deployment (CI/CD) pipeline, your tests transform from a manual chore into an automated gatekeeper that protects your entire codebase. This setup ensures every single pull request gets validated before it merges, which is key for catching bugs early and keeping your application stable.
Platforms like GitHub Actions make this process incredibly straightforward. When you first initialize a Playwright project, it even offers to automatically generate a workflow file for you. Think of this file as a blueprint that tells the CI server exactly how to set up the environment, install the right browsers, and run your tests on every code push or pull request.
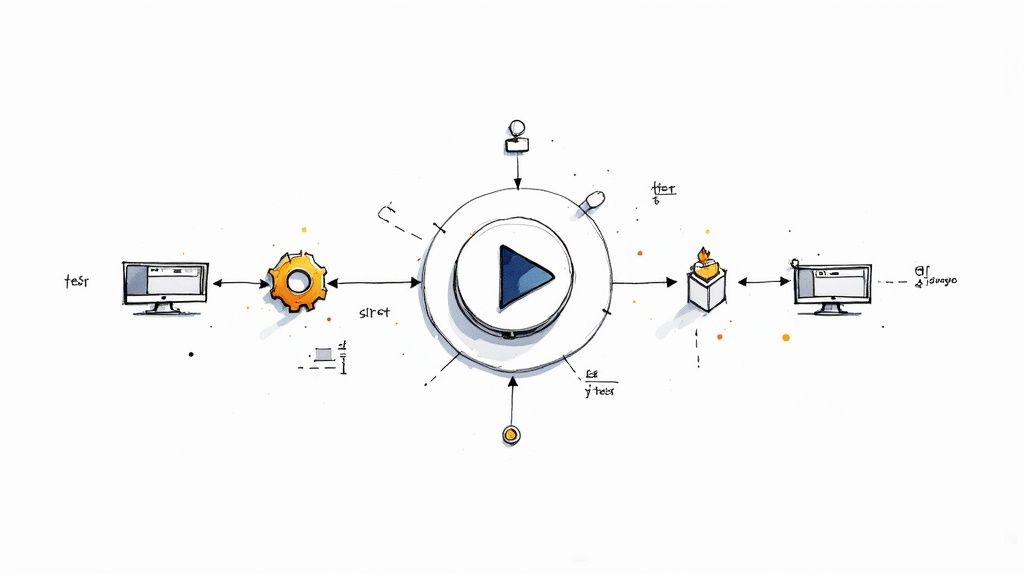
This flow is a great visual for what happens inside your CI pipeline when a Playwright job kicks off.
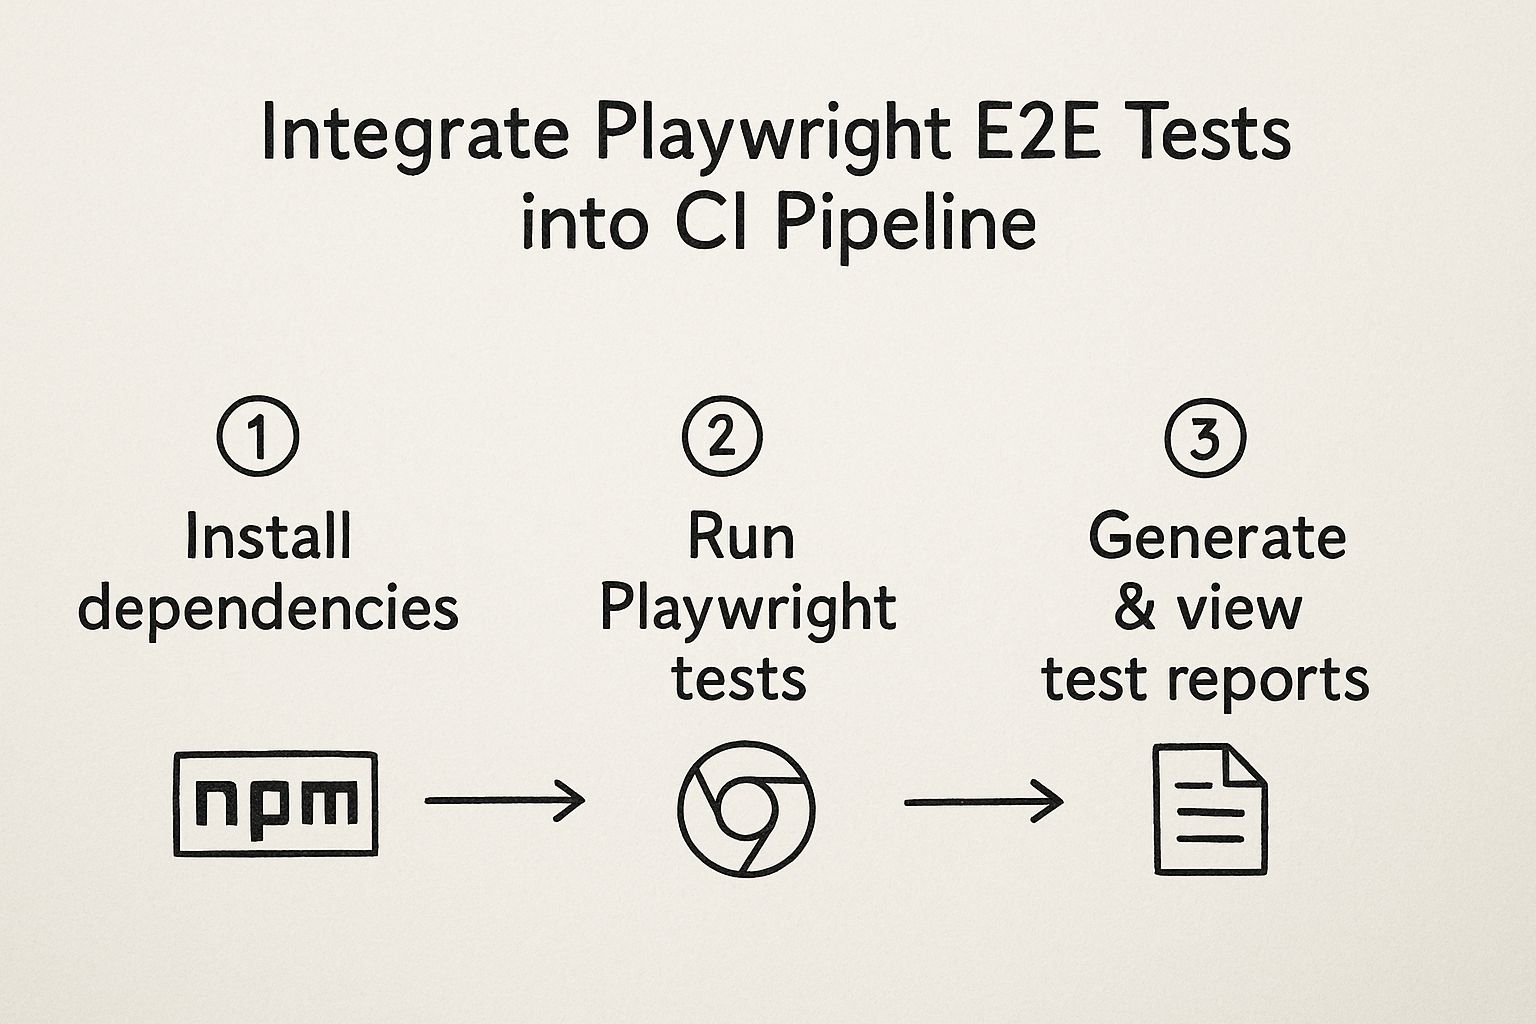
As you can see, the CI job moves from installing dependencies to running the actual tests, and then finally generates the reports that give you critical feedback on the build's quality.
Configuring the CI Workflow
All the magic happens in a YAML file, which you’ll typically find at .github/workflows/playwright.yml. This file lays out the entire sequence of operations for your CI job.
Here’s a practical breakdown of what a standard workflow actually does:
- Trigger Conditions: You get to decide exactly when the workflow runs. Common triggers include a
pushto the main branch or whenever apull_requesttargets it. - Job Setup: The workflow starts by checking out your repository's code and setting up the correct Node.js environment.
- Dependency Installation: Next, it runs
npm cito cleanly install all your project’s dependencies, including Playwright itself. - Browser Installation: This is a crucial step. The
npx playwright install --with-depscommand downloads the necessary browser binaries (Chromium, Firefox, and WebKit) right inside the CI runner.
Pro Tip: Always run your Playwright tests in headless mode within a CI environment. This stops the browser UI from actually rendering, which dramatically speeds up your test execution and cuts down on resource consumption.
With all the dependencies handled, the main event is executing the npx playwright test command. Once the run is complete, you can configure the workflow to publish the results as an artifact. This is invaluable because it lets you download and inspect the detailed HTML report, complete with traces and videos for any failed tests, making debugging pipeline failures so much easier.
The performance benefits of this setup are hard to ignore. Some studies have shown that Playwright tests can run 30-40% faster than with older frameworks, and its parallel testing efficiency is boosted by a massive 75%. You can dig into some of these performance metrics on Caw.tech to see how this can directly impact your team's release cycles.
Common Questions About E2E Testing with Playwright
Whenever your team thinks about bringing a new tool into the fold, a bit of healthy skepticism is a good thing. That's especially true for something as central as your testing framework. Moving to e2e testing with Playwright is a big deal, so it's smart to tackle the common questions and potential hangups from the get-go.
Let's walk through some of the things developers usually ask when they're just getting started. Getting these answers sorted out early on can really smooth out the learning curve and give you confidence that you're making the right choice.
How Does Playwright Handle Flaky Tests?
Flaky tests are the bane of every developer's existence. It's one of the most persistent pains in test automation, and honestly, it’s where Playwright really shines. The framework was built from the ground up with modern, dynamic web apps in mind, which gives it a massive leg up in creating stable tests.
Its killer feature is the auto-waiting mechanism. Forget littering your code with sleep commands or other explicit waits. Playwright automatically waits for an element to be actionable—meaning it's visible, enabled, and no longer animating—before it tries to do anything. This one feature alone wipes out an entire category of race conditions that cause so many headaches in other frameworks.
By handling the asynchronous nature of web apps automatically, Playwright frees you up to focus on the actual test logic, not the weird timing quirks of your application. This leads to tests that are not only easier to write but far more resilient and a lot less of a pain to maintain.
On top of that, you get practical features like configurable test retries right in your playwright.config.ts file. This gives you a built-in safety net. If a test stumbles because of a random network hiccup, Playwright can just run it again, helping you tell the difference between a real bug and a one-off fluke.
Can I Use Playwright for More Than E2E Testing?
Absolutely. While Playwright built its reputation on top-tier E2E testing, its toolbox is much deeper than that. It’s more of a comprehensive quality assurance tool than a one-trick pony.
- Component Testing: You can mount individual UI components from frameworks like React, Vue, or Svelte. This lets you test them in a real browser but in total isolation from the rest of your app.
- API Testing: The framework comes with a powerful API request context (
request). You can fire off HTTP requests to your backend directly from your test files, making it a fantastic tool for API testing.
This versatility is a huge win. For instance, you can mix and match test types for some serious efficiency gains. A common pattern is to use a quick API call to log a user in and get the application into the right state, then jump straight into the targeted UI test. It's way faster and more reliable than clicking through a five-step login flow every single time.
What's the Difference Between the Trace Viewer and Reports?
Think of it like this: a standard test report tells you what happened—which tests passed and which ones failed. The Playwright Trace Viewer, however, is a full-blown debugging tool that shows you why a test failed. It's a game-changer for diagnostics.
When you run a test with tracing turned on, Playwright records everything. And I mean everything. This trace file includes:
- A DOM snapshot for every single action.
- A full screencast video of the entire test run.
- All the console logs and network requests that occurred.
You can literally scrub through the timeline, inspect the page's state at any given moment, and see exactly what Playwright saw. This makes figuring out what went wrong incredibly fast, often saving you from having to re-run a failing test over and over just to catch it in the act.
At Mergify, we believe a rock-solid testing strategy is the bedrock of any healthy CI/CD pipeline. By automating your pull request workflow and streamlining your CI jobs, Mergify makes sure your Playwright tests run like clockwork. You get fast, dependable feedback that keeps your team shipping, not waiting. See how our merge queue and CI insights can protect your main branch and put an end to developer frustration.