Automation Testing Tool Playwright: The Ultimate Guide

If you're in the software world, you've probably heard the buzz around Playwright. It’s a fantastic automation testing tool from Microsoft, built specifically to handle the headaches of modern web app testing. It gives you a single, clean API to run fast and reliable end-to-end tests across all the browsers that matter: Chromium, Firefox, and WebKit.
Why Teams Are Switching to Playwright for Automation
In software development, we're always looking for tools that make our lives easier without compromising on quality. The incredible speed at which teams are adopting Playwright isn't just a fad—it marks a real shift away from older frameworks toward a solution designed for today's complex web.
So, what’s the big deal? It all comes down to its modern architecture. Playwright was engineered from the ground up to tackle the flakiness and synchronization nightmares that have haunted test automation for years. Its secret weapon is a powerful auto-waiting mechanism. It instinctively waits for elements to be interactive before trying to do anything, which means you can finally say goodbye to littering your code with manual waits and sleep() calls.
For developers and QA engineers, this is a game-changer. It means fewer random test failures and far more dependable test suites. When a Playwright test fails, you can be pretty confident you've found a real bug, not just another victim of a frustrating race condition.
The Meteoric Rise in Popularity
The developer community's reaction has been nothing short of electric. Since it first appeared in 2020, Playwright has become the fastest-growing automation tool out there. To put it in perspective, by mid-2025, Playwright had racked up over 74,000 stars on GitHub, more than doubling what legacy tools like Selenium had gathered.
The numbers tell a clear story. Around 412,000 repositories now use Playwright, surpassing the 354,000 that still rely on Selenium. This isn't just about popularity; it reflects a fundamental change in how we approach testing. You can get more details in our Playwright vs Selenium comparison.
Here’s a quick look at how Playwright’s adoption is outpacing older tools.
Playwright vs Legacy Tool Adoption Rates
| Tool | Adoption Rate (Early 2025) | Key Advantage |
|---|---|---|
| Playwright | Very High (Rapid Growth) | Modern architecture with auto-waits, superior tooling. |
| Selenium | Moderate (Stagnant) | Established, but struggles with modern app flakiness. |
| Cypress | High (Slowing Growth) | Great DX, but limited to Chromium-based browsers. |
This rapid adoption isn't just hype; it's fueled by some seriously powerful capabilities that solve real-world problems.
This isn't just a trend; it's a testament to what it can do. The switch is happening for a few key reasons:
- True Cross-Browser Support: This is a big one. Playwright doesn't mess around with derivatives. It tests against genuine Chromium, Firefox, and WebKit browsers, ensuring what you test is exactly what your users experience.
- Killer Tooling: Features like Codegen, which literally records your actions and spits out a test script, are massive time-savers. Then there's the Playwright Trace Viewer, which gives you a detailed, step-by-step recording of your test run. It makes debugging feel less like a chore and more like a science.
- Unified Testing: Playwright isn't just for the UI. It has built-in API testing capabilities, allowing your team to create comprehensive end-to-end tests that validate both the frontend and backend in a single, cohesive suite.
Getting to know this automation testing tool playwright is the first step toward a smoother, more efficient development workflow. As you’ll see in the rest of our guide, integrating it into your CI/CD pipeline is where the magic really happens, creating a rock-solid system for shipping high-quality software.
Setting Up Your Playwright Environment for Success
Before you can start writing powerful tests, you need a solid foundation. Getting your development environment set up for Playwright is the first and most crucial step, but the good news is the process is incredibly straightforward. It's designed to get you from zero to testing in just a few minutes.
The only real prerequisite is having Node.js on your machine, since Playwright is a Node.js library. If you don’t have it installed, I’d recommend grabbing the latest Long-Term Support (LTS) version to ensure stability. While you can use any text editor you like, I strongly suggest using Visual Studio Code (VS Code). Its official Playwright extension is a game-changer, offering debugging, codegen, and test execution right inside your editor. It's a huge time-saver.
This simple command flow is all it takes to get a new Playwright project off the ground.
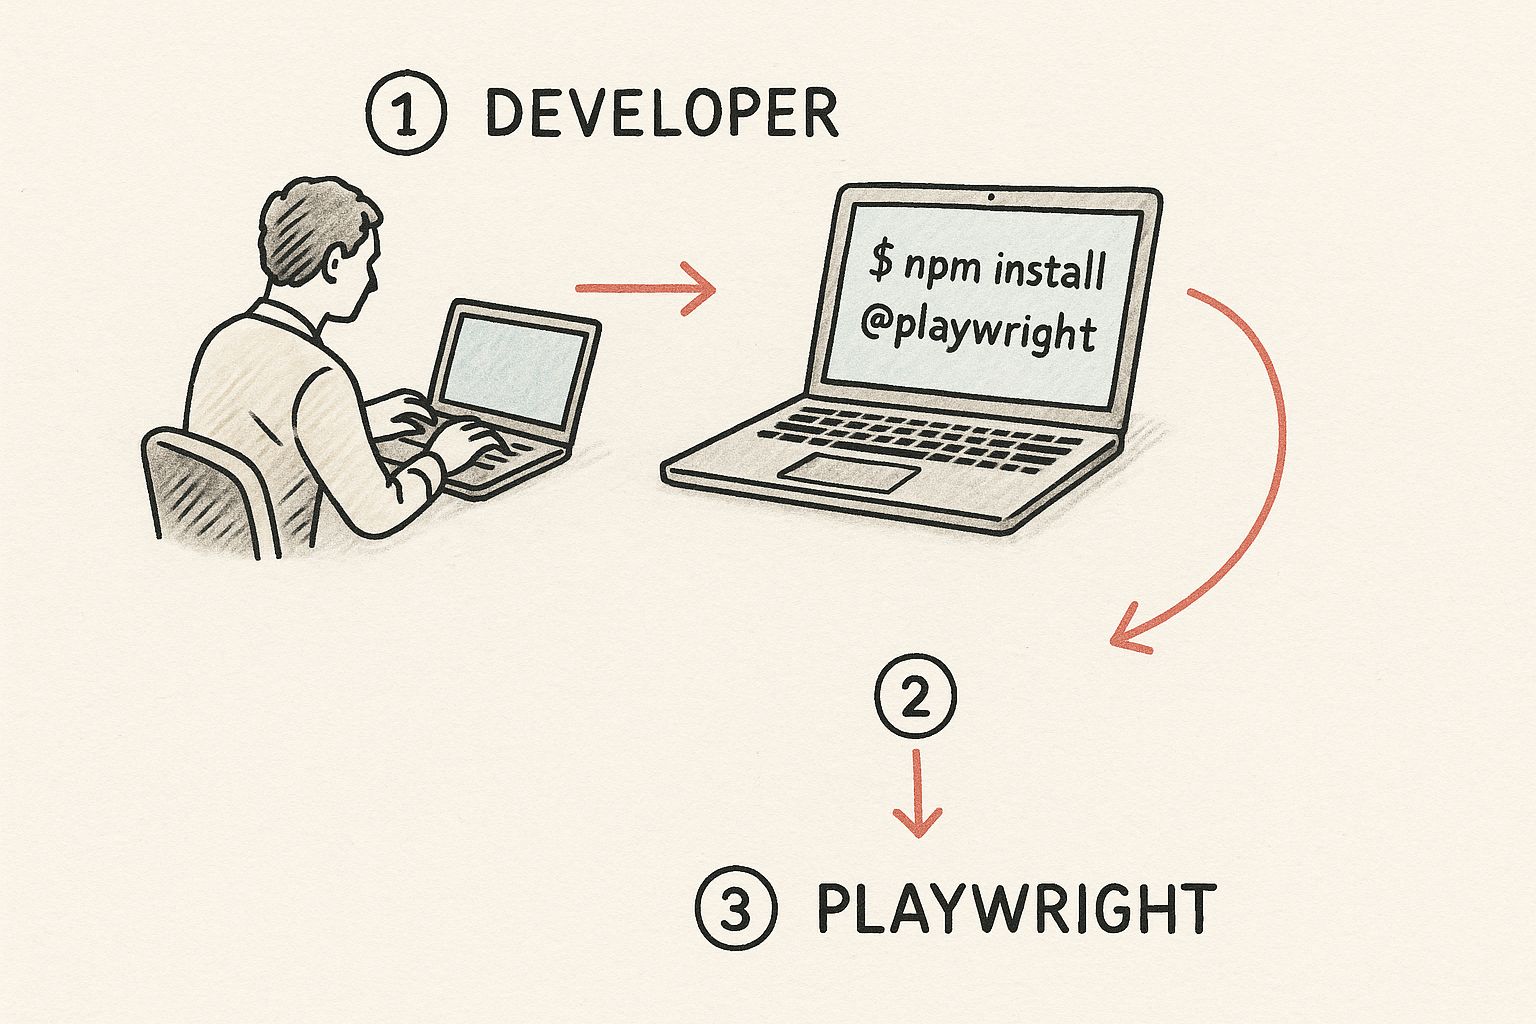
As you can see, a few quick commands in the terminal are enough to initialize a complete testing setup. This really highlights how much Playwright focuses on an excellent developer experience right from the start.
Initializing Your First Project
Once Node.js is ready to go, kicking off a new project is as simple as running a single command. Just navigate to your project directory in your terminal and type:
npm init playwright@latest
This command fires up an interactive CLI that walks you through a few quick questions. You'll get to pick between TypeScript or JavaScript, decide where your tests live (the default tests folder is a great place to start), and even add a GitHub Actions workflow file automatically. That last option is a fantastic head start for CI/CD integration, which is something we'll dive deep into later.
Key Takeaway: The init command does more than just create a few files. It scaffolds an entire project with example tests and a vital configuration file, giving you a clear path for building a maintainable test suite from day one.Understanding the Setup
After the initialization script finishes, you'll spot a few new things in your project folder. The most important one is the playwright.config.js (or .ts) file. Think of this as the command center for all your test runs.
Inside this file, you can configure everything, including:
- Target Browsers: Tell Playwright which browsers to test against, like Chromium, Firefox, and WebKit.
- Test Directories: Point to the folders where your test files are located.
- Global Settings: Define options like base URLs, viewport sizes, and trace recording modes.
The init command also downloads the necessary browser binaries for Chromium, Firefox, and WebKit. Playwright cleverly manages these for you, ensuring the browser versions always match the library version. This self-contained approach helps you sidestep the dependency headaches that plague other automation tools, where you're often stuck manually managing browser drivers.
With this robust setup complete, you're perfectly positioned to start writing meaningful tests.
Writing Your First Meaningful Playwright Test
Alright, with our setup squared away, it’s time to get our hands dirty and write a test that actually does something useful. A simple "hello world" is fine, but a script that mimics real user behavior is where you start seeing the payoff. We're going to build a test that logs into a demo application, makes sure the login worked, and then checks the new page.
This example will walk you through the core of the Playwright API. You'll get familiar with the page object, which is your gateway to a single browser tab, and learn to use locators to find elements on that page. Most importantly, you’ll see how expect makes your assertions both powerful and surprisingly readable.
Defining a Real-World User Flow
Let’s start with a classic scenario: testing the login functionality of a web app. This is a critical path for pretty much any application that has user accounts. A solid test here shouldn't just confirm the login page loads; it needs to follow a user's entire journey from start to finish.
Our test will automate these steps:
- Navigate to the login page of a demo site.
- Pinpoint the username and password fields.
- Type valid credentials into them.
- Click the login button.
- Assert that the user lands on a dashboard or welcome page, proving the login was a success.
This approach validates multiple parts of your application at once—from the UI elements rendering correctly to the backend authentication logic doing its job. This is the essence of effective end-to-end testing, and it's something an automation testing tool playwright absolutely excels at.
One of the first things you'll love is Playwright’s auto-waiting feature. You can forget about adding manual pauses or sleep commands. Playwright inherently waits for elements to be ready for interaction, which dramatically cuts down on the flaky tests that plague older frameworks.This built-in reliability is a huge reason for its skyrocketing popularity. By early 2025, market adoption surveys showed Playwright hitting a 45.1% adoption rate among automation professionals, a massive shift as Selenium's usage declined to 22.1%. You can dig into more of these automation testing trends if you're curious.
Crafting the Login Test Script
Now, let's translate that user flow into actual code. Head over to your tests directory and create a new file named login.spec.ts. This is where our test case will live. We'll be pulling in the test and expect functions from the @playwright/test package.
Here’s what the test looks like. We'll use a public demo site so you can run this yourself.
import { test, expect } from '@playwright/test';
test('successful login to demo application', async ({ page }) => { // Navigate to the login page await page.goto('https://www.saucedemo.com/');
// Use locators to find elements and perform actions await page.locator('[data-test="username"]').fill('standard_user'); await page.locator('[data-test="password"]').fill('secret_sauce'); await page.locator('[data-test="login-button"]').click();
// Make an assertion to verify the result await expect(page.locator('.title')).toHaveText('Products'); await expect(page).toHaveURL(/.*inventory.html/); });
So, what’s happening here? The script first navigates to the URL. Then, it uses page.locator() with CSS attribute selectors to grab the input fields and the button. The .fill() method types our credentials, and .click() does exactly what it says.
Finally, expect().toHaveText() verifies that an element with the class .title contains the word "Products," confirming we've landed on the inventory page. Seeing a tangible, working example like this is often the best way to get the confidence to start automating your own application’s flows.
Integrating Playwright into Your CI Pipeline with GitHub Actions
Having tests that run flawlessly on your local machine is a great first step. But the real magic happens when you weave automated testing into your team's day-to-day workflow. This means running your entire Playwright suite automatically every single time someone proposes new code, creating a safety net that ensures regressions never sneak into your main branch.
This is exactly what Continuous Integration (CI) is all about. A solid CI pipeline acts as a constant quality gate, catching bugs early and often. For any team on GitHub, the most direct path to this is through GitHub Actions. It’s built right in, allowing you to create powerful, automated workflows directly inside your repository. If you're new to the concept, this guide on what is a CI/CD pipeline is a fantastic primer.
The goal is to shift from manual, sporadic testing to an automated, consistent quality check. When your Playwright tests run on every single pull request, you start building a culture where quality is a shared, automated responsibility—not an afterthought.
Building Your GitHub Actions Workflow
Getting started is surprisingly simple. You just need to create a special YAML file that tells GitHub Actions what to do.
First, in the root of your project, create a new directory named .github. Inside that, create another directory called workflows. This is where GitHub Actions looks for its instructions.
Now, inside the workflows folder, create a new file. You can name it something like playwright-tests.yml. This file will define a workflow that triggers on every push and pull request to your main branch. It will check out the code, set up Node.js, install dependencies, and—most importantly—run your Playwright tests.
Here’s a complete, copy-and-paste-ready example for your playwright-tests.yml file:
name: Playwright Tests on: push: branches: [ main, master ] pull_request: branches: [ main, master ] jobs: test: timeout-minutes: 60 runs-on: ubuntu-latest steps: - uses: actions/checkout@v4 - uses: actions/setup-node@v4 with: node-version: 18 - name: Install dependencies run: npm ci - name: Install Playwright Browsers run: npx playwright install --with-deps - name: Run Playwright tests run: npx playwright test - uses: actions/upload-artifact@v4 if: always() with: name: playwright-report path: playwright-report/ retention-days: 30
Understanding the Workflow Steps
So, what's actually happening in that YAML file? Let's break it down. The on: section defines the triggers, and the jobs: section lays out the sequence of tasks.
Here are the key steps in this workflow:
actions/checkout@v4: This is the first step in almost any workflow. It simply checks out your repository's code so the runner can access it.actions/setup-node@v4: This action installs the version of Node.js you specify (in this case, version 18), which is essential for running anything in the Node ecosystem, including Playwright.npm ci: This is a clean, fast way to install your project's dependencies based on thepackage-lock.jsonfile. It ensures the CI environment is an exact match every time.npx playwright install --with-deps: This is a crucial step. It downloads the browser binaries (Chromium, Firefox, and WebKit) that Playwright needs to run its tests, along with their system-level dependencies.npx playwright test: This is the moment of truth! This command executes your entire test suite.
Finally, the actions/upload-artifact@v4 step is a lifesaver for debugging. It gathers the generated Playwright HTML report and saves it as an artifact. The if: always() condition is a neat trick that ensures the report is uploaded even if the tests fail.
This means you can download a rich, interactive report directly from the GitHub Actions summary page, making it incredibly easy to see exactly what went wrong.
Automating Pull Request Merges with Mergify
Okay, your Playwright tests are now humming along nicely in your CI pipeline. What's next? The final piece of the puzzle is automating the merge itself. This is where you graduate from automated testing to a truly automated delivery workflow.
Instead of a developer babysitting a pull request, waiting for checks to turn green just to click the "Merge" button, you can let a tool handle it. This simple change creates a genuinely hands-off process and frees up your team from a surprisingly time-consuming chore.
This is exactly what Mergify was built for. It’s an automation engine for GitHub that takes over your pull request lifecycle based on rules you set. By plugging Mergify into your workflow, you can create a simple rule like: "If the Playwright CI check passes and the PR gets at least one approval, go ahead and merge it." It's a small change that completely eliminates the bottleneck of waiting for a human to perform that final, manual step.
Configuring Your Merge Rules
Getting started with Mergify is surprisingly straightforward. All it takes is a single YAML configuration file in your repository. Just create a new folder named .mergify in your project's root, and inside it, add a file called config.yml. This file is where you'll define all your automation logic.
Here’s a practical example that tells Mergify to wait for our GitHub Actions workflow to succeed before merging:
pull_request_rules:
- name: Automatic merge on approval and successful Playwright tests conditions:
- "#approved-reviews-by>=1"
- check-success=Playwright Tests actions: merge: method: merge
This configuration might look simple, but it's incredibly powerful. It instructs Mergify to monitor pull requests for two specific conditions: at least one approved review and a successful status check named "Playwright Tests"—the very same name we defined in our GitHub Actions workflow file. As soon as both are true, Mergify merges the pull request. Done.
By automating the merge, you reclaim valuable developer time. Teams that implement this kind of workflow drastically reduce "PR idle time," letting them ship features faster and keep their main branch continuously updated with quality, tested code.
This approach acts as a final quality gate, ensuring your codebase remains stable because no code can slip through without passing your comprehensive test suite. If you want to dive deeper into more advanced strategies, we have a detailed guide on Playwright automation best practices.
The synergy between a top-tier automation testing tool playwright and a merge automation tool like Mergify creates a highly efficient development engine. This gets even better with the recent integration of AI-assisted features into Playwright testing. We're hearing reports from teams using AI-driven Playwright automation who've seen a 50% reduction in script creation time and a 30% boost in test reliability. You can read more about these impressive productivity gains with Playwright and AI.
Ultimately, this combination of robust testing and intelligent automation is what sets high-performing engineering teams apart.
So, What Are the Big Questions About Playwright?
When a team starts looking at a new tool, a lot of questions pop up. It’s only natural. With something like Playwright, getting clear, straightforward answers is the best way to get over those initial bumps and let your team start building with confidence.
These aren't just random what-ifs; they're the real-world questions we hear all the time from teams adopting Playwright. Getting them sorted out from the beginning helps everyone build better tests from day one.
How Does Playwright Handle Flaky Tests?
This is always one of the first questions, and for good reason. Flakiness—when tests pass sometimes and fail others for no obvious reason—is the enemy of a reliable CI/CD pipeline. It often boils down to timing.
Playwright was built from the ground up to solve this with a seriously powerful auto-waiting mechanism.
Instead of cluttering your code with a bunch of manual sleep commands and hoping for the best, Playwright automatically waits for elements to be actionable. That means it checks if an element is visible, enabled, and not covered by something else before it even tries to interact with it. This one feature alone wipes out a huge source of the instability that you see in older frameworks.
The result? A test suite you can actually trust. When a Playwright test fails, you can be much more certain it’s a real bug in your app, not just a random race condition in the test script.
On top of that, the built-in Trace Viewer gives you an incredible, step-by-step replay of the entire test run. You get a DOM snapshot, console logs, and network requests for every single action. Debugging stops being a guessing game and turns into a forensic analysis, making it ridiculously easy to find the exact cause of a failure.
Can I Use Playwright for More Than Just UI Testing?
Absolutely, and this is where Playwright really shines. It's not just for clicking buttons. It’s a versatile tool that comes with a built-in API testing module, letting you send HTTP requests right from your tests without needing another library like Axios or Fetch.
This is a game-changer for true end-to-end testing. Imagine writing a single test that does all this:
- Creates a new user account with an API call.
- Uses those fresh credentials to log in through the UI.
- Navigates the app and performs a key action.
- Makes another API call to verify the change was saved correctly in the database.
Being able to mix UI and API actions so smoothly in the same test lets you build incredibly robust scenarios that mirror how a real person would use your application.
What Are the Best Practices for Structuring a Project?
For any project that you want to maintain long-term, you really need to embrace the Page Object Model (POM). It’s a design pattern that’s become the gold standard for a reason. The idea is to create a separate class for each page or major component in your application.
Each of these classes holds the locators (like CSS selectors) for that page and the methods for interacting with its elements. This cleans up your actual test files, making them far more readable. They end up focusing on the "what"—the user's journey—instead of the "how"—the nitty-gritty of selectors and clicks.
The real payoff comes later. When your UI inevitably changes, you only have to update the one relevant page object, not hunt down and fix every single test that touches that part of the app. It saves a massive amount of time and headaches.
Ready to stop pull requests from piling up? Mergify automatically merges your PRs once your Playwright tests pass, creating a truly automated workflow that saves your team time and keeps development moving. Discover how to build an efficient, hands-off CI pipeline.