A React Crisp Component

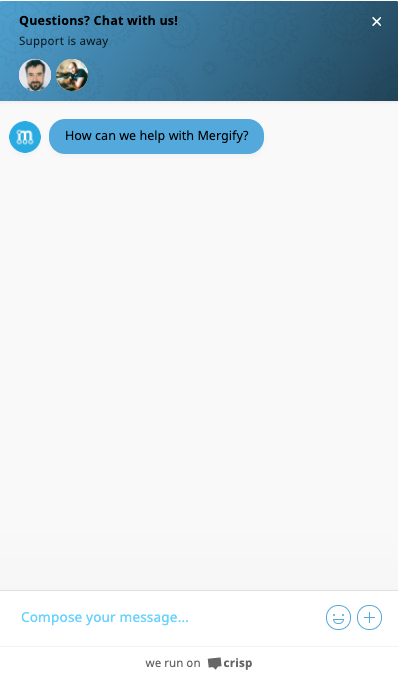
Some time ago, Mergify decided to move his chat widget from Drift to Crisp. What's this, you say? You know, this is the little button at the bottom right of your screen where you can engage with our fantastic support team!
Integration
To integrate the chat widget into our React application, we followed Crisp's documentation:
class App extends React.Component {

  [...]

  componentDidMount () {
    window.$crisp = [];
    window.CRISP_WEBSITE_ID = "YOUR_WEBSITE_ID";

    (function() {
      var d = document;
      var s = d.createElement("script");

      s.src = "https://client.crisp.chat/l.js";
      s.async = 1;
      d.getElementsByTagName("head")[0].appendChild(s);
    })();
  }

  [...]
}
export default App;
This made sure the application has the widget inserted into our main React application. Then, the application uses the functions from $crisp to set other parameters :
$crisp.push(["set", "user:email", [email]]);
$crisp.push(["set", "user:avatar", [email]]);
Once that was done, we had Crisp working!

Crisp Flooding 🚰
Once we deployed this code, we realized that each time the user's session was reloaded, the application was remounted and would add a new div to the DOM. The page would end up having:
<div id="crisp-client"></div>
<div id="crisp-client"></div>
<div id="crisp-client"></div>
A quick inspection shows that we made a mistake when we implemented the chat in our application. By inserting the widget code via the mounting hook, it would be triggered too often rather than just once as needed. We just hit one of the anti-patterns of React.
The question was then:
Why not using a React Component instead of raw JavaScript?
The answer was simple:
Because there's no React Component for Crisp! If you want to create one, you're in for a treat!

Here we are: let's create a React Component!
Follow My Lead
Before switching to Crisp, we were using the work done by Richard Dimalanta on react-drift. This component seemed to implement a good pattern to follow. For the record, here is we were using react-drift to insert the chat widget:
<Drift
  appId="xxxxx"
  userId="1234"
  attributes={{ email: "user@example.com", company: "Acme Inc" }}
/>
This seemed clear to us. No need to make anything more complicated: it's simple and effective. Moreover, Crisp's settings are very similar!

Read the Docs
We had to browse Crisp's documentation to see how to use the $crisp JavaScript SDK. After digging into it, we realized that to have something functional, you need to:
- Set
window.CRISP_WEBSITE_ID,window.CRISP_TOKEN_IDandwindow.CRISP_RUNTIME_CONFIG - Insert the main script
- Use
$crisp.push(['method', 'key', 'value'])with different methods
Implementing the Component
We divided the component into two parts:
- Parameters which must be set once for all
- Updatable parameters
The componentDidMount method is used for parameters that cannot be updated:
componentDidMount() {
    [...]
    global.$crisp = [];

    global.CRISP_WEBSITE_ID = crispWebsiteId;
    global.CRISP_TOKEN_ID = crispTokenId;
    global.CRISP_RUNTIME_CONFIG = crispRuntimeConfig;

    insertScript();

    global.$crisp.push(['safe', safeMode]);
}
The other parameters are set via a generic function called by componentDidUpdate:
componentDidUpdate() {
    this.configCrisp();
}

configCrisp() {
    [...]
    pushCrisp('set', attributes);
    pushCrisp('config', configuration);
}
End Result
Et voilà! A simple and easy to use React Component! You can now integrate Crisp with a few lines of code. First, install it in your environment:
npm install react-crisp
# or
yarn add react-crisp
And then uses the following snippet to add the Crisp widget to your application.
<Crisp
    crispWebsiteId="foo-website-id"
    crispTokenId="a-unique-token-for-the-user"
    crispRuntimeConfig={{
      session_merge: true,
    }}
    attributes={{
        "user:email": ["foo@bar.com"],
        "user:nickname": ["foo42"],
    }}
    configuration={{
        "position:reverse": [true],
    }}
    safeMode
/>
If you want more details on this component, you can see and use the code on our repository: https://github.com/Mergifyio/react-crisp.


