Our 10 Heroku Tips & Tricks


Since its inception, the Mergify engineering team decided to focus on its product and not spend time building infrastructure. It made a lot of sense as we started as a small team of two engineers with low resources and that the first version of Mergify was an MVP.
While your typical cloud provider is powerful and flexible, significant responsibilities come with this amount of power. Spending time planning your future-proof and scalable deployment scheme would have slowed down the team by a large magnitude.
Instead, we focused on building the product, and to this day, Mergify still runs on Heroku. For sure, it grew from using their free and hobby plans to using production-grade plans, but the founding remains.
Using Heroku for so many years gave us a good knowledge of the good and bad things about Heroku. This is why we'd like to spend some time today to share some of the things we learned along the way using Heroku that you might find interesting.
1. Preboot
Most (every?) Heroku application uses a web dyno. A web dyno is a container running your web application. It's built, deployed, and run by Heroku. Each time you redeploy your application, your web dyno has to restart to launch the new version of your code.
Preboot is a feature that we discover after using Heroku for a year if I recall correctly. Instead of stopping your web dyno and starting the new one, it waits for the new dyno to be ready before changing the router configuration.

When not using the preboot features (the default), Heroku will stop and start your dyno simultaneously, switching the routing of the web requests to the starting dyno. This means there is a short time range where your request can be blocked, and the transition from one version to another of your application is not seamless.
Enabling preboot is a game-changer if you don't want service interruption in your web application.
Preboot has a few caveats, mainly that the delay to switch to a new version of the application is slightly longer and that the old version of the code might run a little longer than hoped for. Note that there is a time range where your application will run twice with two different versions: depending on how you architecture your application, this might or might not be a problem.
2. Dyno Metadata
We are unsure if you can run any serious application without dyno metadata, but we're still going to mention it. By default, there are not a lot of metadata available in your Heroku environment. Turning on dyno metadata allows your application to retrieve information about its environment from environment variables.
Among other things, you can retrieve the release version via the variable HEROKU_RELEASE_VERSION, which is immensely valuable for embedding in error reports. For example, we use it to tag errors reported in Sentry. Alternatively, you can access the Git commit hash via the variable HEROKU_SLUG_COMMIT.
3. Encryption
Security is critical for any SaaS company running a serious workload. Encryption is one of the pillars of safeguarding your customers' data.
There are two main encryptions that are of interest at first:
- Encryption in transit: make sure data are encrypted while transferred from one system to another. This is easily achieved since all services exposed by Heroku are using TLS. There is no specific work for you here except making sure you use the TLS connection scheme in your application.
- Encryption at rest: make sure data are encrypted where they are stored. Using Heroku, this is not concrete work to do, but more a matter of selecting the right plan.
For example, for PostgreSQL, only the Standard plan (and above) have this feature and encrypt data at rest using AES-256. The same applies for Redis: make sure you're not using a Hobby plan, or you won't benefit from at rest encryption.
While this might not be enough to secure your application, it's a safe and simple first step.
4. Scheduler / Cron jobs
There's often a need for any application to run regular background jobs. There are multiple options to do this with Heroku, but one of the simplest s to rely on the scheduler add-on. And it's free!
This add-on is quite simple: define the command you want to run and how often you want it to be executed: every 10 minutes, every hour of every day. A dyno is spawned when the time is right and the command is executed.
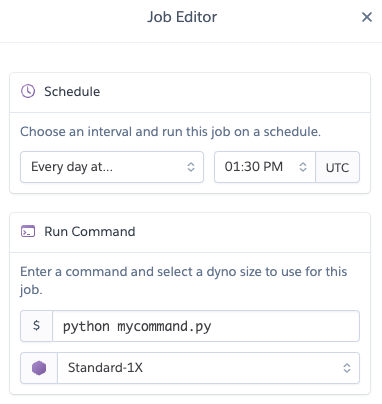
The scheduling options are pretty limited, and it's up to you to deal with it.
That being said, there's a better option which is the Advanced Scheduler This one is not free, but definitely worth your money, as it is more precise. It can even import and migrate your schedule from Heroku Scheduler.
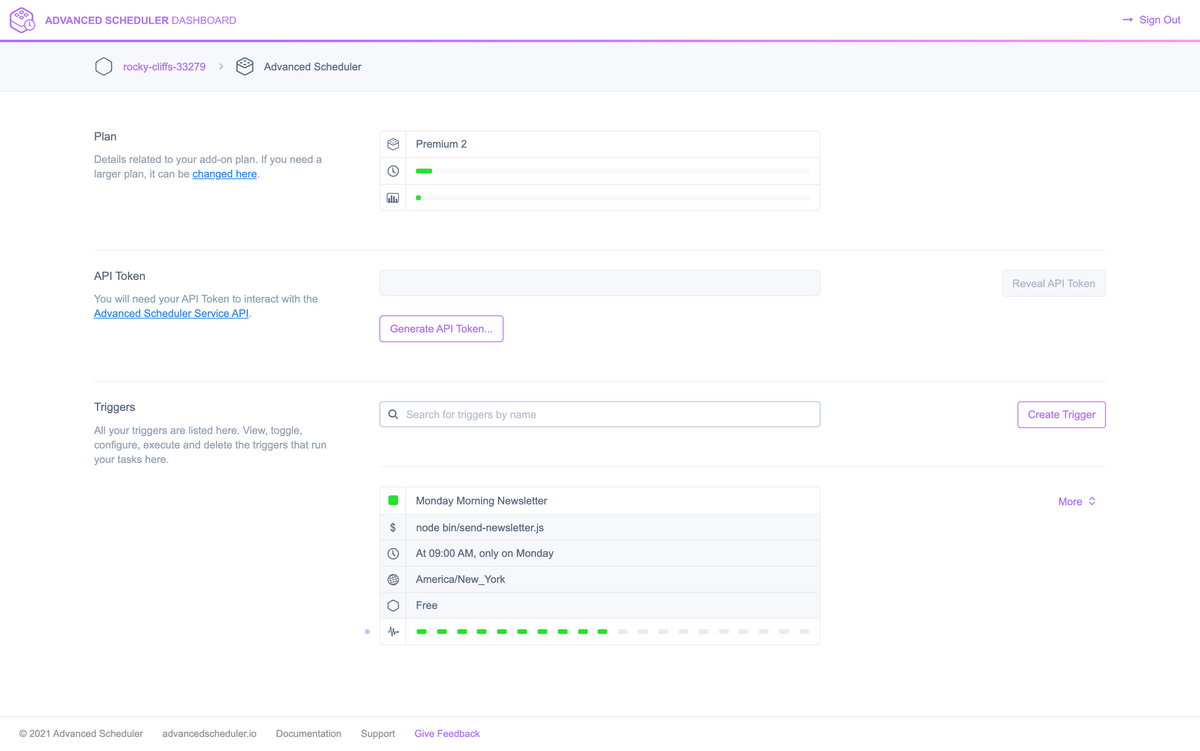
One of the many killer features compared to Heroku Scheduler is that it visibly reports execution failures. We highly recommend this add-on!
5. Using your Procfile locally
Heroku created a file named Procfile, which defines the command to run to start your application. This file is simple to use, and its format is:
<process type>: <command>There's a unique process type named web which receives HTTP traffic from Heroku's routers. This file is quite important as it defines how your application will be run in production.
The usual issue with that file is that developers do not use it on their computers: they launch manually or via another script, which might be different from Heroku's execution. Things might work in the development environment but break in production.
To avoid this issue, Heroku provides a heroku local command that allows engineers to use locally the same command that Heroku would use in production. If your engineers stick to using the Procfile everywhere, even when developing, you might avoid the issue entirely.
If you don't want to rely on the Heroku command-line client, you can also use Honcho, a Python command-line tool that makes it easy to start service from a Procfile just like Heroku would. This can be useful to use in, e.g., a Docker container.
6. Remote Connection
If things go south, you might be happy to know you can connect to a remote dyno. This is not something you'd do every day, but that might be useful if you need to debug something.
7. Using Extra Buildpacks
Heroku buildpacks can add many extra features on top of your existing image. There are the primary languages buildpacks, but you can also find community-contributed buildpacks that provide other features.
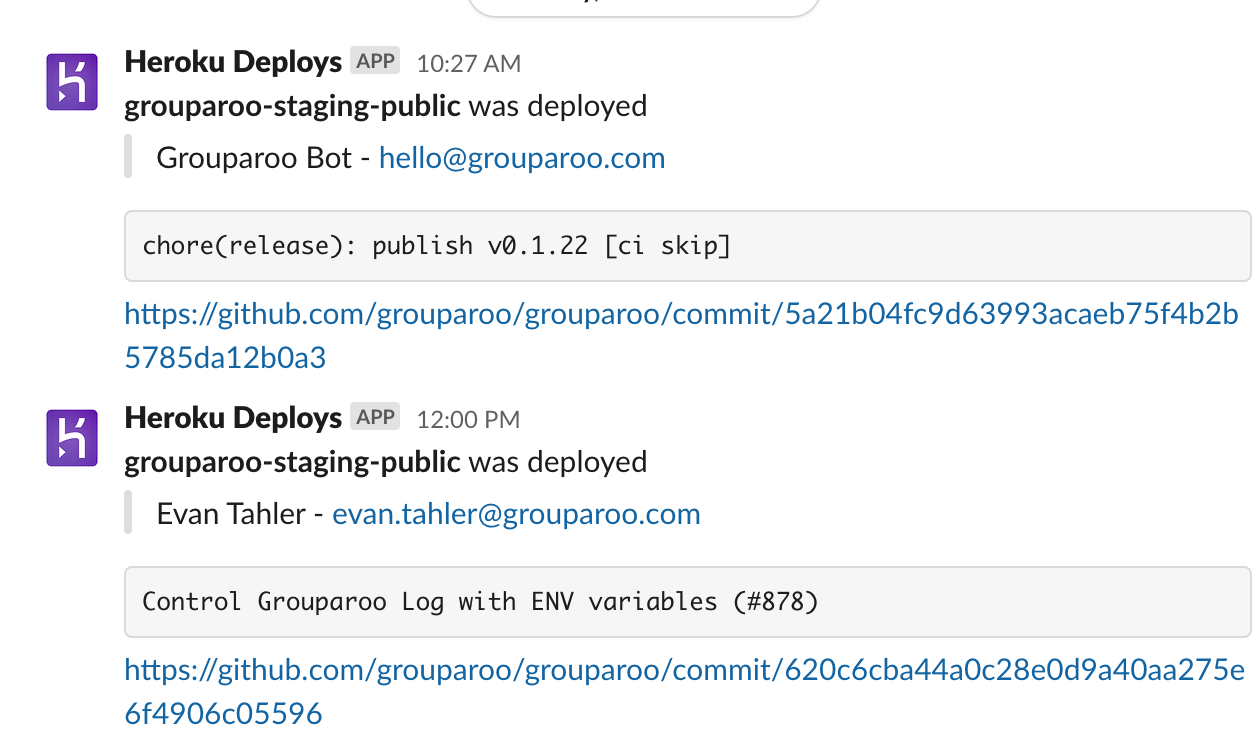
For example, we're using the Slack notification buildpack to get notified of deployment over Slack.
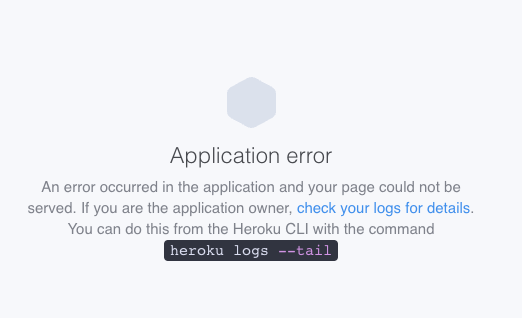
8. Custom Error Page
You can create your custom error page for various HTTP errors, such as 404 or 500.
9. Rollback
You can roll back to a previous release in a matter of seconds. The heroku rollback command will instantly restart your application based on the last build. You can specify a release to roll back to by adding the release number as an argument.
The list of releases can be obtained by running heroku releases.
10. Continuous Deployment
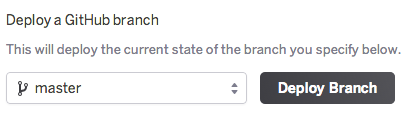
Heroku offers a GitHub integration that allows you to deploy from any branch.
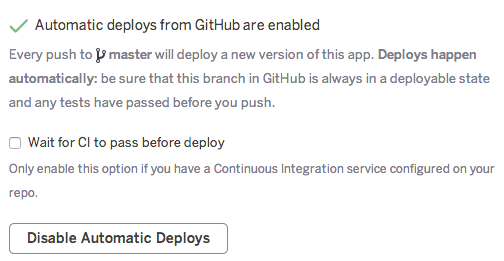
For any engineering team, the next logical step is to deploy when a new commit arrives in that branch automatically. Easy enough, you can enable automatic deployment by clicking the right button in your project settings.
The next logical step is to automate code merges if you ask us. You can easily do so by using Mergify and its merge action: write your own rules to define when to merge, and you can have a fully automatic and continuous deployment, from a pull request to Heroku, without any human intervention.
pull_request_rules:
  - name: merge once approved and CI passing
    conditions:
      - "#approved-reviews-by>=1"
      - check-success=myci
    actions:
      merge:
        method: merge
There is no need to press the merge button; reviewing the pull request and having CI passing is enough to deploy your code on production automatically.