Handle your Stacked Pull Requests with a Merge Queue

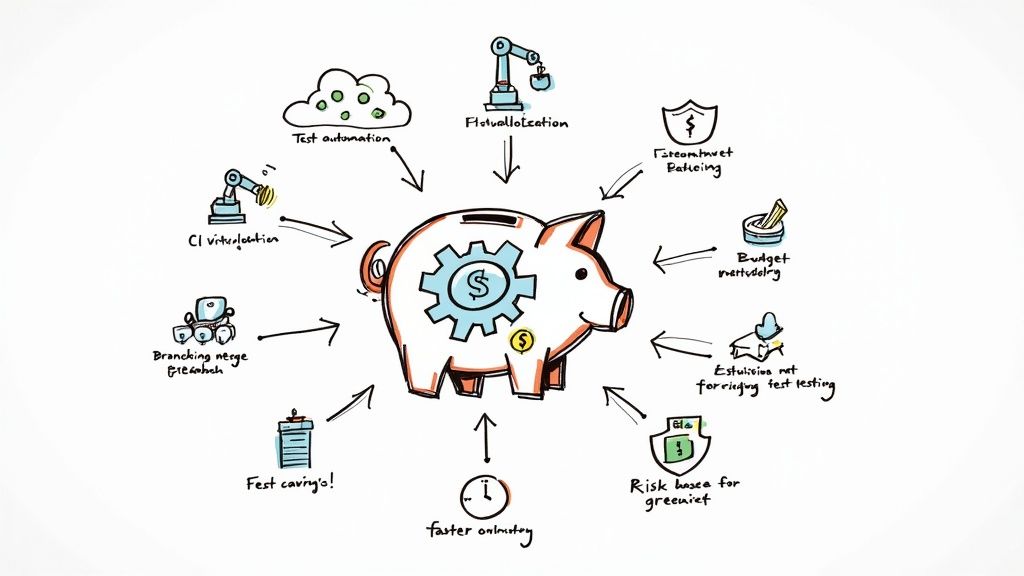
As organizations strive for CI/CD optimization, they often encounter various challenges along the way. One such obstacle is the merging of stacked pull requests.
Stacked pull requests refer to the scenario where multiple pull requests are created and opened simultaneously, each dependent on the successful merge of its preceding pull request. This approach is often adopted to manage interdependent code changes, feature branches, bug fixes, or complex development tasks.
Let's spot some of the key issues related to merging stacked pull requests:
- Interdependencies
- Code Conflicts
- Testing and Validation
- Code Review Complexity
- Backtracking and Rollbacks
Optimize Stacked Pull Requests Management with Mergify
Thankfully, Mergify supports stacked PRs and only requires minimal configurations. We assume you are familiar with the concept of stacked pull requests. If not, you should read this stacked PRs guide.
Prerequisites
Before you dive headlong into configuring Mergify, you need to make sure you meet the following prerequisites.
If some of them are optional, you won't be able to cut this one out: a GitHub repository ready for Mergify usage.
As an option, it would be great to have GitHub CLI installed and ready to use. If you don't want to install it, you can do it by hand by reproducing gh commands on GitHub.
1. Building our Sample Stack of Pull Requests
Assuming your production is named main, here is how you should build three branches stacked on top of each other over main. To do so, execute the following commands in your repository folder:
git checkout main
git pull

git checkout -b "A"
echo nul > "file_A"
git add "file_A"
git commit -a -m "A"

git checkout -b "B"
echo nul > "file_B"
git add "file_B"
git commit -a -m "B"

git checkout -b "C"
echo nul > "file_C"
git add "file_C"
git commit -a -m "C"
Once executed, you should find this structure in your repository:
o C
│
o B
│
o A
│
o main
│
:
Then, submit your stack by running the following command:
git switch A
gh pr create --title A --body "PR A" --base main
git switch B
gh pr create --title B --body "PR B" --base A
git switch C
gh pr create --title C --body "PR C" --base B
2. Repository Configuration
To make sure stacked PRs work with Mergify, you have to activate the Automatically Delete Head Branches setting on your GitHub repository.
With this setting enabled, GitHub automatically deletes the head branch upon PR merge. Then it will change the base branch of upstack PRs to the branch in which the PR was merged.
To illustrate this, let's take the example of our sample stack: when PR A is merged into main, the setting Automatically Delete Head Branches will delete branch A and change the base branch of PR B from A to main.
To activate this specific setting, follow the steps outlined in the GitHub documentation: Managing the automatic deletion of branches.
3. Mergify Configuration
Now that the prerequisites have been met and your GitHub repository is well set up, let's get down to the nitty-gritty: Mergify.
Configuring Mergify for your repository is easy peasy.
You just have to modify the .mergify.yml configuration file on the main branch and set a condition on the base attribute to be equal to the name of your production branch (main in our example).
This way Mergify only merges a PR that is at the bottom of its stack.
Keeping going with our example, your .mergify.yml file should look like this:
pull_request_rules:
  - name: Merge on approval
    conditions:
      - label=Approved
      - base=main
    actions:
      queue:
        name: default

queue_rules:
  - name: default
    routing_conditions:
      - base=main
In the event that you make changes to your Mergify configuration file, these ones should affect the main branch only. Moreover, make sure your stack is always up to date. To get rid of any doubt, you can execute the following commands:
git switch main
git pull
git switch A
git merge main --no-edit
git push
git switch B
git merge A --no-edit
git pull
git switch C
git merge B --no-edit
git push
4. Let the Magic Happen
Everything is set up!
Now you can go to GitHub and "approve" pull request A by adding the Approved label.
Within a few seconds, Mergify automatically merges PR A into main.
Then, as expected, GitHub suppresses branch A before setting main as the base branch for pull request B.
In the case of PR B is not yet ready, but PR C is. You can approve PR C with the label Approved. But nothing will happen until PR B is also approved and merged.
As soon as PR B is merged into main, GitHub handles the branch changes accordingly and PR C is then merged into main.
Conclusion
With Mergify, merging your stacked PRs is no longer a headache.
Your process is automated and secure, avoiding all the classic complications inherent in merging stacked PRs and managing dependencies.
With the resources we've shared with you, you've got everything you need to take advantage of Mergify right now!
However, if you have any questions or would like to find out more, please don't hesitate to contact us.