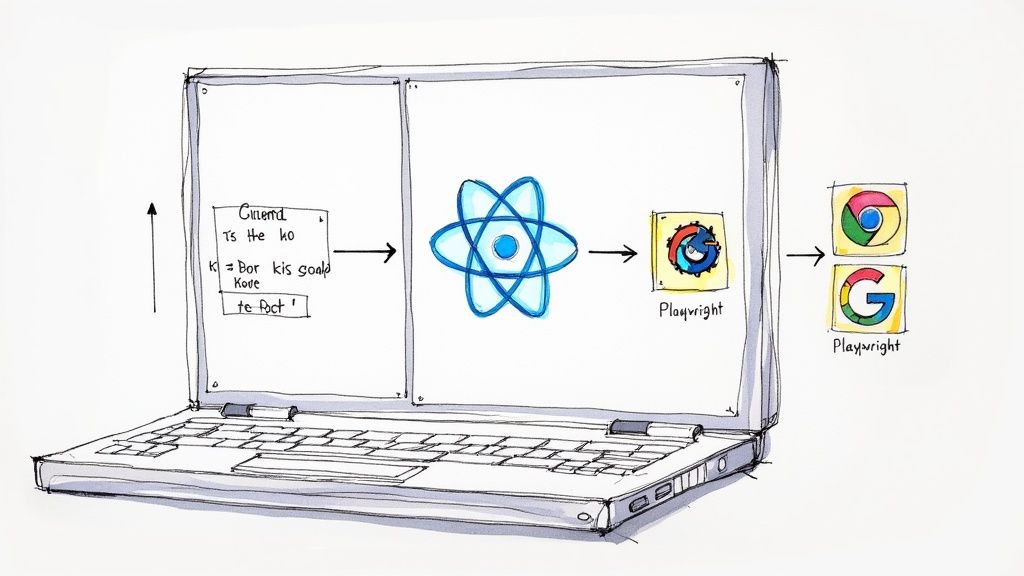
E2E Testing React with Playwright: Complete Guide

When it comes to end-to-end testing for React, the combination that teams are gravitating towards more and more is Playwright. It gives you a powerful, fast, and reliable way to make sure your complex React applications actually work as expected from a user's point of view. This goes way beyond simple unit tests to validate complete user journeys.
Why Playwright Is the Modern Choice for React E2E Testing
For years, development teams have wrestled with end-to-end tests that were slow, flaky, and a nightmare to debug. The very nature of React—with its dynamic components, asynchronous state updates, and virtual DOM—often made traditional testing tools feel like they were fighting the framework, not working with it.
This is precisely the gap Playwright was built to fill. It wasn't just another testing library; its architecture was designed from the ground up to handle the chaos of modern web applications. This is why it has seen such a rapid rise in popularity. For React developers, this means fewer headaches and more confidence in their test suites.
Key Advantages for React Development
So, what makes this combination so effective? It really boils down to a few core features that directly solve common testing frustrations.
- Intelligent Auto-Waits: Playwright automatically waits for elements to be ready before trying to interact with them. This single feature eliminates a massive source of flaky tests, like trying to click a button that hasn't finished rendering after a state change in React. No more manual
waitForElementhacks. - True Cross-Browser Support: It tests against Chromium (Chrome, Edge), Firefox, and WebKit (Safari) using a single, consistent API. This is crucial for ensuring your React app's responsive design and functionality are solid for all users, no matter which browser they're on.
- Superior Debugging Tools: With tools like the Trace Viewer, you get a complete, time-travel recording of your test run. This includes DOM snapshots, network requests, and console logs, making it incredibly intuitive to pinpoint the exact cause of a failure and saving hours of guesswork.
- Native Parallel Execution: Running tests in parallel is a built-in feature, not a clunky add-on. This dramatically speeds up feedback loops in CI/CD pipelines, allowing teams to merge code much faster. For a deeper look at the fundamentals, our guide on E2E testing with Playwright covers these core concepts in more detail.
The shift towards Playwright is more than just a trend; it's a strategic move. Teams choose it because it respects their time. Faster execution and easier debugging mean developers can spend more time building features and less time babysitting a fragile test suite.
Playwright vs Traditional E2E Testing Approaches
To really see the difference, a quick comparison helps highlight why Playwright feels so different from older tools, especially when you're working with a dynamic framework like React.
| Feature | Playwright | Traditional Tools (e.g., Selenium) |
|---|---|---|
| Waiting Mechanism | Automatic waits for elements to be actionable, reducing flakiness. | Requires explicit waits and manual timeouts, a common source of errors. |
| Browser Engines | Single API for Chromium, Firefox, and WebKit out of the box. | Relies on separate WebDriver implementations for each browser. |
| Debugging | Trace Viewer provides a rich, time-travel debugging experience. | Debugging is often limited to logs and screenshots, making it tedious. |
| Execution Speed | Built-in parallelism and an efficient architecture for faster runs. | Parallel execution often requires complex setup and third-party tools. |
| Test Setup | A single npm install gets you the test runner and all browser binaries. |
Can involve managing multiple drivers and complex configurations. |
This table isn't just a list of features; it represents a fundamental shift in how we approach E2E testing. Playwright's design philosophy directly addresses the pain points that made older tools a chore to work with.
The tool’s remarkable growth is backed by data. By 2025, it had already become the top automation framework in some industry surveys, with its usage across GitHub repositories surpassing even long-established tools like Selenium. This momentum shows a clear industry preference for reliable, fast automation that fits neatly into modern development workflows.
Getting Your Playwright Environment Ready for React
So, you've decided to bring Playwright into your React project. Good call. The great news is that getting started is surprisingly painless and designed to get you writing tests in just a few minutes. Your journey starts right where you'd expect: in your terminal, at the root of your React app.
Kick things off with a single command: npm init playwright@latest. This fires up an interactive setup wizard that asks a few basic questions to get the initial configuration just right for your project. Honestly, for most standard React setups, you can just accept the defaults. It'll smartly create a tests or e2e directory for your test files and drop in a foundational playwright.config.js file.
This simple setup gives you a rock-solid foundation to build upon.
The generated files provide everything you need for e2e testing a React application with Playwright from the get-go, including some handy example tests you can run right away.
Fine-Tuning Your Configuration
The real magic happens when you start tweaking the playwright.config.js file. This is your command center for connecting Playwright to your React development server, making sure your tests run just how you want them to.
One of the first and most critical settings to tackle is the baseURL. You'll want to point this directly to your local dev server. For most apps built with Create React App, Vite, or Next.js, this is usually http://localhost:3000.
Why bother? Setting the baseURL lets you use clean, relative paths in your tests—think await page.goto('/login') instead of the full, clunky URL. It's a small change that makes your tests far more readable and portable across different environments like staging or production.
Key Takeaway: Theuseobject in yourplaywright.config.jsis where the action is. Beyond thebaseURL, this is where you can enable powerful features like the Trace Viewer. Settingtrace: 'on-first-retry'automatically records a detailed trace for any test that fails, which is a lifesaver for debugging.
Structuring Tests for the Long Haul
Let's be real: as your test suite grows, a messy folder structure can become a nightmare. A little bit of organization from the start will save your team a ton of headaches down the road.
I've found the best approach is to create a dedicated, top-level directory for all your end-to-end tests.
- Make an
e2eortests-e2edirectory: This keeps your E2E tests cleanly separated from unit or component tests. It just makes the project structure more intuitive for anyone who jumps in. - Mirror your component structure: Inside that
e2efolder, try creating test files that map to major features or pages in your app (e.g.,login.spec.ts,dashboard.spec.ts).
This way, if you’re working on the user profile page, you know exactly where to find the related tests or where to add new ones. Simple. For a deeper look at organizing test suites, you might find this exploration of E2E testing using Playwright helpful.
Finally, to make life easier for everyone on the team and in your CI/CD pipeline, add a dedicated script to your package.json file. This tiny addition creates a single, easy-to-remember command for running the whole suite.
"scripts": { "dev": "react-scripts start", "build": "react-scripts build", "test": "react-scripts test", "test:e2e": "playwright test" }
Now, anyone on your team can run all Playwright tests by just typing npm run test:e2e into their terminal. This little bit of standardization goes a long way in promoting consistency and simplifying automation.
Writing Your First Meaningful Playwright Test
Alright, with the setup out of the way, it’s time for the fun part. Let's move from configuration to actually writing a test that does something useful. We'll tackle a classic user scenario that every developer has built a dozen times: a login form.
This simple workflow is perfect for showing off Playwright's core APIs. We'll find elements on the page, interact with them, and then check that the application behaved as expected. Most importantly, we’re going to ditch brittle selectors and learn how to write resilient tests that think like a user.
Let Playwright's Codegen Do the Heavy Lifting
Before you even think about writing code from scratch, let's tap into one of Playwright's most powerful features: Codegen. This tool is a game-changer. It watches you interact with your app in a browser and spits out the test script for you. It's an incredible way to get a solid first draft of any test.
To fire it up, just run this command against your running React app:
npx playwright codegen http://localhost:3000
This command pops open a new browser window alongside the Playwright Inspector. Now, just go through the login flow like a normal user would:
- Click into the email field.
- Type in a valid email address.
- Move to the password field.
- Enter a password.
- Finally, click the "Log In" button.
As you click and type, you'll see the code magically appear in the Inspector window. That's your starting point.
Refining the Script for Production
The code from Codegen is a fantastic head start, but it's rarely production-ready right out of the box. Think of it as a rough draft. Our job is to take that generated code and refine it into a test that is stable, easy to read, and clearly communicates what it's trying to accomplish.
For instance, Codegen might produce something like this:
// Generated by Codegen - a good starting point await page.getByPlaceholder('Enter your email').click(); await page.getByPlaceholder('Enter your email').fill('test@example.com'); await page.getByPlaceholder('Enter your password').fill('password123'); await page.getByRole('button', { name: 'Log In' }).click();
This works, sure. But we can make it so much better. When e2e testing React with Playwright, the gold standard is to use locators that are tied to what the user sees and interacts with. Let's refactor this to use getByLabel and getByRole, which are far less likely to break if a developer decides to tweak the placeholder text.
Here's what a more robust, human-centric version looks like:
import { test, expect } from '@playwright/test';
test('user can log in successfully and see the dashboard', async ({ page }) => { // 1. First, navigate to the login page await page.goto('/login');
// 2. Fill out the form using accessible locators a user would find await page.getByLabel('Email').fill('user@mergify.com'); await page.getByLabel('Password').fill('super-secret-password');
// 3. Click the main login button await page.getByRole('button', { name: 'Log In' }).click();
// 4. Check that the user landed on the right page await expect(page.locator('h1')).toHaveText('Welcome to Your Dashboard'); await expect(page).toHaveURL(/.*/dashboard/); });
See the difference? This version isn't just cleaner; it's testing the app from a user's perspective. It confirms that specific, accessible elements are not only present but also function correctly.
Pro Tip: I always tell my team to prioritize user-facing locators likegetByRole,getByText, andgetByLabel. They make your tests incredibly resilient to minor code changes and naturally push you toward better accessibility. Only fall back todata-testidwhen you absolutely have to.
By starting with the speed of Codegen and applying some thoughtful refactoring, you can build up a test suite that is both effective and painless to maintain. This approach gives you a solid foundation for tackling the more complex user journeys you'll inevitably need to test as your app grows.
Just writing individual tests is a great start, but if you want to build a professional-grade test suite, you have to think about scalability and maintenance from day one. As your React application grows, so will your tests. Without smart patterns, you'll quickly find yourself drowning in duplicated code and brittle tests that are a nightmare to update.
This is where you make the leap from simply writing tests to engineering a robust automation framework. Let's dig into the advanced patterns that separate a simple test script from a truly maintainable solution for e2e testing React with Playwright. These are the techniques that will let your test suite scale right alongside your application's complexity.
Taming Complexity with the Page Object Model
One of the most powerful patterns for creating clean, reusable test code is the Page Object Model (POM). The idea is simple but effective: create a class for each page or major component in your app. This class becomes the single source of truth for all the locators and methods needed to interact with that specific piece of the UI.
So, instead of scattering selectors like page.getByRole('button', { name: 'Submit' }) all over your test files, you centralize them. If a developer pushes a UI change, you only have to update the page object class in one place—not hunt through every single test that touches that element.
Let's say you have a DashboardPage in your React app. Here’s a basic way you could model it:
// in tests/pages/DashboardPage.ts import { type Locator, type Page } from '@playwright/test';
export class DashboardPage { readonly page: Page; readonly welcomeHeader: Locator; readonly createNewProjectButton: Locator;
constructor(page: Page) { this.page = page; this.welcomeHeader = page.locator('h1'); this.createNewProjectButton = page.getByRole('button', { name: 'Create New Project' }); }
async createProject(projectName: string) { await this.createNewProjectButton.click(); // ... logic to fill out and submit the new project form } }
With this in place, your test becomes incredibly clean and readable. It focuses on what the user is doing, not how the test is implemented.
The Page Object Model isn't just a coding pattern; it's a mental model. It forces you to structure your automation code around the user's view of the application, leading to tests that are more intuitive and far easier for your team to maintain.
Controlling the Backend with Network Mocking
Your React app almost certainly talks to a backend API. But what happens when you need to test how your UI handles a server error or an empty data response? Asking the backend team to deploy a specific error state just for your test is slow and completely impractical.
This is where Playwright's network mocking truly shines. You can intercept any network request your app makes and provide your own custom response right inside the test. This gives you total control over the test environment, letting you simulate any scenario imaginable without depending on a live backend.
- Test error states: Mock a
500server error and assert that your React component correctly shows a user-friendly error message. - Handle empty data: Return an empty array
[]from an API endpoint and verify your UI displays a "No items found" state instead of crashing. - Simulate slow networks: Introduce a delay to a response to make sure your loading spinners appear correctly.
The combination of features like built-in auto-waits and powerful debugging tools has a huge impact on developer productivity. In fact, some teams report that Playwright-based E2E tests can accelerate release times by 20-30% compared to manual or less integrated testing methods. This boost comes from catching bugs earlier and slashing the time spent debugging. You can read more about the benefits of Playwright for modern app testing.
Ultimately, the ability to isolate the frontend and test every possible state is what helps you build a truly resilient user interface.
Automating Your Tests in a CI/CD Pipeline
Writing solid Playwright tests for your React app is a huge win, but their true value is only unlocked when they run automatically. Integrating your E2E test suite into a Continuous Integration/Continuous Deployment (CI/CD) pipeline is what separates a nice-to-have from a must-have safety net. It ensures every single code change gets validated against real user flows before it ever has a chance to reach production.
The whole process of automating these checks is surprisingly straightforward but incredibly powerful. With a tool like GitHub Actions, you can set up a workflow that perfectly mimics the steps you'd take on your local machine, but in a clean, repeatable, and automated environment. This is how you finally kill the "it works on my machine" problem for good.
A Practical GitHub Actions Workflow
Getting started just means creating a YAML file in your project's .github/workflows directory. This file is your instruction manual for the CI runner, telling it exactly what to do. The goal is simple: set up an environment, build your React app, and then run your Playwright tests against that fresh build. This is a critical step for any team serious about e2e testing react playwright.
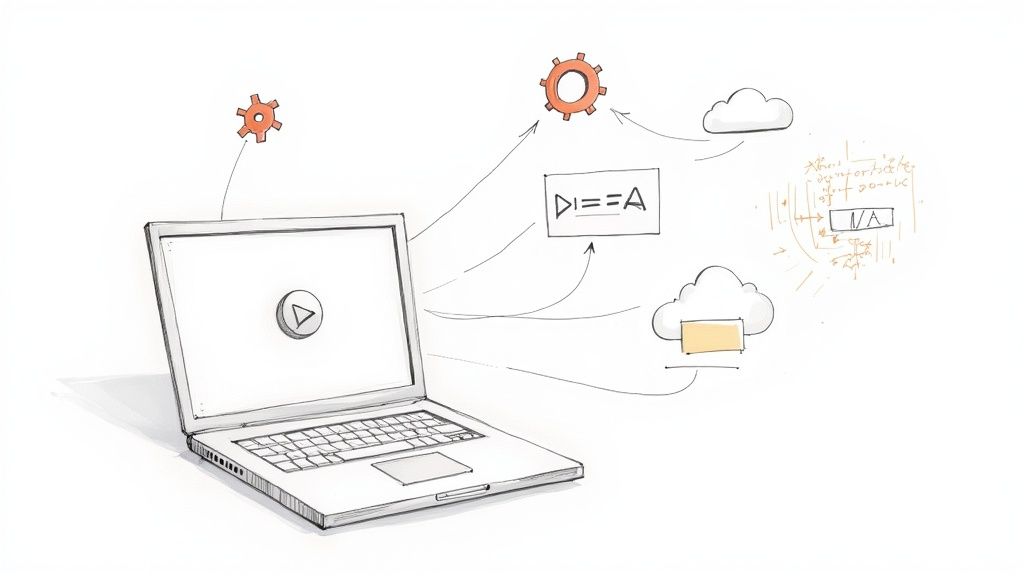
Here’s a look at the basic flow for a CI/CD pipeline running Playwright tests.
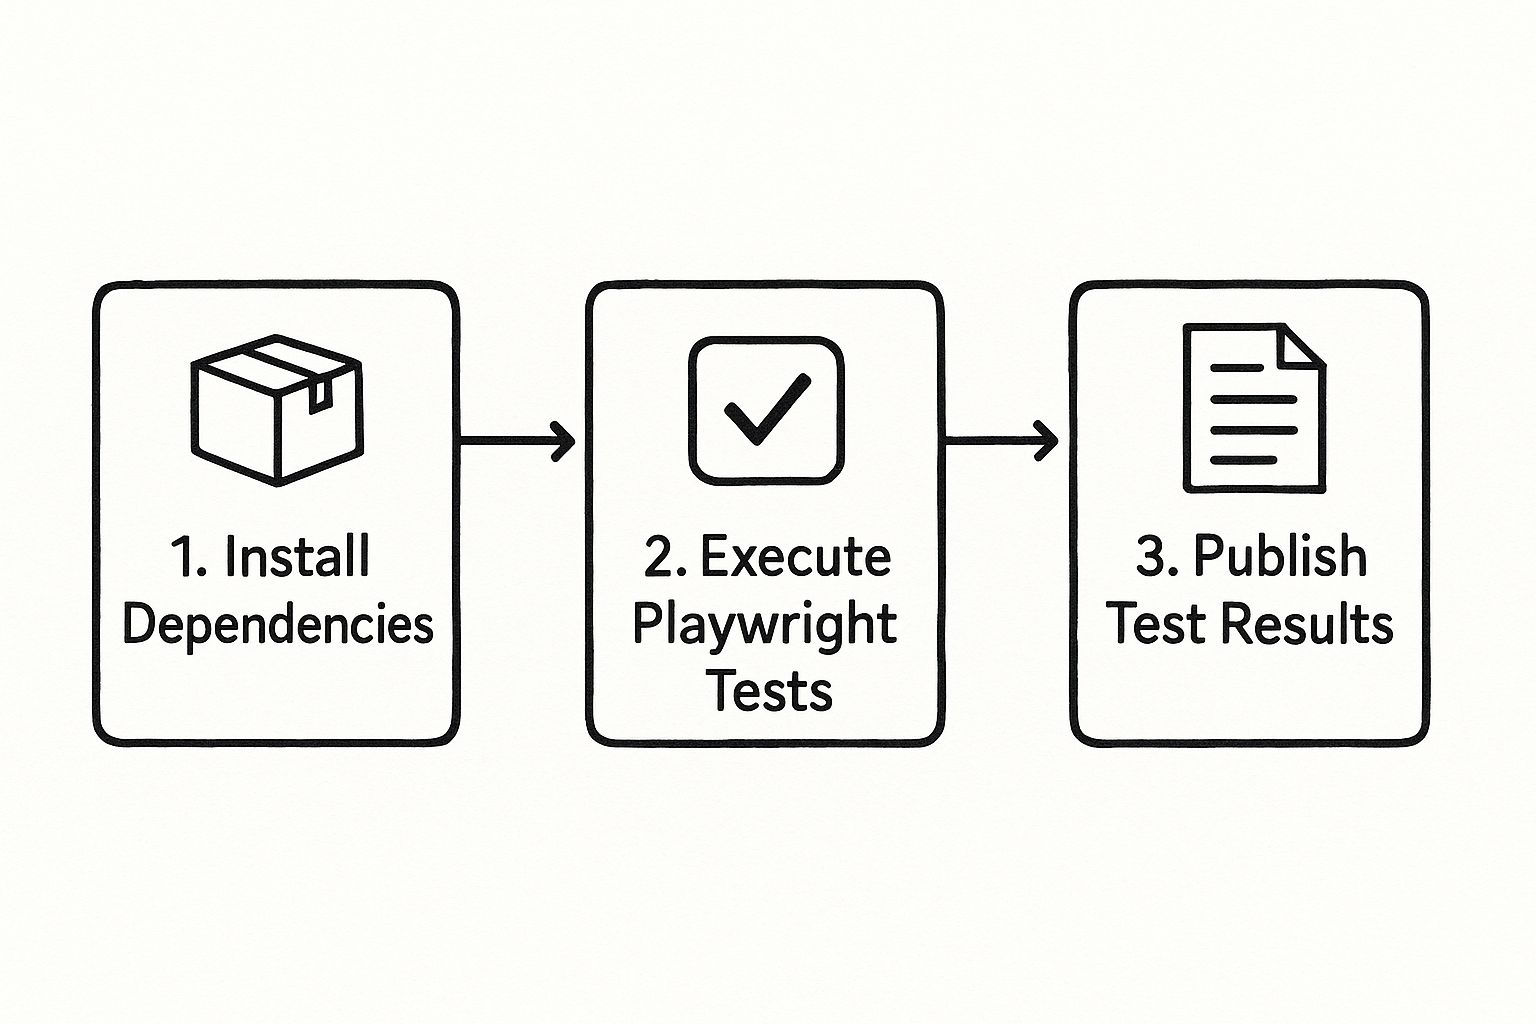
This visual breaks down the core automated steps: installing all the necessary dependencies, running the tests, and then publishing the results for your team to review.
Key Steps in the CI Pipeline
The real magic is in a well-structured workflow file. Let’s walk through a complete example you can steal and adapt for your own React project.
name: Playwright Tests on: [push] jobs: test: runs-on: ubuntu-latest steps: - uses: actions/checkout@v3 - uses: actions/setup-node@v3 with: node-version: 18
  # Install dependencies
  - name: Install dependencies
    run: npm ci

  # Install Playwright browsers (caches them for speed)
  - name: Install Playwright Browsers
    run: npx playwright install --with-deps

  # Build the React application
  - name: Build production app
    run: npm run build

  # Run Playwright tests
  - name: Run Playwright tests
    run: npx playwright test

  # Upload test results as artifacts
  - uses: actions/upload-artifact@v3
    if: always()
    with:
      name: playwright-report
      path: playwright-report/
      retention-days: 30
Crucial Takeaway: The actions/upload-artifact@v3 step is non-negotiable. It ensures that even if a test fails, the complete Playwright HTML report—traces, videos, screenshots and all—is saved. This lets you debug CI failures without ever needing to re-run the job locally.This configuration is the backbone of reliable e2e testing in a React and Playwright setup. It handles several critical tasks for you:
- Checks out your latest code from the repository.
- Installs project dependencies using
npm cifor consistent, reproducible builds. - Installs the specific browser binaries Playwright needs to run its tests.
- Creates a production build of your React app, just like what you'd deploy.
- Finally, it executes your entire test suite against that new build.
This setup gives you fast, actionable feedback. If you're looking for a deeper dive into building out robust automation suites, you can learn more by mastering Playwright automation testing. Getting this foundation right is what allows teams to catch regressions early and ship with confidence.
Common Questions on React E2E Testing with Playwright

As you start weaving Playwright into your React workflow, you'll inevitably run into a few common head-scratchers. I've seen teams hit these same roadblocks time and again. Getting them sorted out early will save you a ton of frustration and help you build a much more robust testing process.
Let's dive into some of the questions that pop up most frequently.
How Do You Test Lazy-Loaded Components?
This one is actually simpler than it sounds. The short answer? You don't have to do anything special.
Playwright was built with modern web apps in mind, and its auto-waiting mechanism is incredibly smart. When you write a command like page.getByRole('button').click(), Playwright won't fail immediately if the button isn't there. It waits patiently until the element appears on the page and becomes ready for interaction.
So, just write your test as if the component were loaded from the start. Playwright handles the rest.
What Is the Best Way to Handle Authentication?
Logging in for every single test is a huge time-waster and a common source of flakiness. The most efficient strategy is to log in once and reuse that authenticated state across your entire test suite.
The trick is to create a global setup file. This special test runs before all others, performs the login, and then saves the session state—cookies, local storage, you name it—into a JSON file.
From there, each of your tests can simply load this state from the file, effectively bypassing the login screen altogether. It's a game-changer for test execution speed.
Should I Use Data-Testid for Everything?
It's tempting, I know. Adding a data-testid gives you a bulletproof selector that won't break with UI tweaks. But relying on it for everything is a missed opportunity.
Playwright's philosophy, and one I strongly agree with, is to test your application the way a real person uses it. That means prioritizing user-facing locators.
getByRole: This should be your go-to. It aligns directly with accessibility attributes, making your tests more meaningful.getByText: Perfect for finding buttons, links, and headers based on the text users see.getByLabel: The undisputed best choice for grabbing form inputs.
This approach ensures your tests aren't just checking code; they're verifying the actual user experience. Think of data-testid as your reliable fallback, the one you pull out only when a good, user-visible locator isn't available.
Of course, Playwright isn't a silver bullet. Industry reports show that maintaining large test suites can eat up to 50% of a developer's time. This gets even more complicated with flaky tests in CI/CD or when testing third-party apps where you have no control over the HTML. You can read more about these Playwright challenges on testrigor.com.
Are you tired of dealing with flaky tests and slow CI pipelines? Mergify's Merge Queue ensures your pull requests are always up-to-date and tested in batches, eliminating frustrating CI failures and saving valuable developer time. See how Mergify can streamline your workflow.