Master CICD Jenkins: Ultimate Guide to Building Efficient Pipelines

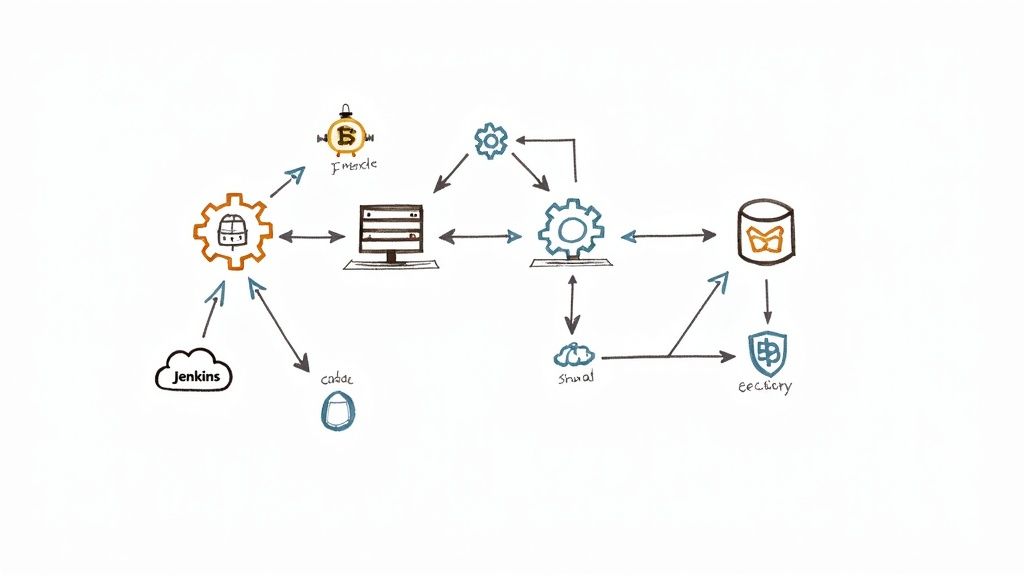
A solid CI/CD Jenkins pipeline is the engine room of modern software development. It's what connects your code repository, build tools, and deployment environments into a single, automated flow, driving both speed and reliability.
Why Jenkins Still Dominates the DevOps World
In a crowded field of CI/CD tools, Jenkins somehow always seems to come out on top. It’s not just some legacy tool that’s been hanging around; it's a battle-tested, open-source automation server that offers a level of flexibility that very few competitors can touch.
This adaptability is its greatest strength. It lets teams build a workflow that fits their specific needs, rather than shoehorning them into a rigid, one-size-fits-all model.
The main problem a CI/CD Jenkins setup solves is simple: it gets rid of tedious, error-prone manual work. Before automation took hold, developers had to manually build software, kick off tests, and deploy code. This process was slow, inconsistent, and created massive bottlenecks. Jenkins automates that entire sequence, making sure every single code change is built and verified the same way, every time.
The Power of an Open-Source Community
A huge part of Jenkins's staying power comes from its open-source roots. It’s backed by a massive global community of developers who contribute to its core and its incredible plugin ecosystem.
This community-driven approach means Jenkins is constantly evolving to tackle new challenges and integrate with the latest tools and tech. That collaborative spirit is a big reason it has been around for so long.
At its heart, Jenkins gives developers control. It doesn't prescribe a single way of working; instead, it provides a powerful framework and thousands of building blocks (plugins) to create a custom-fit automation pipeline.
This freedom means it can be used for just about any automation task you can think of, from simple application builds to incredibly complex, multi-stage delivery workflows. If you want to dive deeper into crafting these workflows, you can explore our detailed Jenkins CI/CD guide, which covers everything from setup to best practices.
Unmatched Flexibility Through Plugins
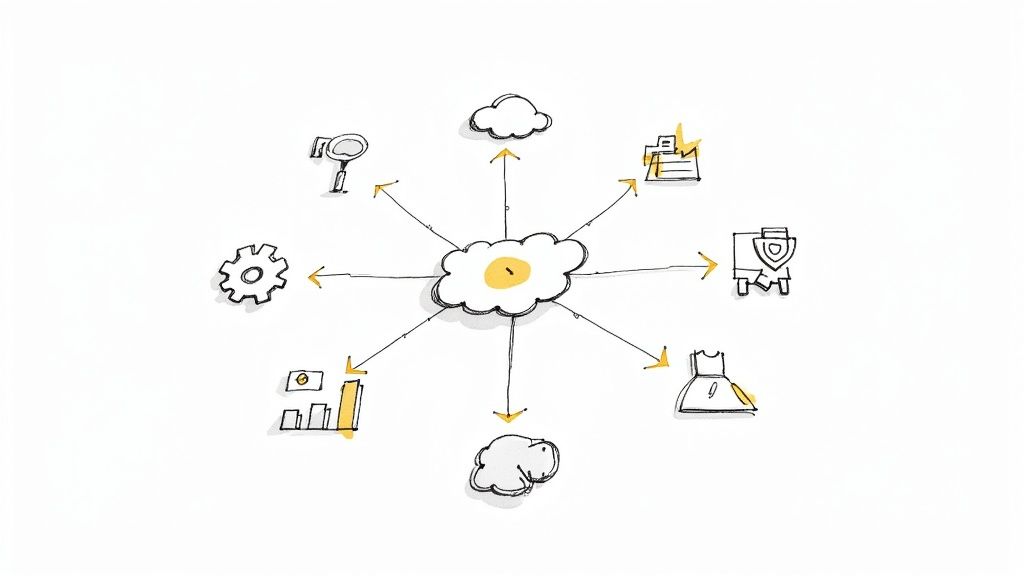
The real magic of Jenkins is in its plugin ecosystem. With over 1,800 community-contributed plugins available, you can connect it to almost any tool in the DevOps world.
This massive library includes integrations for:
- Version Control: Git, Subversion, Mercurial
- Build Tools: Maven, Gradle, Ant
- Cloud Platforms: AWS, Azure, Google Cloud
- Containerization: Docker, Kubernetes
This incredible support ensures that no matter what your tech stack looks like, Jenkins can probably fit right in.
You don't just have to take my word for it—the numbers speak for themselves. Let's look at how Jenkins stacks up against the competition.
Jenkins Market Position and Competitor Snapshot
| CI/CD Tool | Market Share (%) |
|---|---|
| Jenkins | 44% |
| GitLab CI/CD | 16% |
| CircleCI | 13% |
| TeamCity | 12% |
| Bamboo | 6% |
| Other | 9% |
| Source: Based on August 2023 market analysis. |
As you can see, Jenkins commands an estimated 44% of the CI/CD market share. It's not just holding steady, either. Workloads on Jenkins grew by 45% in just two years, proving it's not just surviving but thriving in modern software delivery pipelines.
Setting Up Your Jenkins Environment for Success

A powerful CICD Jenkins pipeline is only as good as its foundation. Before you even touch a Jenkinsfile, getting your environment squared away is the single most important thing you can do. Trust me, getting this right from the start will save you countless hours of banging your head against the wall later.
The hardware you'll need really comes down to your workload. A small team running a few simple builds a day has completely different needs than a large organization juggling dozens of complex, concurrent pipelines. My advice? Start with a reasonable baseline and be ready to scale.
Sizing Your Jenkins Instance
For a small to medium-sized team, here’s a solid starting point for your virtual machine:
- 2-4 vCPUs: This gives you enough processing power to handle the Jenkins controller and a handful of concurrent builds without everything grinding to a halt.
- 4-8 GB of RAM: Jenkins can be a memory hog, especially once you start adding plugins and running multiple jobs. Skimping on RAM is one of the most common reasons for an unstable setup.
Once you're up and running, keep a close eye on your CPU and memory usage. If you see those numbers consistently creeping up, it’s a clear signal that you need to beef up your resources. Remember, the Jenkins controller's job is just to orchestrate—the real heavy lifting should always be passed off to build agents.
Pro Tip: Whatever you do, avoid running builds directly on the Jenkins controller (what we used to call the master). This is a massive security and performance no-no. The controller should only ever manage and delegate tasks.
With hardware sorted, let's talk software. Jenkins is a Java application, so getting the right Java Development Kit (JDK) installed is non-negotiable. Always check the official Jenkins documentation for supported Java versions—compatibility is everything.
Another critical step for security is to create a dedicated user account just for running the Jenkins service. Running Jenkins as root is a huge security risk. A dedicated jenkins user with limited permissions keeps the service isolated, containing the potential damage if it were ever compromised.
After installation, you'll set up your initial admin user and install a few must-have plugins to get going. At a minimum, you’ll need the Pipeline plugin for Jenkinsfile support and the Git plugin to connect to your source code.
This groundwork sets the stage for more advanced configurations. If you're looking for more ways to streamline your workflow right from the start, our guide on using Jenkins to optimize your CI/CD pipeline is a great next read.
There's a reason Jenkins holds a 47.32% market share among CI/CD tools. Its power and flexibility, which begins with a solid installation, are why it's trusted by over 35,867 companies. Mastering its setup is a skill that pays dividends. You can see how it stacks up by exploring the competitive landscape of CI/CD tools.
How to Build Your First Declarative Jenkinsfile
If you're still clicking around in the Jenkins UI to configure jobs, it's time for a change. Moving your pipeline into a Jenkinsfile is a total game-changer. Suddenly, your entire build process has version control, it's reusable, and everyone can see exactly what's happening from a single source of truth. This is where your CI/CD Jenkins journey really gets good.
We're going to stick with the Declarative Pipeline syntax. It's the modern way to do things in Jenkins for a reason: it's structured, much easier to read, and gives you a clean framework for laying out your pipeline.
The Core Structure of a Declarative Pipeline
Every Declarative Pipeline starts with a pipeline block. Think of it as the main container for everything that follows.
Inside that block, the first thing you'll usually define is the agent. This simply tells Jenkins where to run the job. To keep things simple, we'll start with agent any, which lets Jenkins pick any available machine.
From there, it's all about stages. Each stage is a distinct phase of your process, like building the code or running tests. They run one after the other and show up beautifully in the Jenkins UI, making it dead simple to spot where a build failed.
The flow is pretty intuitive, moving code from a commit all the way through build, test, and deployment phases.
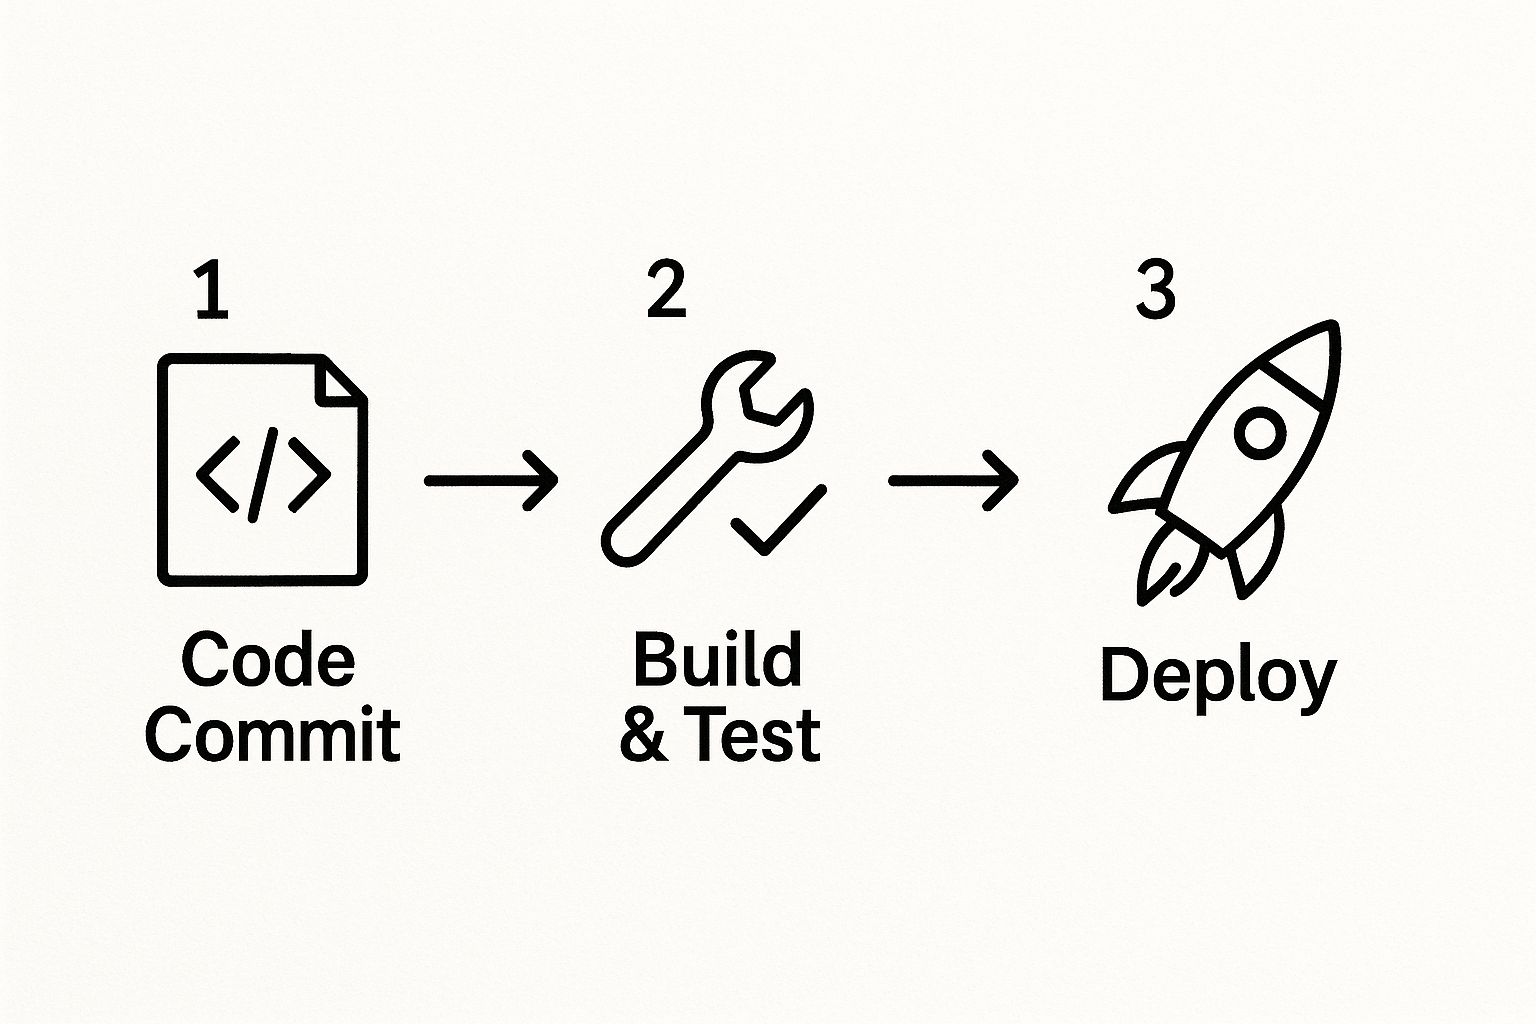
Breaking a complex process into these clear, manageable steps gives you incredible visibility and control over what's happening.
Building a Practical Three-Stage Pipeline
Alright, let's build a real Jenkinsfile for a standard Java application that uses Maven. You'll save this file, named Jenkinsfile, right at the root of your Git repository.
Inside every stage, there's a steps block. This is where the magic happens—it’s where you’ll run shell scripts, trigger build tools, and perform the actual work.
Let's break down a typical three-stage setup.
Stage 1: Checkout Code
First things first, you need the code. Jenkins has a handy, built-in way to grab the source code from the repository linked to the job.
stage('Checkout') { steps { // 'scm' is a special variable that checks out the code // from the repo configured in your Jenkins job. checkout scm } }
Stage 2: Build with Maven
With the code checked out, the next step is to compile it and package it up into a JAR or WAR file. This assumes you have Maven set up on your Jenkins agent.
stage('Build') { steps { // We're just running a standard Maven command here. sh './mvnw clean package' } } The sh step is your go-to for running any shell command. It's perfect for command-line tools like Maven, Gradle, or npm.
Stage 3: Run Unit Tests
Finally, we need to make sure we didn't break anything. Running unit tests is a critical safety net for catching regressions before they cause real trouble.
stage('Test') { steps { // Execute the Maven test goal. sh './mvnw test' } }
The key takeaway here is that each stage is self-contained and depends on the one before it. If the 'Build' stage fails, the 'Test' stage will never even start. This "fail-fast" approach is fundamental to CI/CD, saving time and preventing broken code from getting any further.
Putting it all together, your first complete Jenkinsfile is surprisingly simple:
pipeline { agent any
stages {
    stage('Checkout') {
        steps {
            checkout scm
        }
    }

    stage('Build') {
        steps {
            sh './mvnw clean package'
        }
    }

    stage('Test') {
        steps {
            sh './mvnw test'
        }
    }
}
}
Once you commit this file to your repository and configure the job in Jenkins, you've officially automated your build process. This simple foundation is incredibly powerful, and from here, you can easily add more stages for deployment, security scanning, or sending notifications.
Automating Your Workflow with Mergify
So, your CI/CD Jenkins pipeline is up and running, diligently building and testing every new change. That's a huge step forward. But if your developers are still stuck manually checking build statuses and hitting the "merge" button, you haven't eliminated the bottleneck—you've just moved it. This is where you can leap from simple CI to genuine, hands-off automation.
Enter Mergify, a tool built to bridge that final, frustrating gap between a green Jenkins build and a merged pull request. Instead of babysitting PRs, you can define a set of rules and let Mergify handle the entire merge process for you. This frees your team from the tedious cycle of checking, re-checking, and finally merging.
Picture this: a developer pushes their code, Jenkins does its thing, and if all the checks pass, the PR is automatically merged into your main branch. No one has to lift a finger. This isn't just about making life easier; it's about preserving your team's momentum.
Getting Your First Merge Rule in Place
You might think this sounds complicated, but getting started is surprisingly simple. It all happens in a .mergify.yml file you create in your repository's root directory. This file sits right alongside your Jenkinsfile, keeping your automation logic neatly version-controlled.
Here’s what a basic rule to merge a PR after a successful Jenkins build looks like:
pull_request_rules:
- name: Automatic merge on CI success conditions:
- status-success=ci/jenkins/build actions: merge: method: merge
In this snippet, the status-success condition tells Mergify to look for a specific check from Jenkins—in this case, ci/jenkins/build. Once that check reports a success, the merge action kicks in. Simple as that.
This one small configuration is a massive win for productivity. It completely gets rid of the "PR waiting room," where perfectly good, reviewed code sits idle, waiting for someone to give it the final push. Your team can confidently move on to the next task, knowing their approved changes will be integrated without delay.
Of course, the real world of software development is rarely that simple. Workflows get complicated, and manual processes often hide deeper issues. Many teams find themselves stuck in cycles of review delays, merge conflicts, and inconsistent deployments.
To give you a clearer picture, here’s a look at some common bottlenecks and how a tool like Mergify directly addresses them.
Common Workflow Bottlenecks and Mergify Solutions
| Bottleneck | Mergify Feature | Benefit |
|---|---|---|
| PRs waiting for manual merge | Automatic Merging | Frees up developers from babysitting PRs. Merges happen as soon as CI passes, maintaining momentum. |
| "Mid-air collision" merge conflicts | Merge Queue | Serializes merges, testing each PR against the most recent version of the target branch to prevent breakage. |
| Inconsistent code reviews | review-requested & approved-reviews-by conditions |
Enforces that PRs are reviewed by the right people or teams before they can be merged. |
| Outdated PRs causing CI failures | Automatic update action |
Keeps PRs up-to-date with the base branch, reducing CI failures from stale code. |
| Manually adding labels or comments | Automatic label & comment actions |
Automates housekeeping tasks, like labeling PRs based on file paths or notifying teams via comments. |
This table highlights just a few ways automation can untangle the knots in your development process, turning manual chores into reliable, automated actions.
Protecting Your Main Branch with a Merge Queue
So what happens when several developers are ready to merge their changes around the same time? You’ve likely experienced this: one PR passes its checks, but just before it’s merged, another one gets in first, introducing a change that now breaks the main branch. This is a classic "mid-air collision" that plagues fast-moving teams.
Mergify's solution is the merge queue. Instead of merging PRs the moment they’re ready, the queue lines them up and tests them sequentially against the most up-to-date version of the main branch. Critically, each PR is re-tested with the changes from the PRs ahead of it in the queue.
This gives you a powerful layer of protection. If a PR in the queue breaks the build when combined with other incoming changes, it gets kicked out, and the developer is immediately notified. The rest of the queue just keeps on processing, ensuring your main branch is never compromised.
Pairing a solid CI/CD Jenkins pipeline with intelligent PR automation from Mergify creates a workflow that is not only efficient but also resilient and developer-friendly. It’s how top-performing teams scale their development process without sacrificing speed or stability.
Running Lean and Secure Jenkins Pipelines
As your team and codebase scale, your Jenkins CI/CD setup can quietly balloon into a serious cost center and an attractive security target. Running lean isn't just about pinching pennies; it’s about building an efficient, responsive system that doesn't burn through resources. At the same time, locking down your pipeline isn't optional—it's essential for protecting your code and your customers.
Let's walk through some practical, real-world strategies for keeping your Jenkins pipelines both cost-effective and secure. This isn't about cutting corners. It's about working smarter.
Optimizing CI Costs
One of the most common money pits I see is the reliance on static, always-on build agents. These machines just sit there, idle for most of the day, racking up costs and consuming resources for no good reason.
A much smarter approach is to embrace ephemeral agents.
By spinning up agents on-demand using platforms like Kubernetes or cloud services (think AWS EC2 or Azure VMs), you shift to a pay-as-you-go model. You only pay for compute time when a build is actually running. The moment a job finishes, the agent is destroyed, and the meter stops. This simple change can slash your infrastructure bill, especially for teams with bursty or unpredictable build schedules.
Another quick win is to take a hard look at your build caches. If every build is downloading the same dependencies from scratch, you're wasting both time and bandwidth. Properly configured caching can cut job times dramatically, sometimes by over 50%, by simply reusing artifacts you've already fetched.
Securing Your Pipeline End-to-End
When it comes to Jenkins security, the conversation has to start with managing your secrets. Hardcoding API keys, passwords, or tokens directly in your Jenkinsfile is a huge red flag. Anyone with read access to your repository—which might be public—can see them plain as day.
The only right way to handle this is with the Jenkins Credentials API. This built-in feature lets you store secrets securely inside Jenkins itself, then inject them into your pipeline at runtime as environment variables.
Your Jenkinsfile should only ever reference the ID of a credential, never the secret itself. This keeps your pipeline code clean and safe, even if it lives in a public repository.Beyond secrets, it's critical to enforce the principle of least privilege for every single job. A pipeline that deploys to production shouldn't have the same permissions as one that just runs unit tests. Get granular with your job permissions, giving each one only the exact access it needs to get its work done.
You should also bake security scanning directly into your pipeline. Tools that check for vulnerabilities can be added as another stage in your Jenkinsfile, failing the build if any critical issues pop up. This makes security a proactive part of your development process, not a panicked afterthought.
Finally, you can standardize all these best practices across your entire organization using Shared Libraries. These are reusable chunks of pipeline code that can enforce non-negotiable rules like:
- Mandatory security scans on every build.
- Strict enforcement of proper credentials handling.
- Consistent logging and auditing standards.
This ensures every team, regardless of their project, adheres to the same security baseline. The continuous delivery market, where Jenkins remains a heavyweight, is growing fast—valued at around $15 billion and projected to expand at an 18% CAGR. As investment pours in, so does the demand for pros who can manage these complex, secure systems. You can dig deeper into these continuous delivery market trends if you're curious.
Answering Your Common Jenkins Questions
Even with a perfect guide, the leap from theory to a real-world CI/CD Jenkins pipeline is where the real questions pop up. Once you move past the "hello world" examples and start scaling, you'll inevitably hit hurdles that weren't in the manual. This is where we'll tackle some of those common sticking points I see teams run into all the time.
One of the first traps is plugin management. With over 1,800 plugins available, it's dangerously easy to create a tangled mess. A classic mistake is to just install plugins from the UI as you go, without any version control. Before you know it, you're in "dependency hell," where updating one plugin breaks three others and your pipelines start failing for reasons no one can figure out.
Declarative vs. Scripted: Which Pipeline to Choose?
Another question I get a lot is about Declarative versus Scripted Pipelines. We focused on Declarative in this guide because its structure and readability are perfect for most teams. But Scripted pipelines still have their place.
Here’s how I break it down for people:
- Declarative Pipeline: This should be your default. Its structured syntax is easy for anyone on the team to read, and it nudges you toward best practices. It's the workhorse for standard CI/CD workflows.
- Scripted Pipeline: Save this for the truly weird and complex stuff. It unleashes the full power of Groovy, letting you build intricate logic, dynamic stages, and custom functions that just aren't possible with Declarative.
My advice is simple: always start with Declarative. Only go down the Scripted route when you hit a wall and have a very specific, complex problem that Declarative just can't solve. This mindset will keep your pipelines maintainable and easy to understand for the long haul.
A key part of any solid CI/CD strategy is how you handle failure. A pipeline that just grinds to a halt with a cryptic error message helps no one. Using post blocks in your Declarative Pipeline to send Slack notifications or clean up resources isn't just a nice-to-have; it's a non-negotiable best practice.Tackling Pipeline Failures and Dependencies
Finally, let's talk about what happens when things break. When a build fails, you need fast, actionable feedback. Setting up notifications is a great first step, but what about those annoying flaky tests or temporary network glitches?
This is where retry logic is a lifesaver. You can wrap specific steps in a retry block to automatically re-run a failed command a few times. It's a simple change that can save you from a lot of unnecessary manual restarts.
And when we talk about dependencies, it’s not just about Jenkins plugins. What about your project's own dependencies? The key to reliable builds is a consistent environment. By running your builds inside Docker containers defined right in your Jenkinsfile, you guarantee every build runs in an identical, clean environment. It’s the ultimate fix for the "but it works on my machine" problem.
These tips are just a small part of a much bigger picture of effective automation. For a deeper look, you should explore more CI/CD best practices that go beyond Jenkins and apply to any modern software delivery process. Getting these fundamentals right is what turns a pipeline from a simple script into a resilient, maintainable asset for your team.
Ready to eliminate merge bottlenecks and protect your main branch? With a merge queue and automatic PR handling, Mergify ensures your CI/CD Jenkins pipeline flows smoothly without manual intervention. See how you can save developer time and prevent broken builds at https://mergify.com.